Guide
How Fluxpoint works
Every module, setting and role — what it does, how to use it and, where it isn't obvious, exactly how the numbers are calculated. Screenshots use a demo company with made-up data.
Not using Fluxpoint yet? Book a demo
Signing in
Fluxpoint is set up for each company by Fluxly. There's no public sign-up: your team lead (the company admin) gets the first invite, then invites everyone else.
How to
- Open the invite link you were sent and choose a password — or click Continue with Google if your Google account uses the same email address.
- Next time, sign in at the Fluxpoint website with Sign in, using your email and password or Google.
- Invite links work once and expire after 7 days. If yours has expired, ask your admin for a new one.
Forgot your password?
Your admin creates a reset link for you: Staff → your name → Create reset link. It works once and expires after 24 hours, and using it signs you out everywhere else.
Getting around
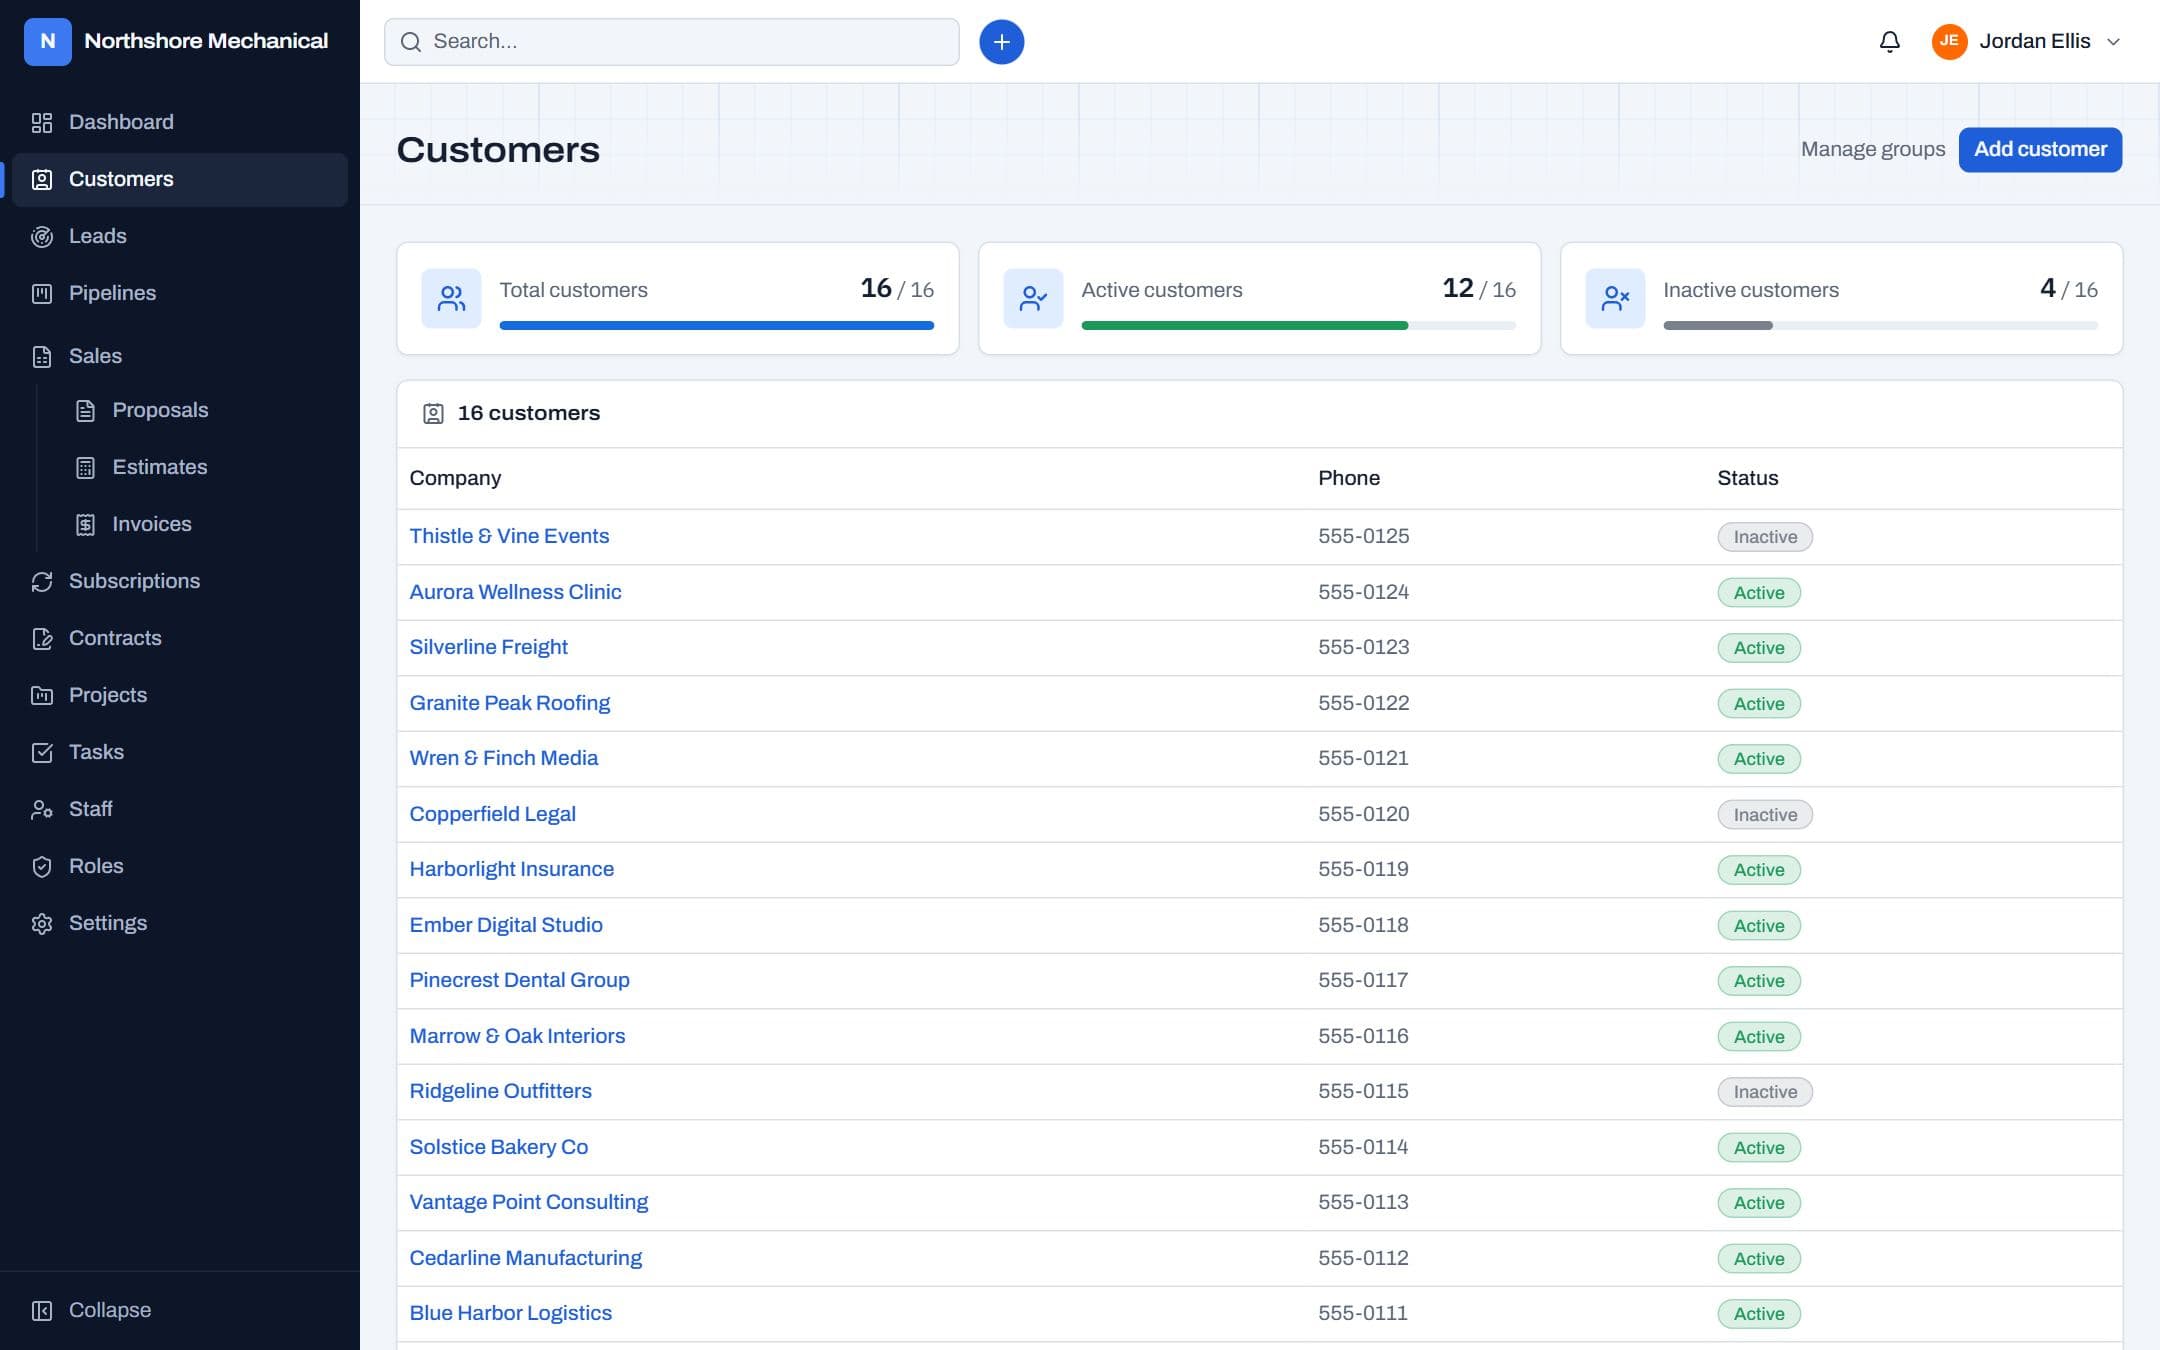
The sidebar takes you to every module your company uses. The top bar holds what you need everywhere.
How to
- Click any sidebar item to switch pages. Sales groups Proposals, Estimates and Invoices.
- Click Collapse at the bottom of the sidebar for more room; your choice is remembered.
- Search (or press Ctrl K, ⌘ K on a Mac, or /) finds customers, contacts, leads, pipeline items, projects, tasks, invoices, estimates, proposals, contracts, subscriptions and staff by name, email, phone or number — up to five per kind. Use the arrow keys and Enter to open one. It only shows records you could already open.
- The blue + button is quick add: a new customer, lead, task, invoice and more from any page.
- The bell shows your notifications, such as pipeline reminders. Mark all read clears the badge.
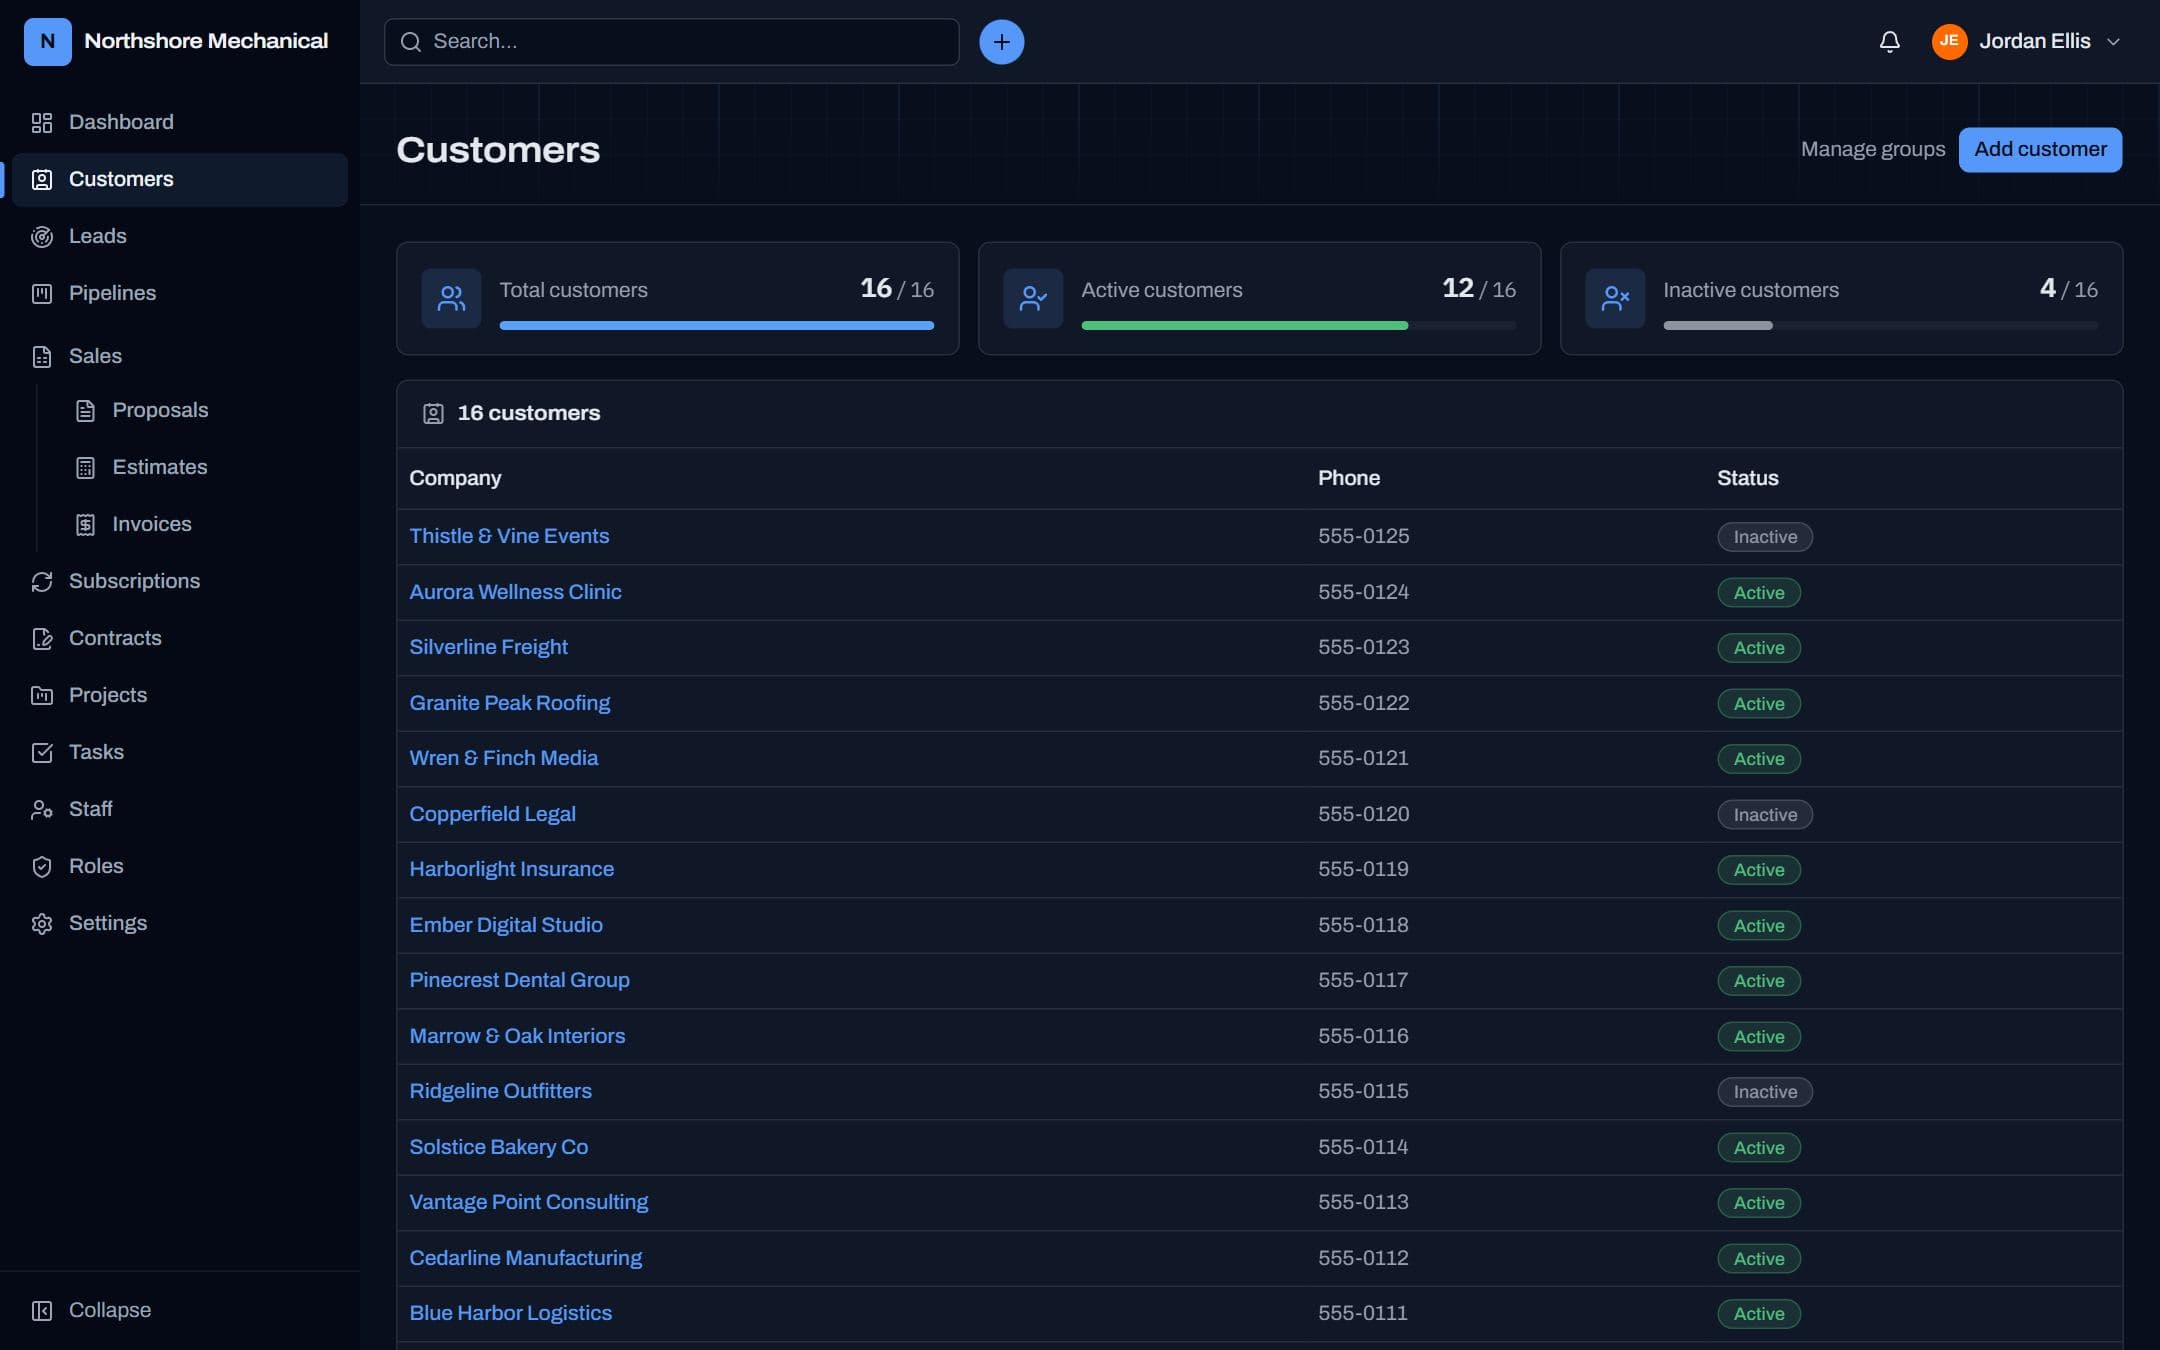
- Your name (top right) opens your menu: choose Light, Dark or Match system, or sign out.
You only see the modules your company has switched on and that your role can open — so two people in the same company may see different sidebars. See Roles & permissions.
Roles & permissions
Every person is either an administrator or a staff member with a role. Roles decide what each person can see and do, module by module.
| Who | What they can do |
|---|---|
| Owner | The company's first admin. Always stays an active administrator — nobody can demote or deactivate them. |
| Administrator | Everything in every enabled module, plus Staff, Roles, Settings, pipeline setup and the team dashboard. |
| Staff member | Only what their role's permissions allow. |
The five permissions
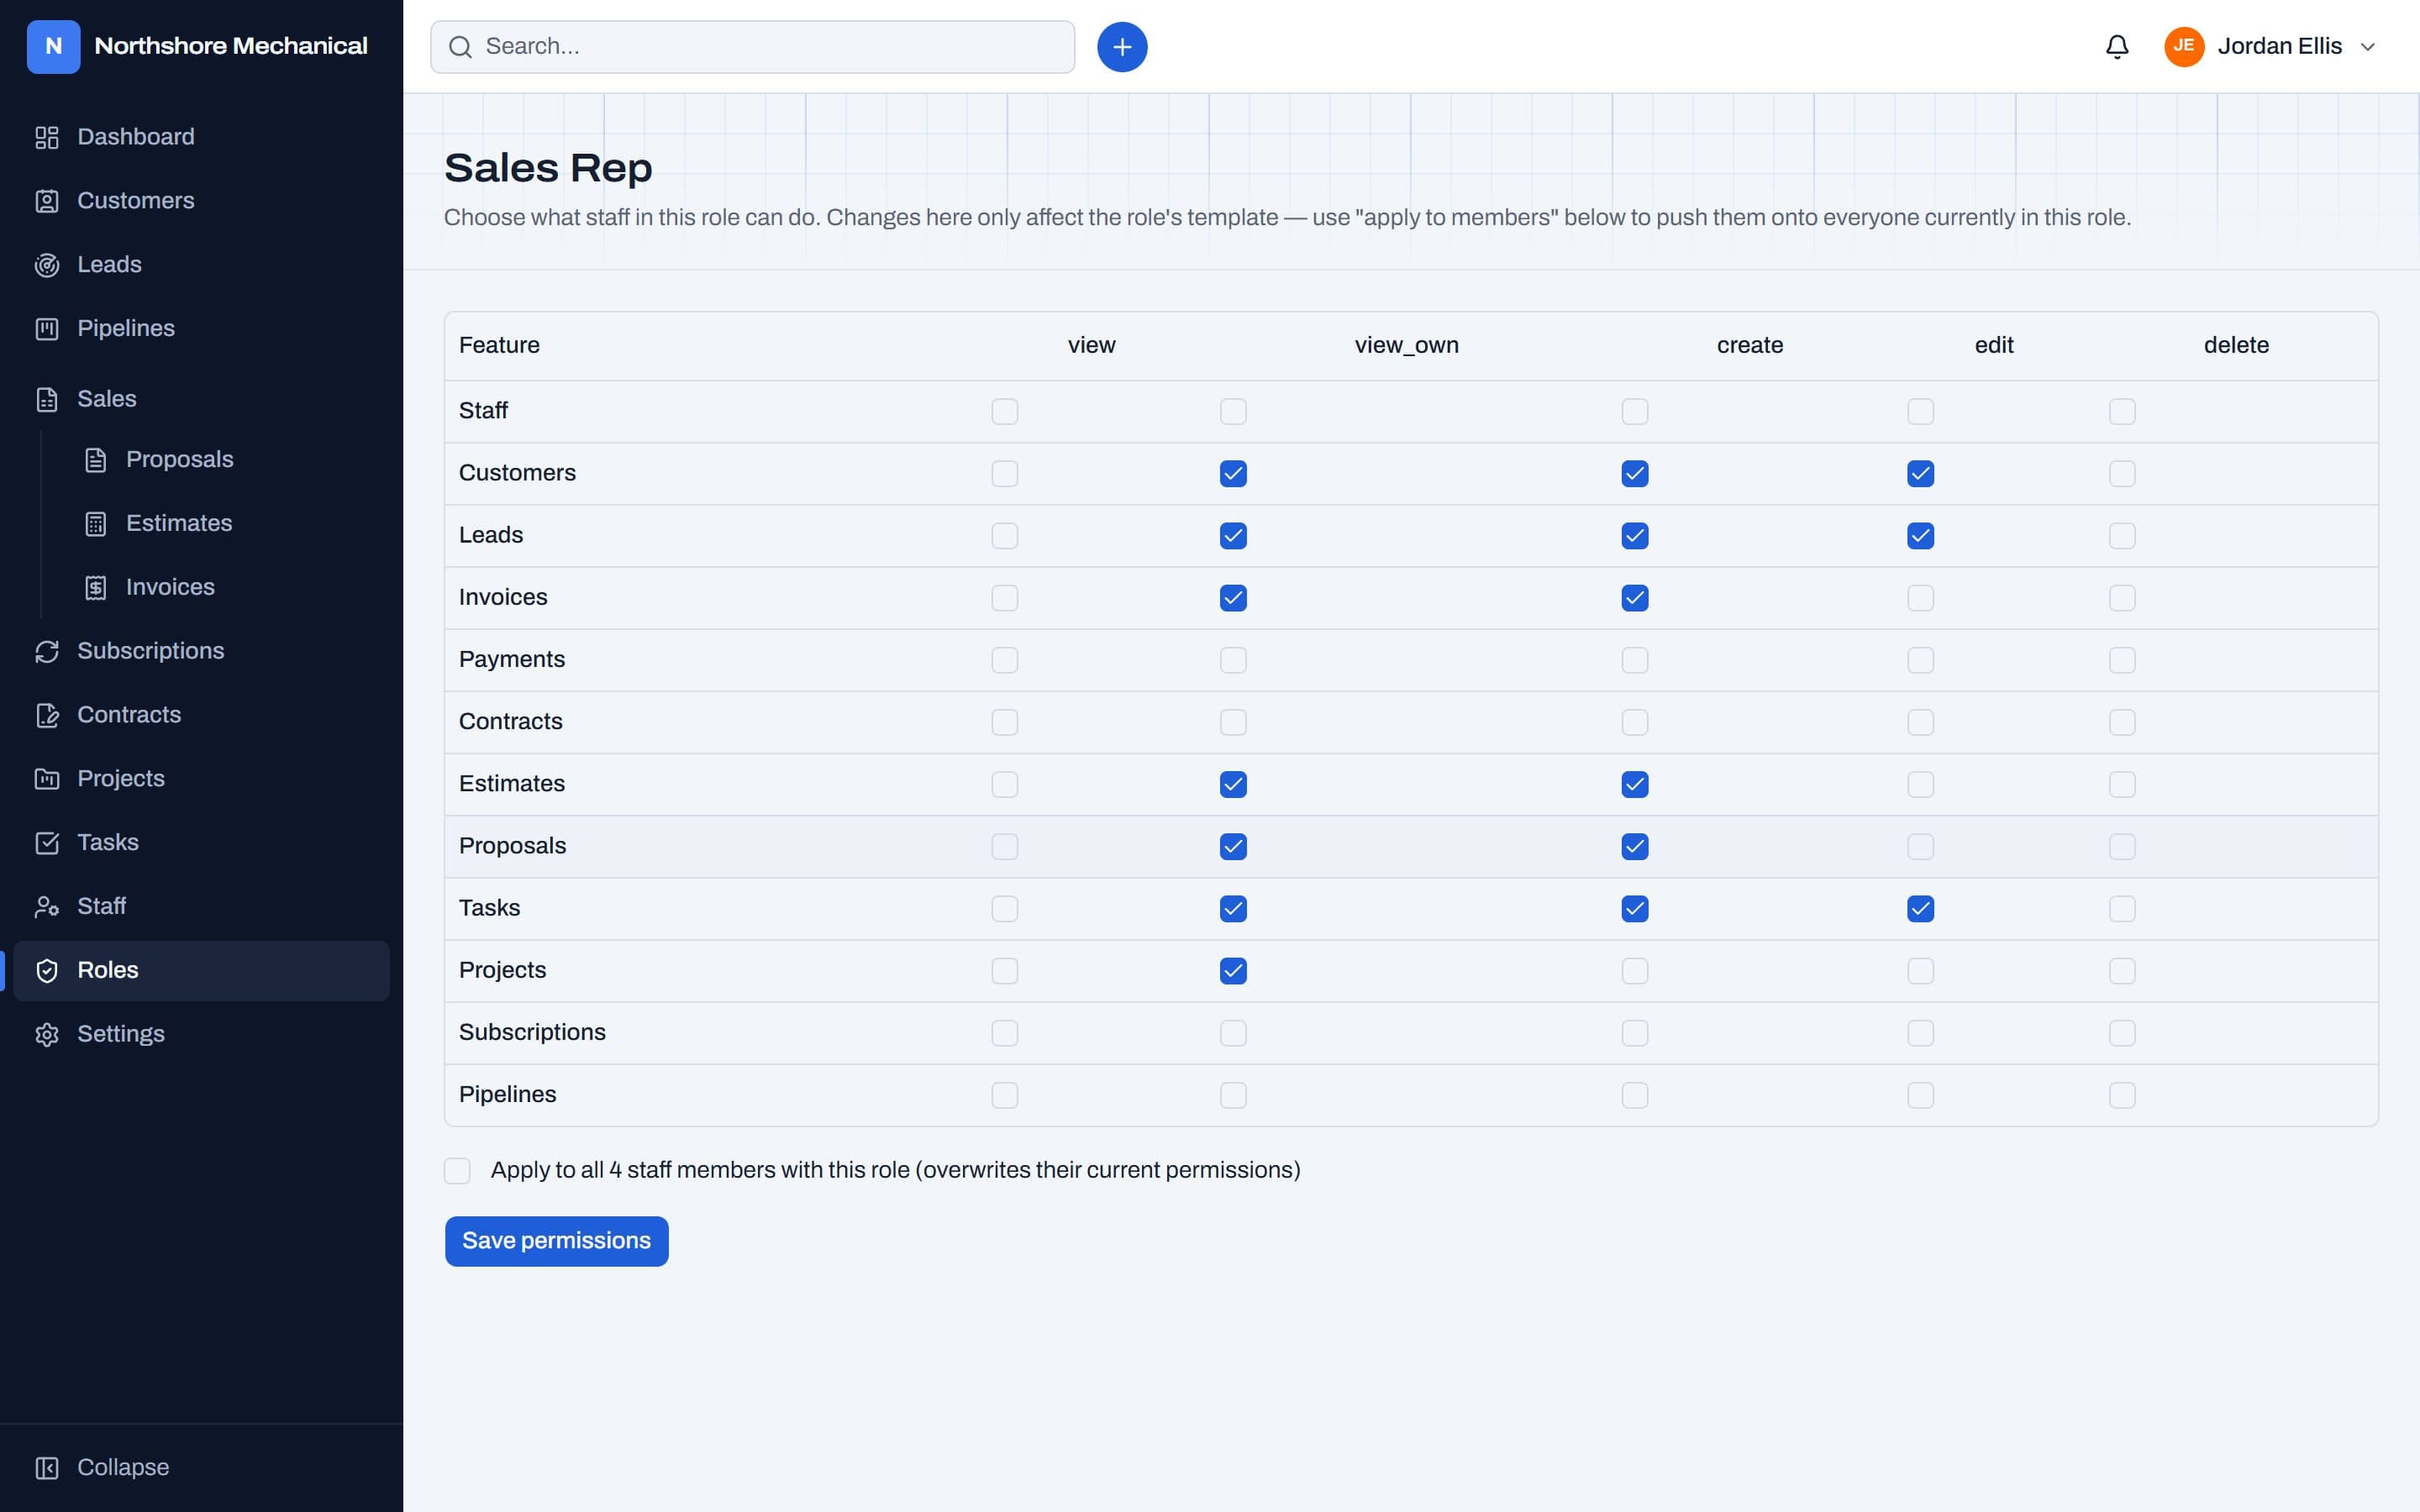
For each module a role can be given view, view_own, create, edit and delete. view shows every record in the company; view_own shows only the person's own records:
| Module | With view | With view_own (or neither) |
|---|---|---|
| Customers | Every customer | Customers they created or are an account manager for |
| Leads | Every lead | Leads assigned to them, they created, or marked Public |
| Pipelines | Every item | Items they created or are named on in any people field |
| Tasks | Every task | Tasks they created or are assigned to |
| Proposals, Estimates, Invoices | Every document | Documents they created or are the sale agent on |
| Contracts, Projects, Subscriptions | Every record | Records they created |
How to
- AdminsOpen Roles → Add role and give it a name, such as Sales Rep.
- Tick the permissions for each module, then Save permissions.
- A role is a template. Tick Apply to all staff members with this role before saving to push the change onto people who already have it.
- Give someone a role from Staff → their name → Role. Changing their role replaces their permissions with the new role's.
How access is decided
Someone can use a feature only if all three are true: (1) your company's plan includes the module, (2) an admin hasn't switched it off in Settings, and (3) their permissions allow it. Admins skip step 3 but not steps 1 and 2.
Staff & invites
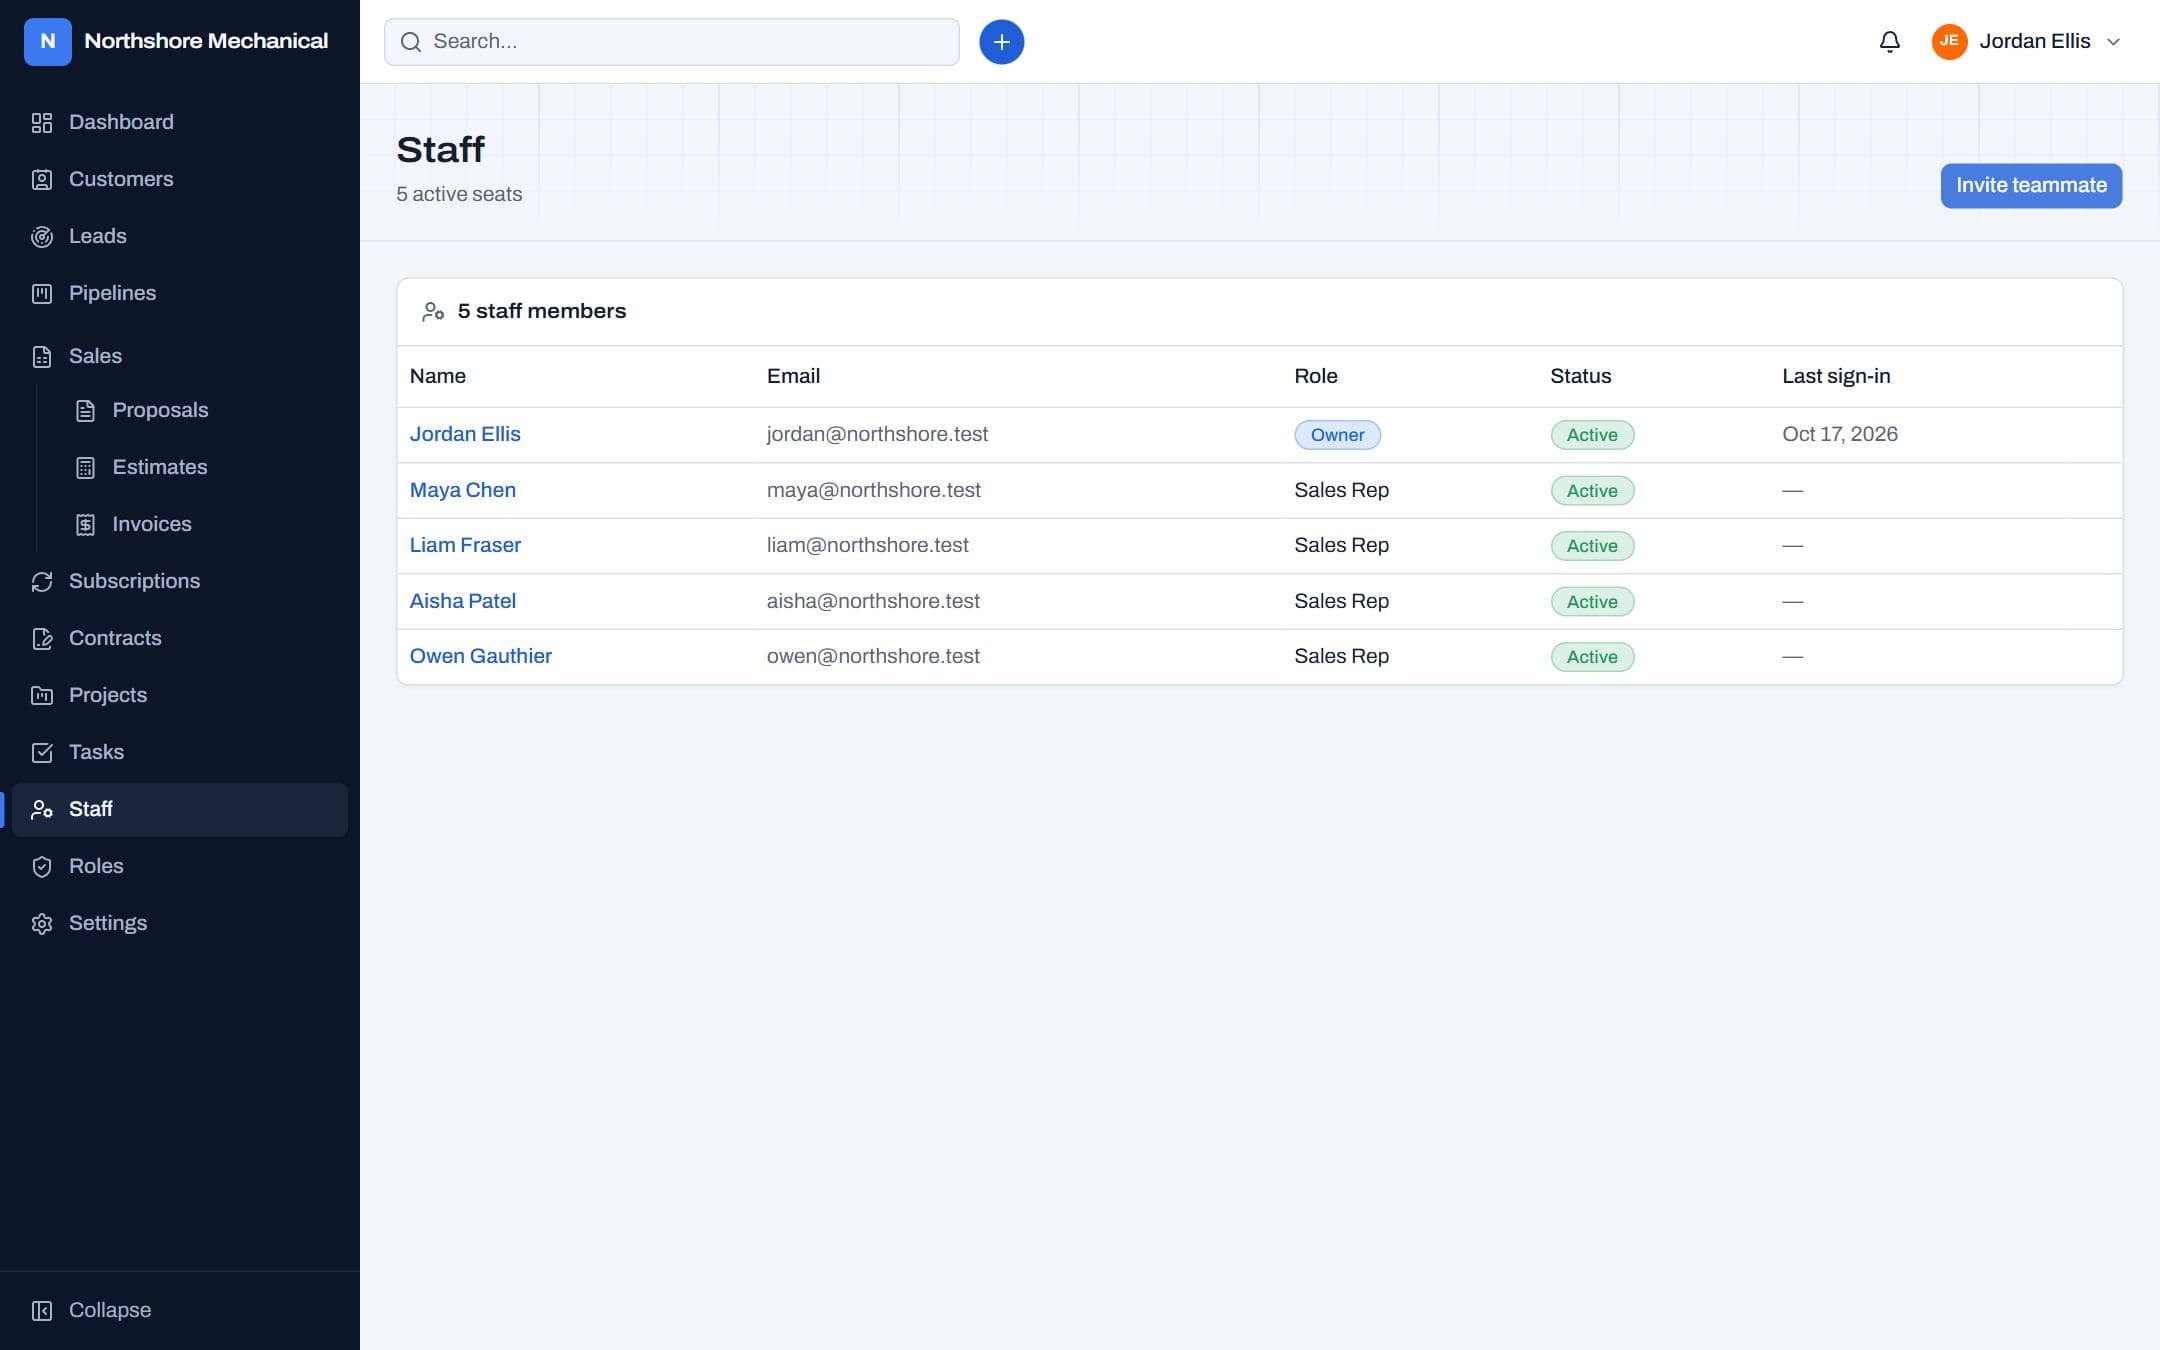
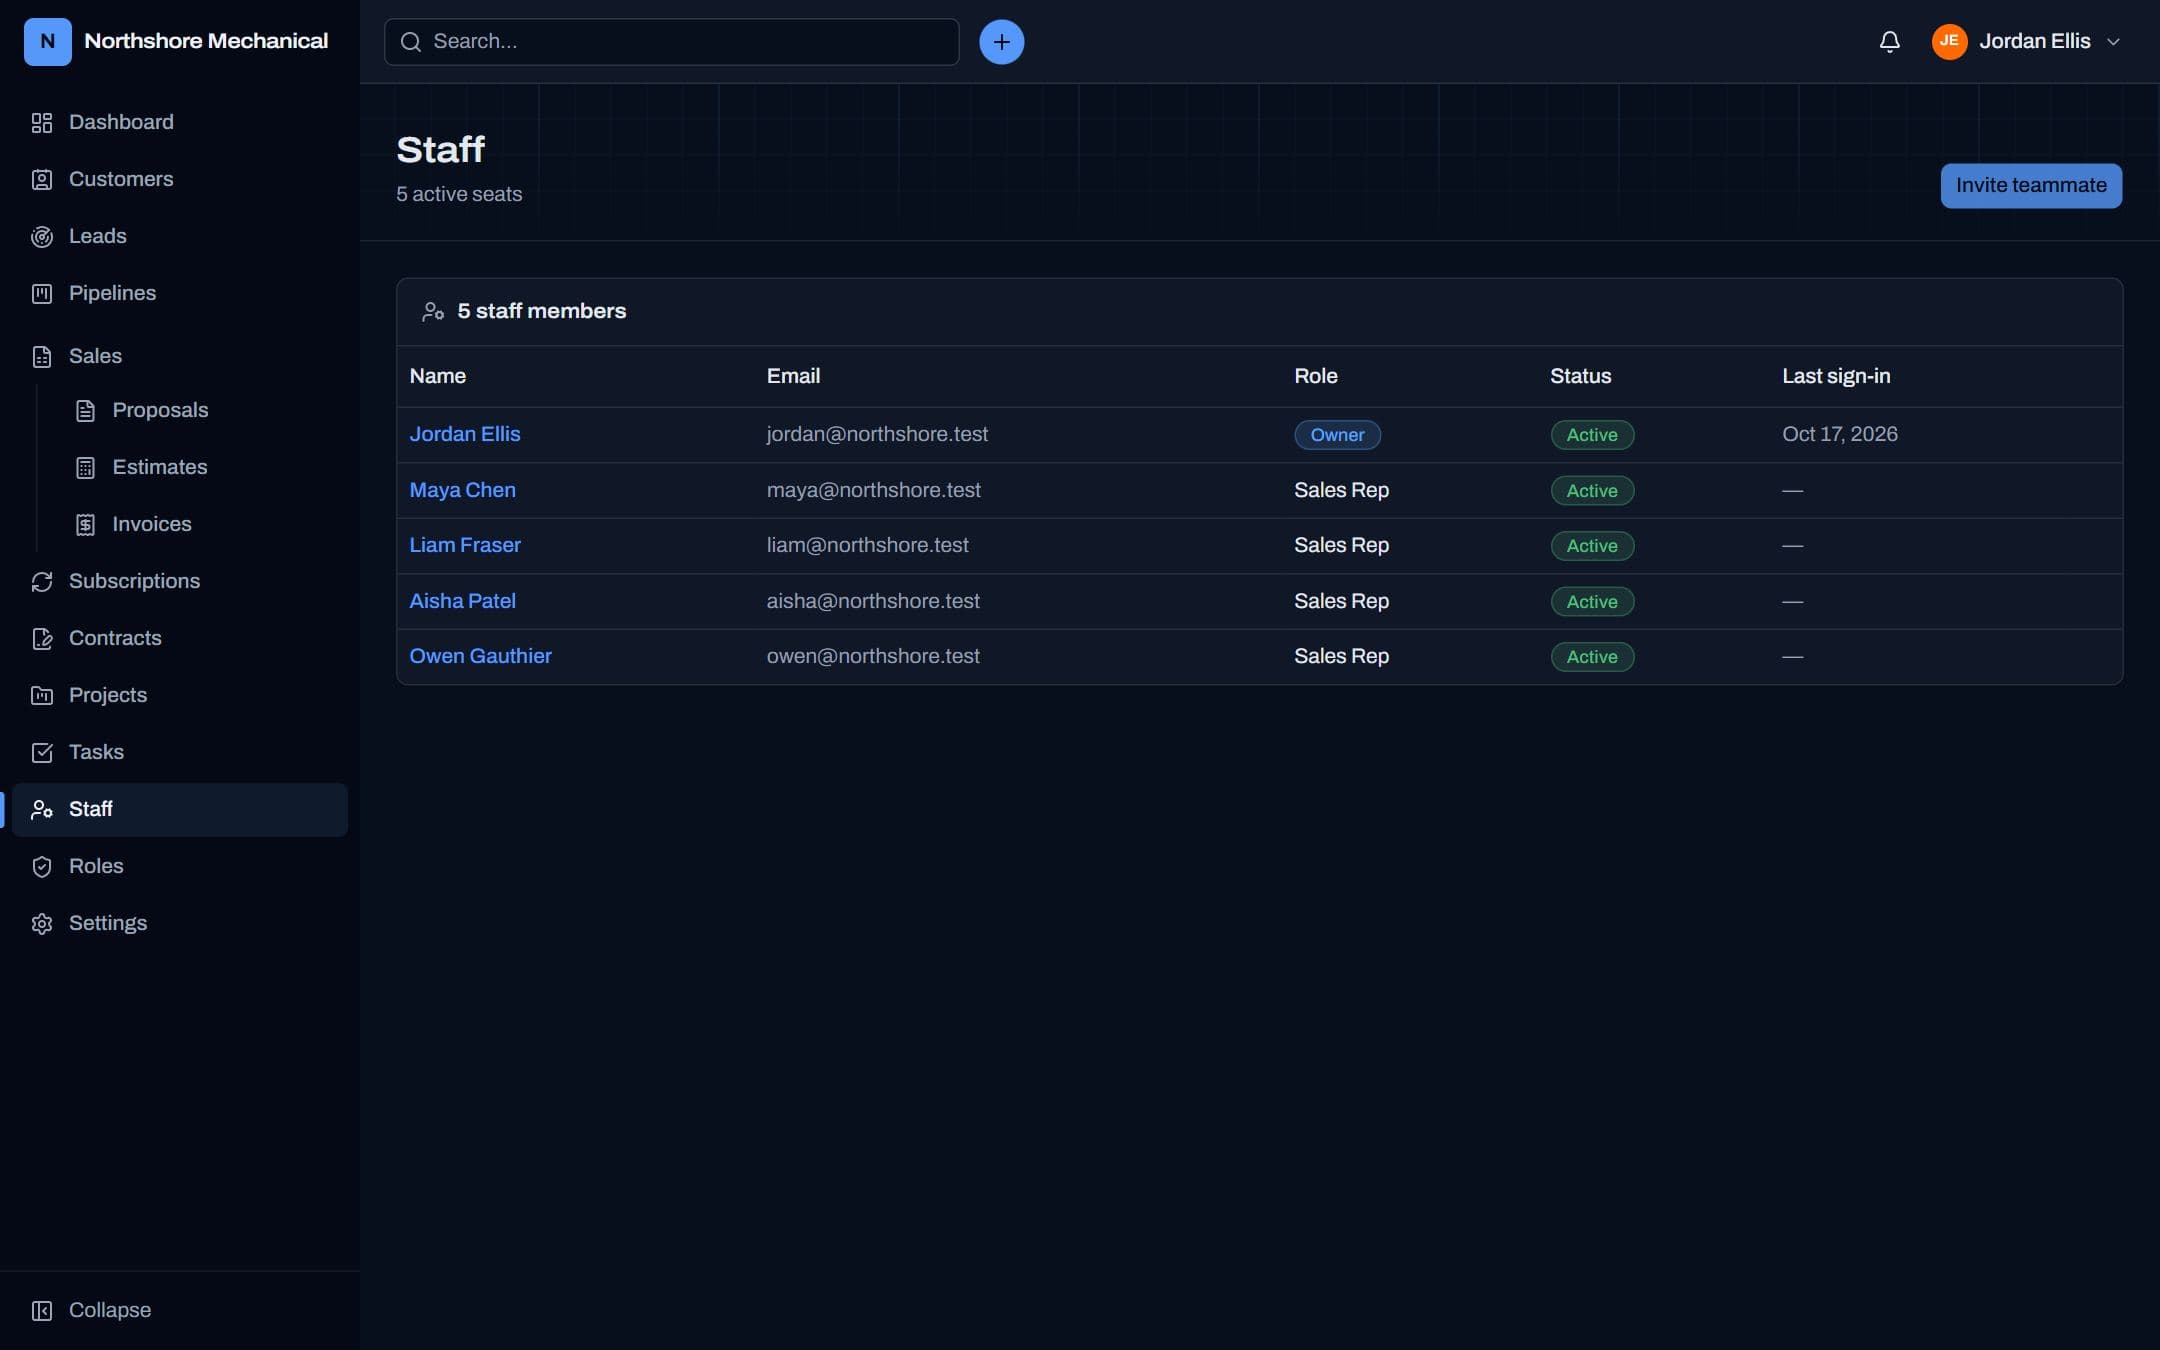
Admins add teammates, manage their access and help them back in when they're locked out.
How to
- AdminsStaff → Add teammate: enter their name and email and pick a role (tick Administrator if needed). Then either Send invite so they set their own password, or Set password now to create a ready-to-use account. They replace a password you chose the first time they sign in, and anyone can update their details under Account settings in the user menu.
- Copy the link and send it to them by email, chat or text. They show as Invite pending until they join.
- Lost the link? Open their name → New invite link (the old one stops working), or Revoke invite to cancel it and free the seat.
- Someone leaving? Open their name, untick Active and save. They're signed out and can't sign in, but everything they created stays. Tick Active again to bring them back (it uses a seat).
How seats are counted
Seats used = active staff + pending invites. When you reach your plan's seat limit, deactivate someone or revoke an invite — or ask Fluxpoint for more seats.
Only administrators can invite other administrators or change an administrator. You can't deactivate your own account, and the owner can't be deactivated at all.
Dashboard
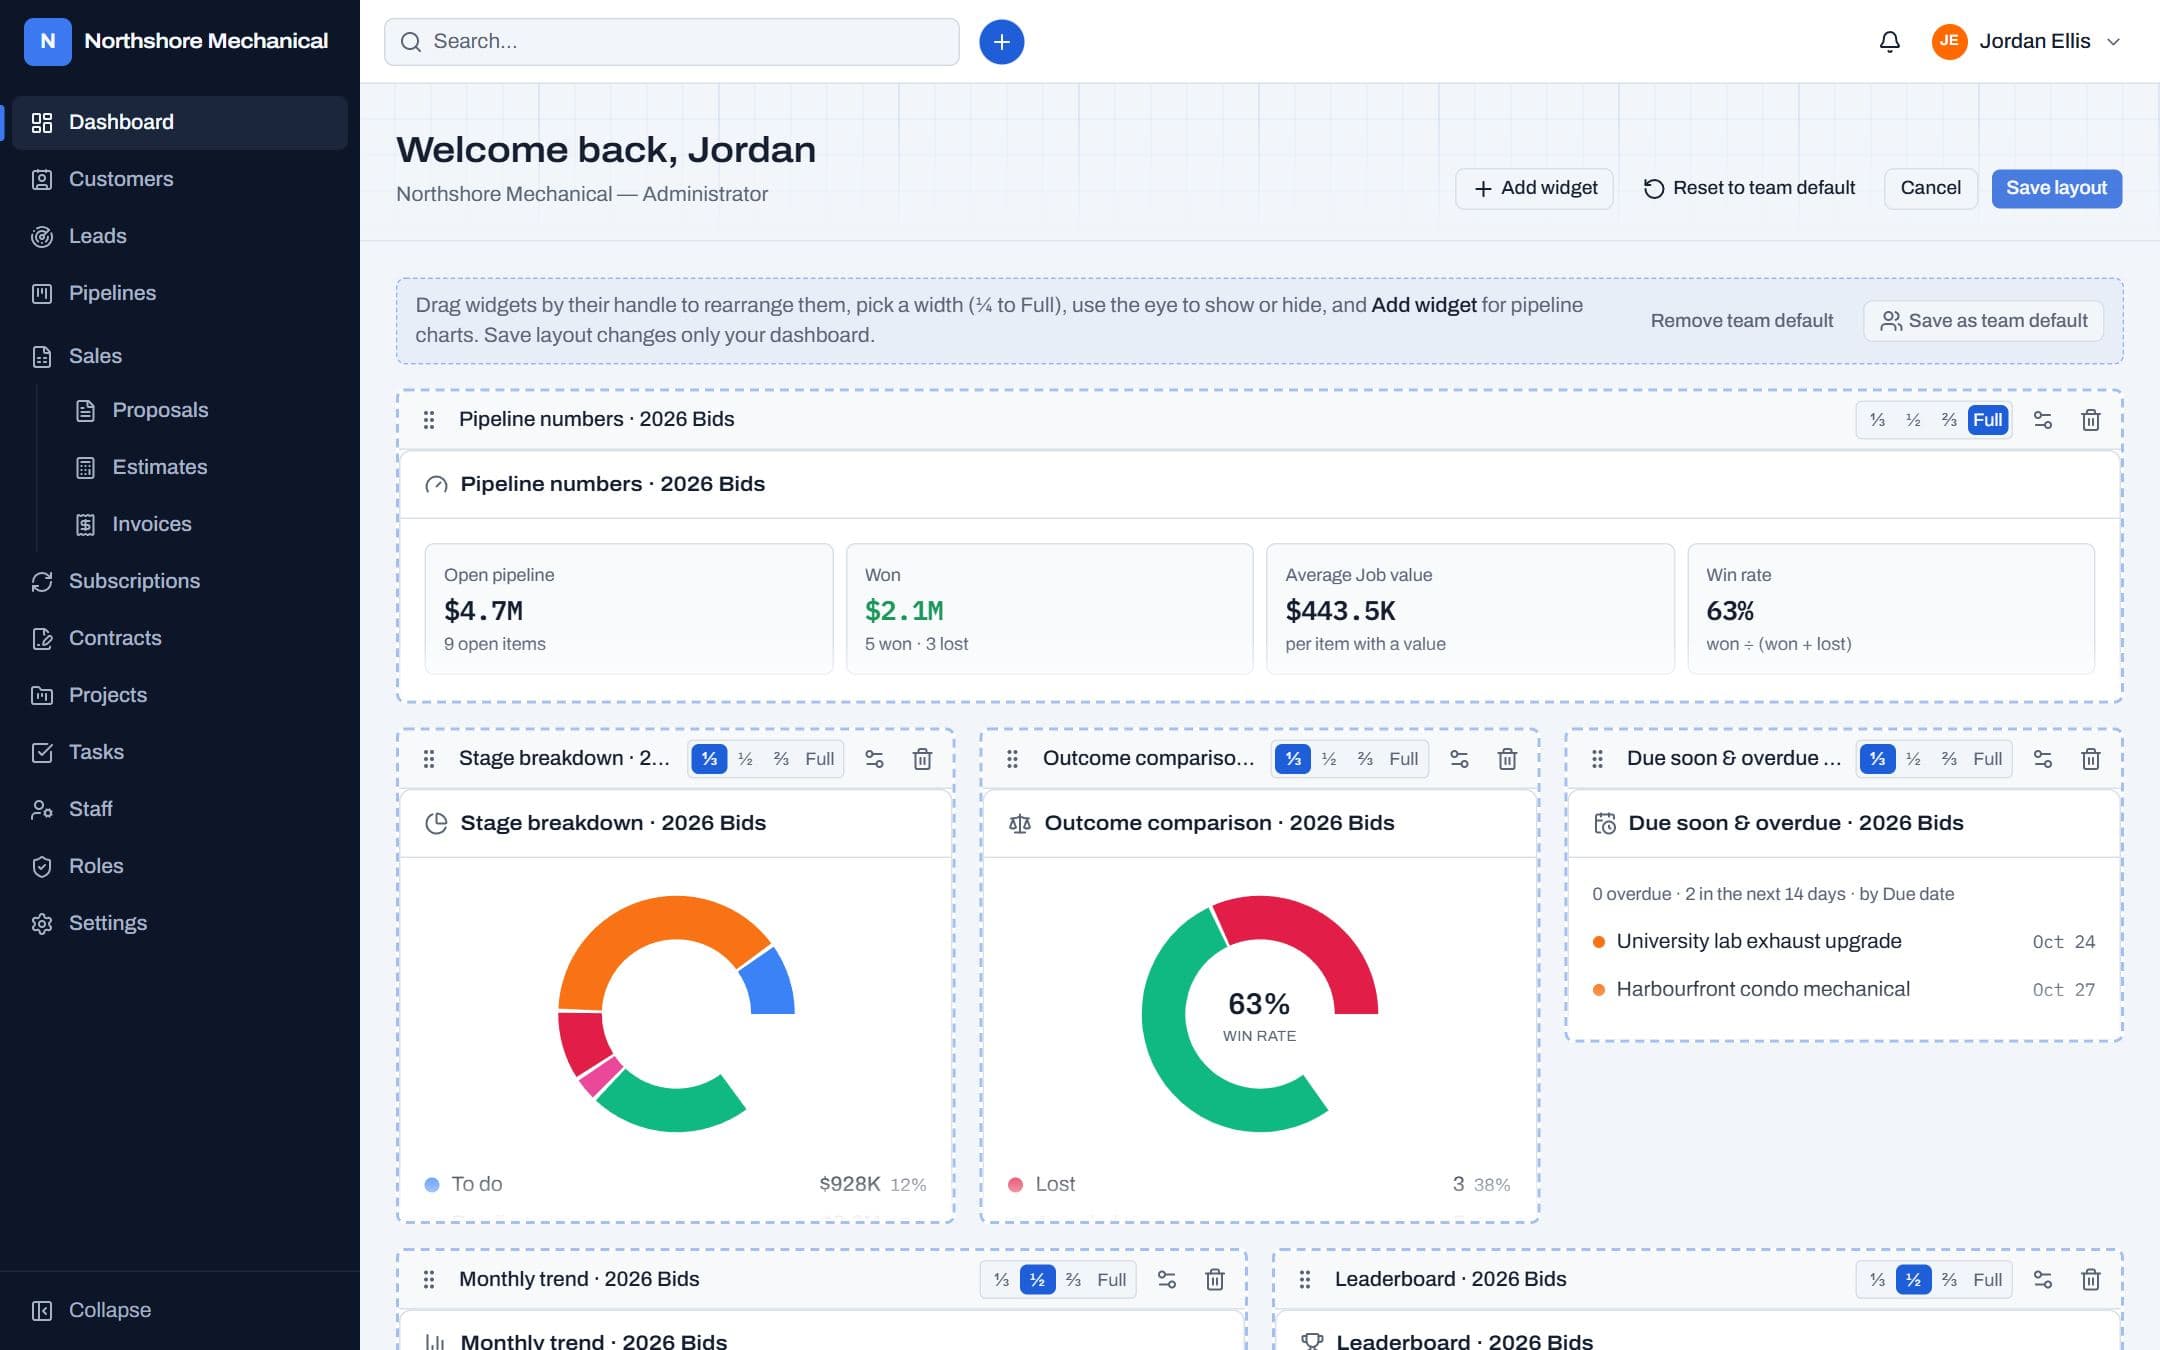
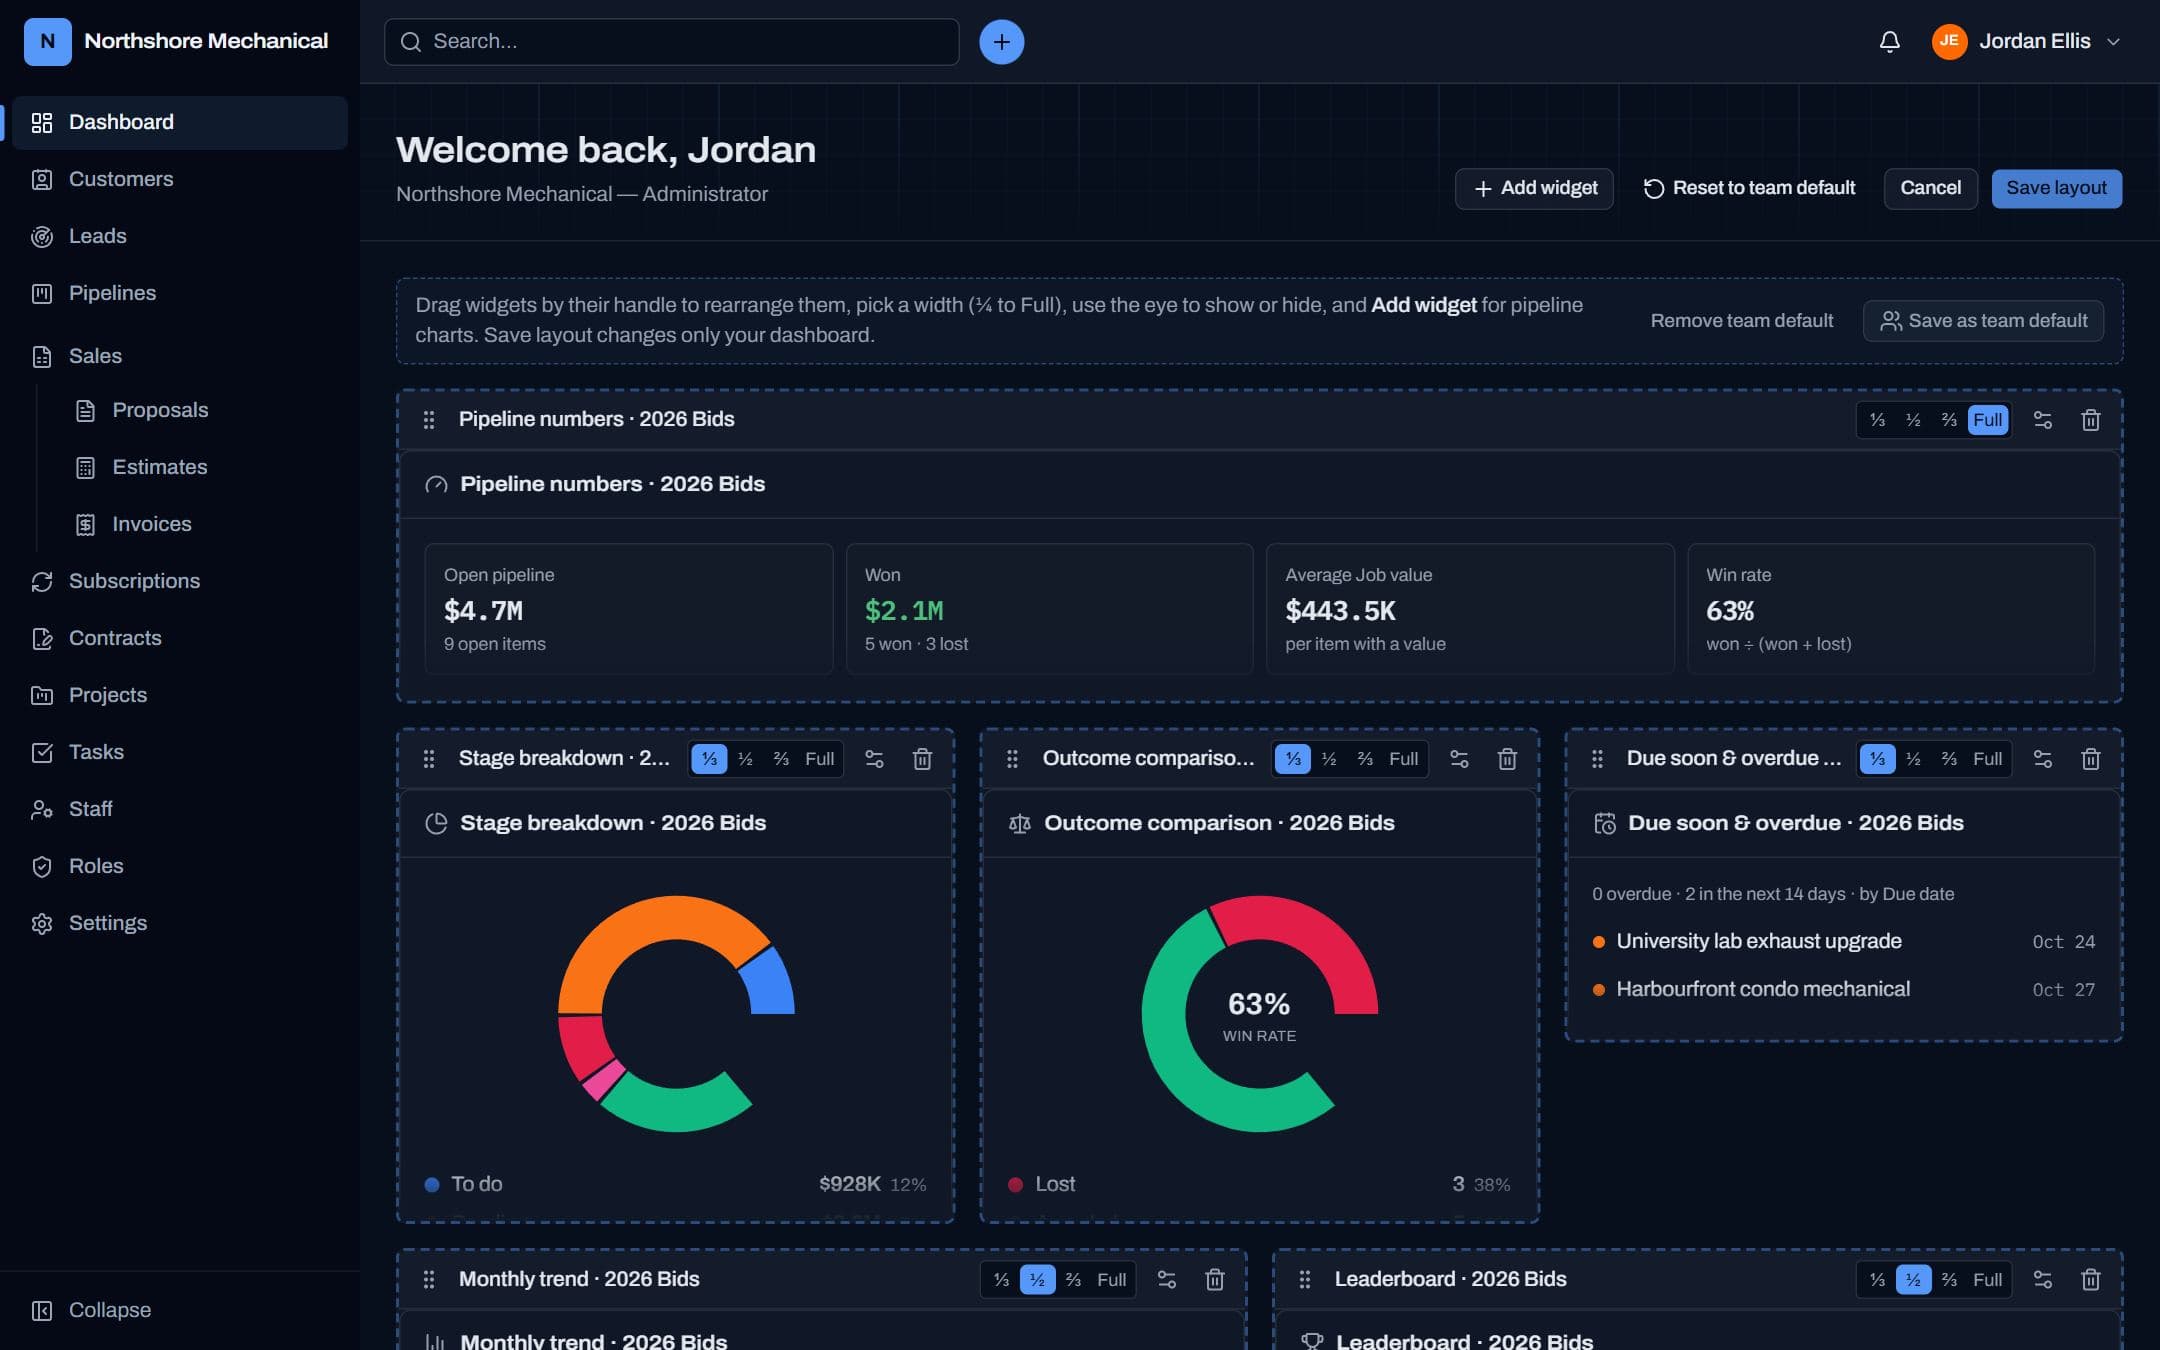
Your home page. Everyone can arrange their own dashboard; admins set the starting layout for the whole team.
How to
- Click Edit dashboard. Drag a widget by its handle to move it, pick a width (⅓, ½, ⅔ or Full), and use the eye to hide or show it.
- Add widget adds pipeline charts: choose the pipeline, then the chart's settings (count or $ value, which stages, donut or bars…).
- Save layout changes only your dashboard. Reset to team default throws your changes away.
- AdminsSave as team default makes the current layout everyone's starting dashboard. People who customised theirs keep it until they reset.
Pipeline widgets
| Widget | What it shows |
|---|---|
| Pipeline numbers | Open value, won value, average value and win rate. |
| Stage breakdown | # of items or $ value in each stage, as a donut or bars. |
| Outcome comparison | Two or more stages side by side (e.g. Awarded vs Lost) with the win rate. |
| Monthly trend | Won, won vs lost, new items, or items by a date field such as Due date, per month. |
| By assignee | Each person's open, won and lost work, ranked. |
| My pipeline | Your own open value, win rate and next items. |
| Breakdown by field | # or $ per option of a dropdown, such as Region or Type. |
| Due soon & overdue / Follow-ups due | Open items with a date coming up or already past. |
| Stuck items | Open items that haven't changed stage in a set number of days. |
| Funnel & conversion | How many items reached each stage, and how many went on to win. |
| Stage conversion | How many items got to each stage, and the % that made it from the stage before. |
| Time in stage | Average and median days spent in each stage, and time to win. |
| Leaderboard Admins add it | Everyone ranked by the value of their won items. |
How win rate is calculated
Win rate = won ÷ (won + lost), counting items. Each stage has an outcome — Open, Won, Lost or Closed — set in pipeline setup. Items in Closed stages (cancelled, no bid) don't count either way, and nothing shows until at least one item is won or lost.
How the money figures are calculated
Dollar amounts add up the pipeline's value field (e.g. Job value). Open = items in Open stages; Won = items in Won stages; Average = total ÷ items that have a value (blank values are skipped, not counted as $0).
On the Leaderboard, an item shared by several people is split evenly between them so the board adds up to the real total. In By assignee, a shared item counts in full for each person.
Each person's widgets only count the pipeline items they're allowed to see — except the Leaderboard and other admin-added team widgets, which count the whole team but only show per-person totals.
Customers
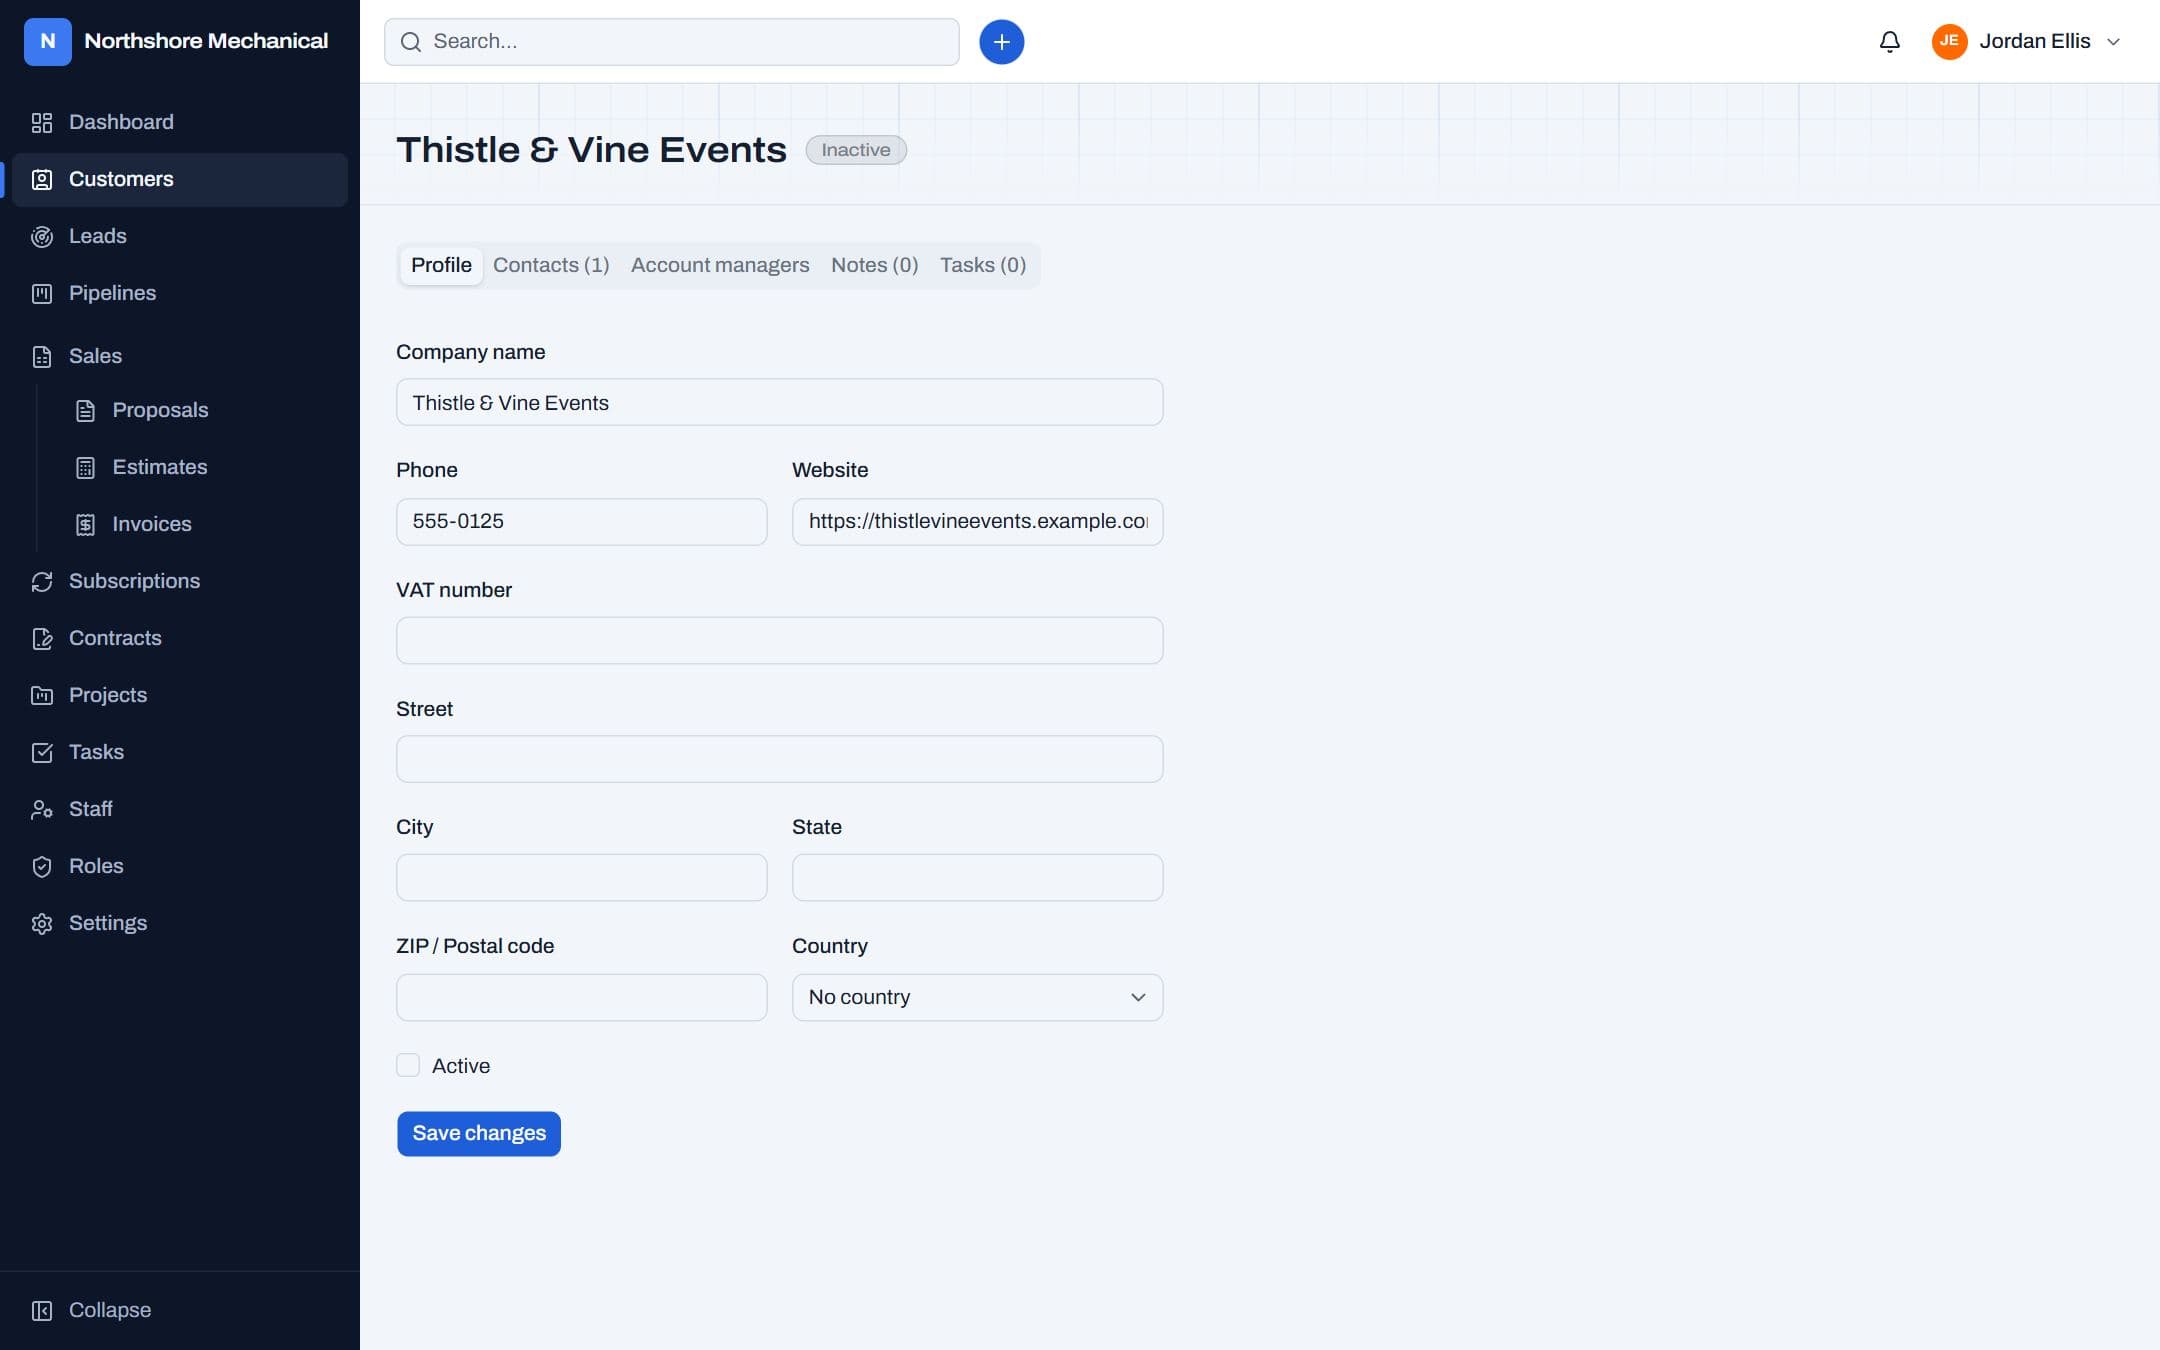
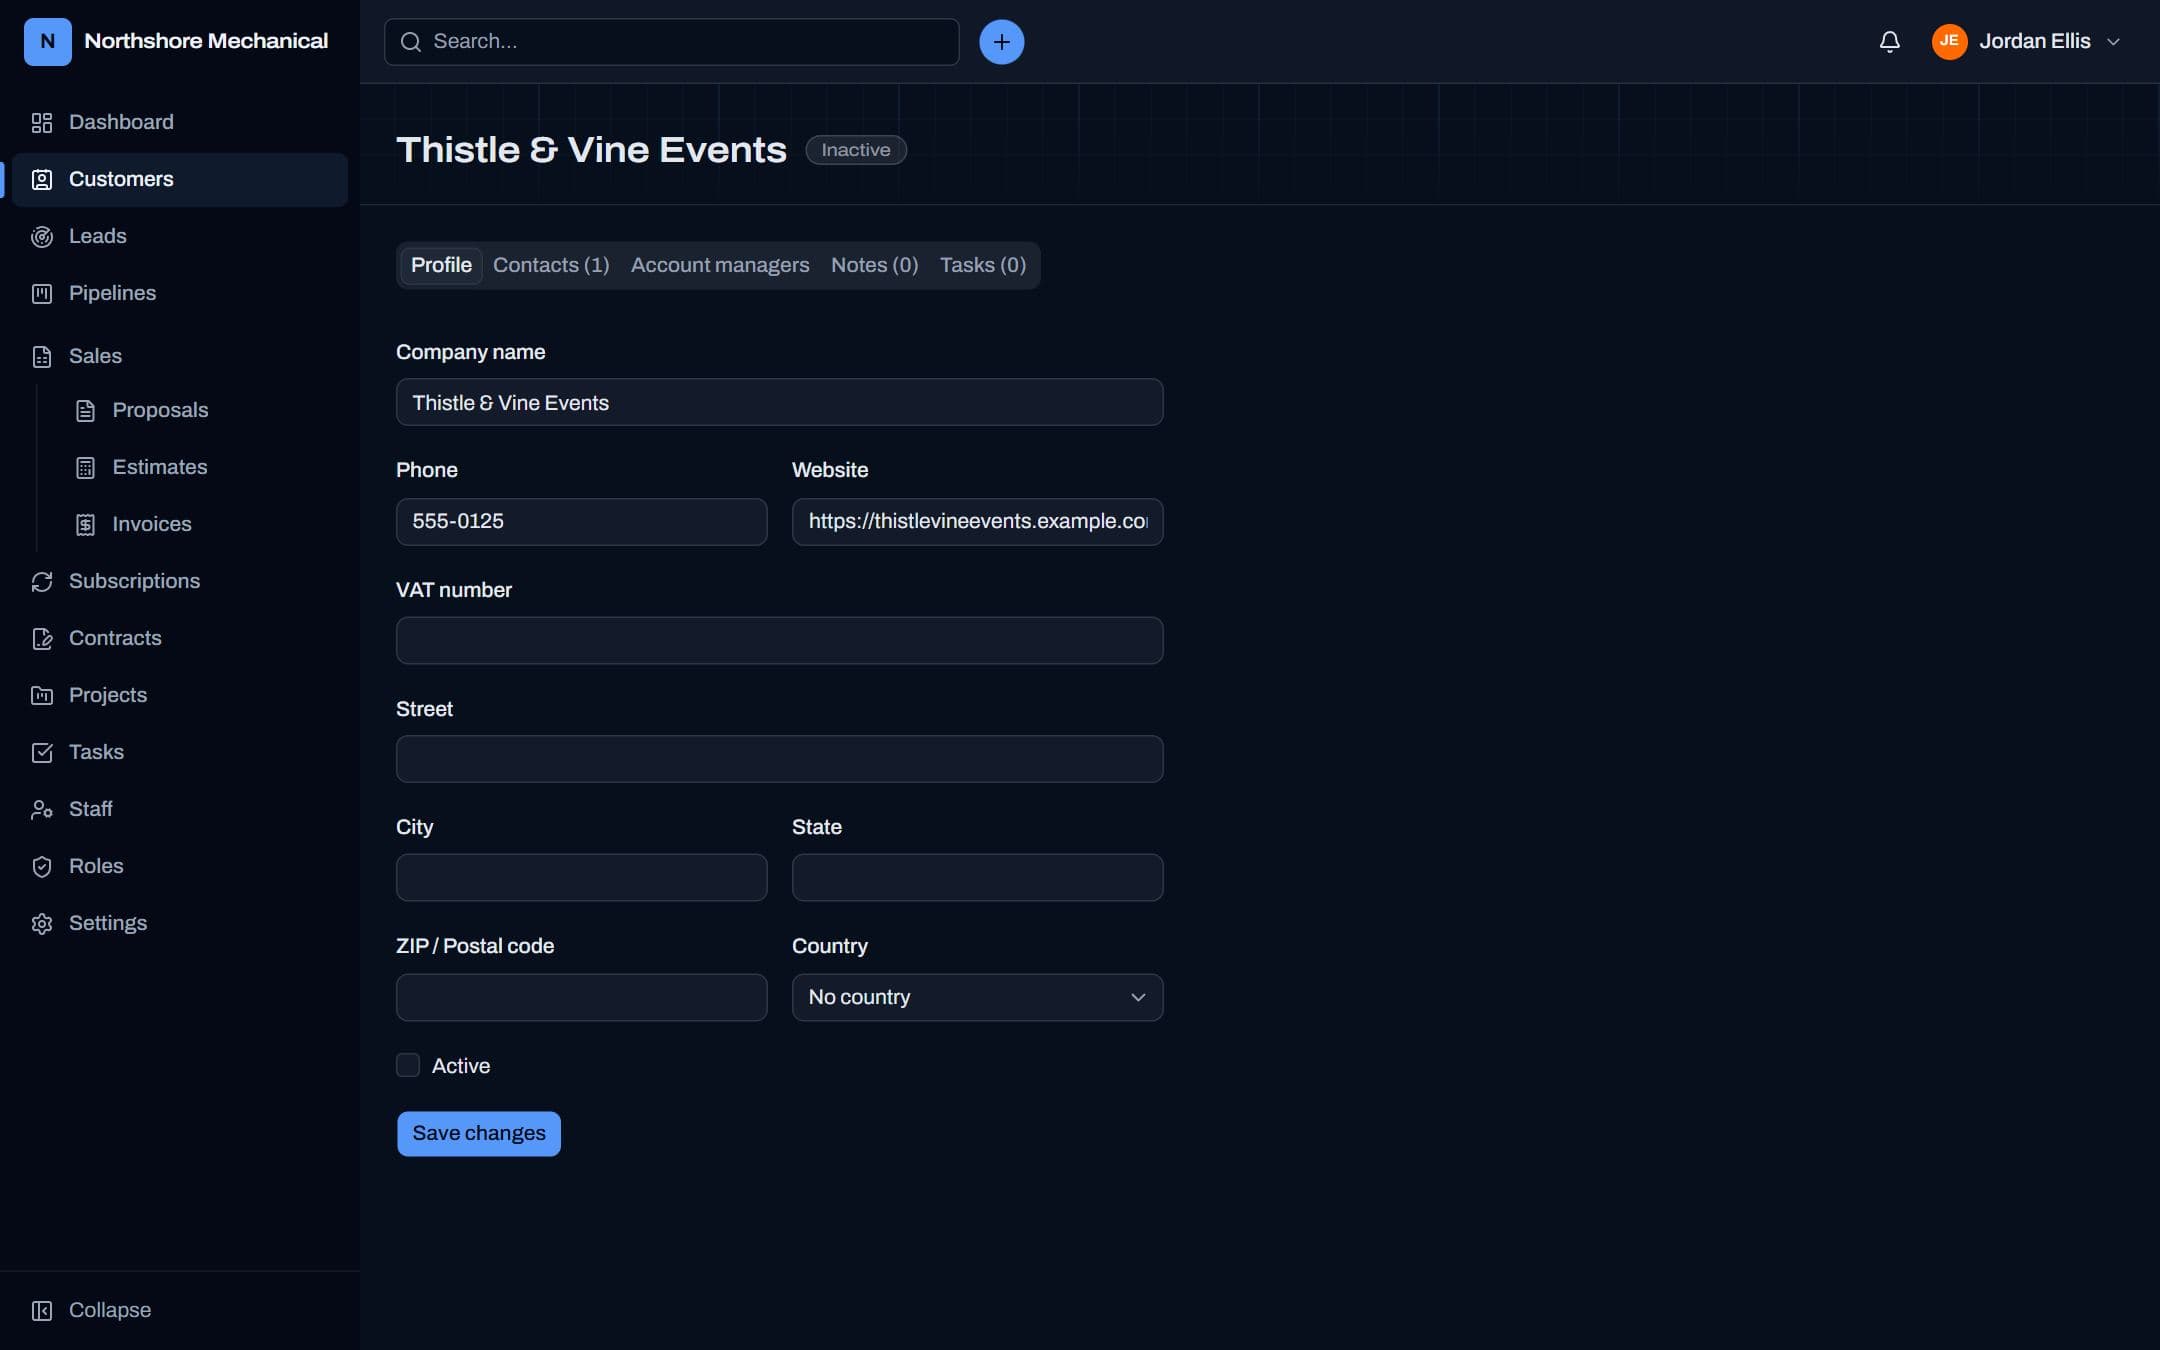
The companies you work for, with their contacts, notes, tasks and full history in one place.
How to
- Customers → Add customer (or quick add). Only the company name is required. You'll be warned if a customer with the same or a similar name already exists.
- Customers → Import adds many at once from Excel or CSV; download the template for the layout. Before anything is saved, you choose whether to skip, update or still create any row that looks like a duplicate. Pipeline imports do the same check.
- On a customer, Add contact for each person you deal with; mark one as Primary.
- Add Account managers so the right people are responsible — and so staff with view_own can see the customer.
- Use Notes and Tasks on the page to keep everything about the customer together. The activity timeline records every change automatically.
- Group customers (e.g. by industry) under Customers → Customer groups.
Leads
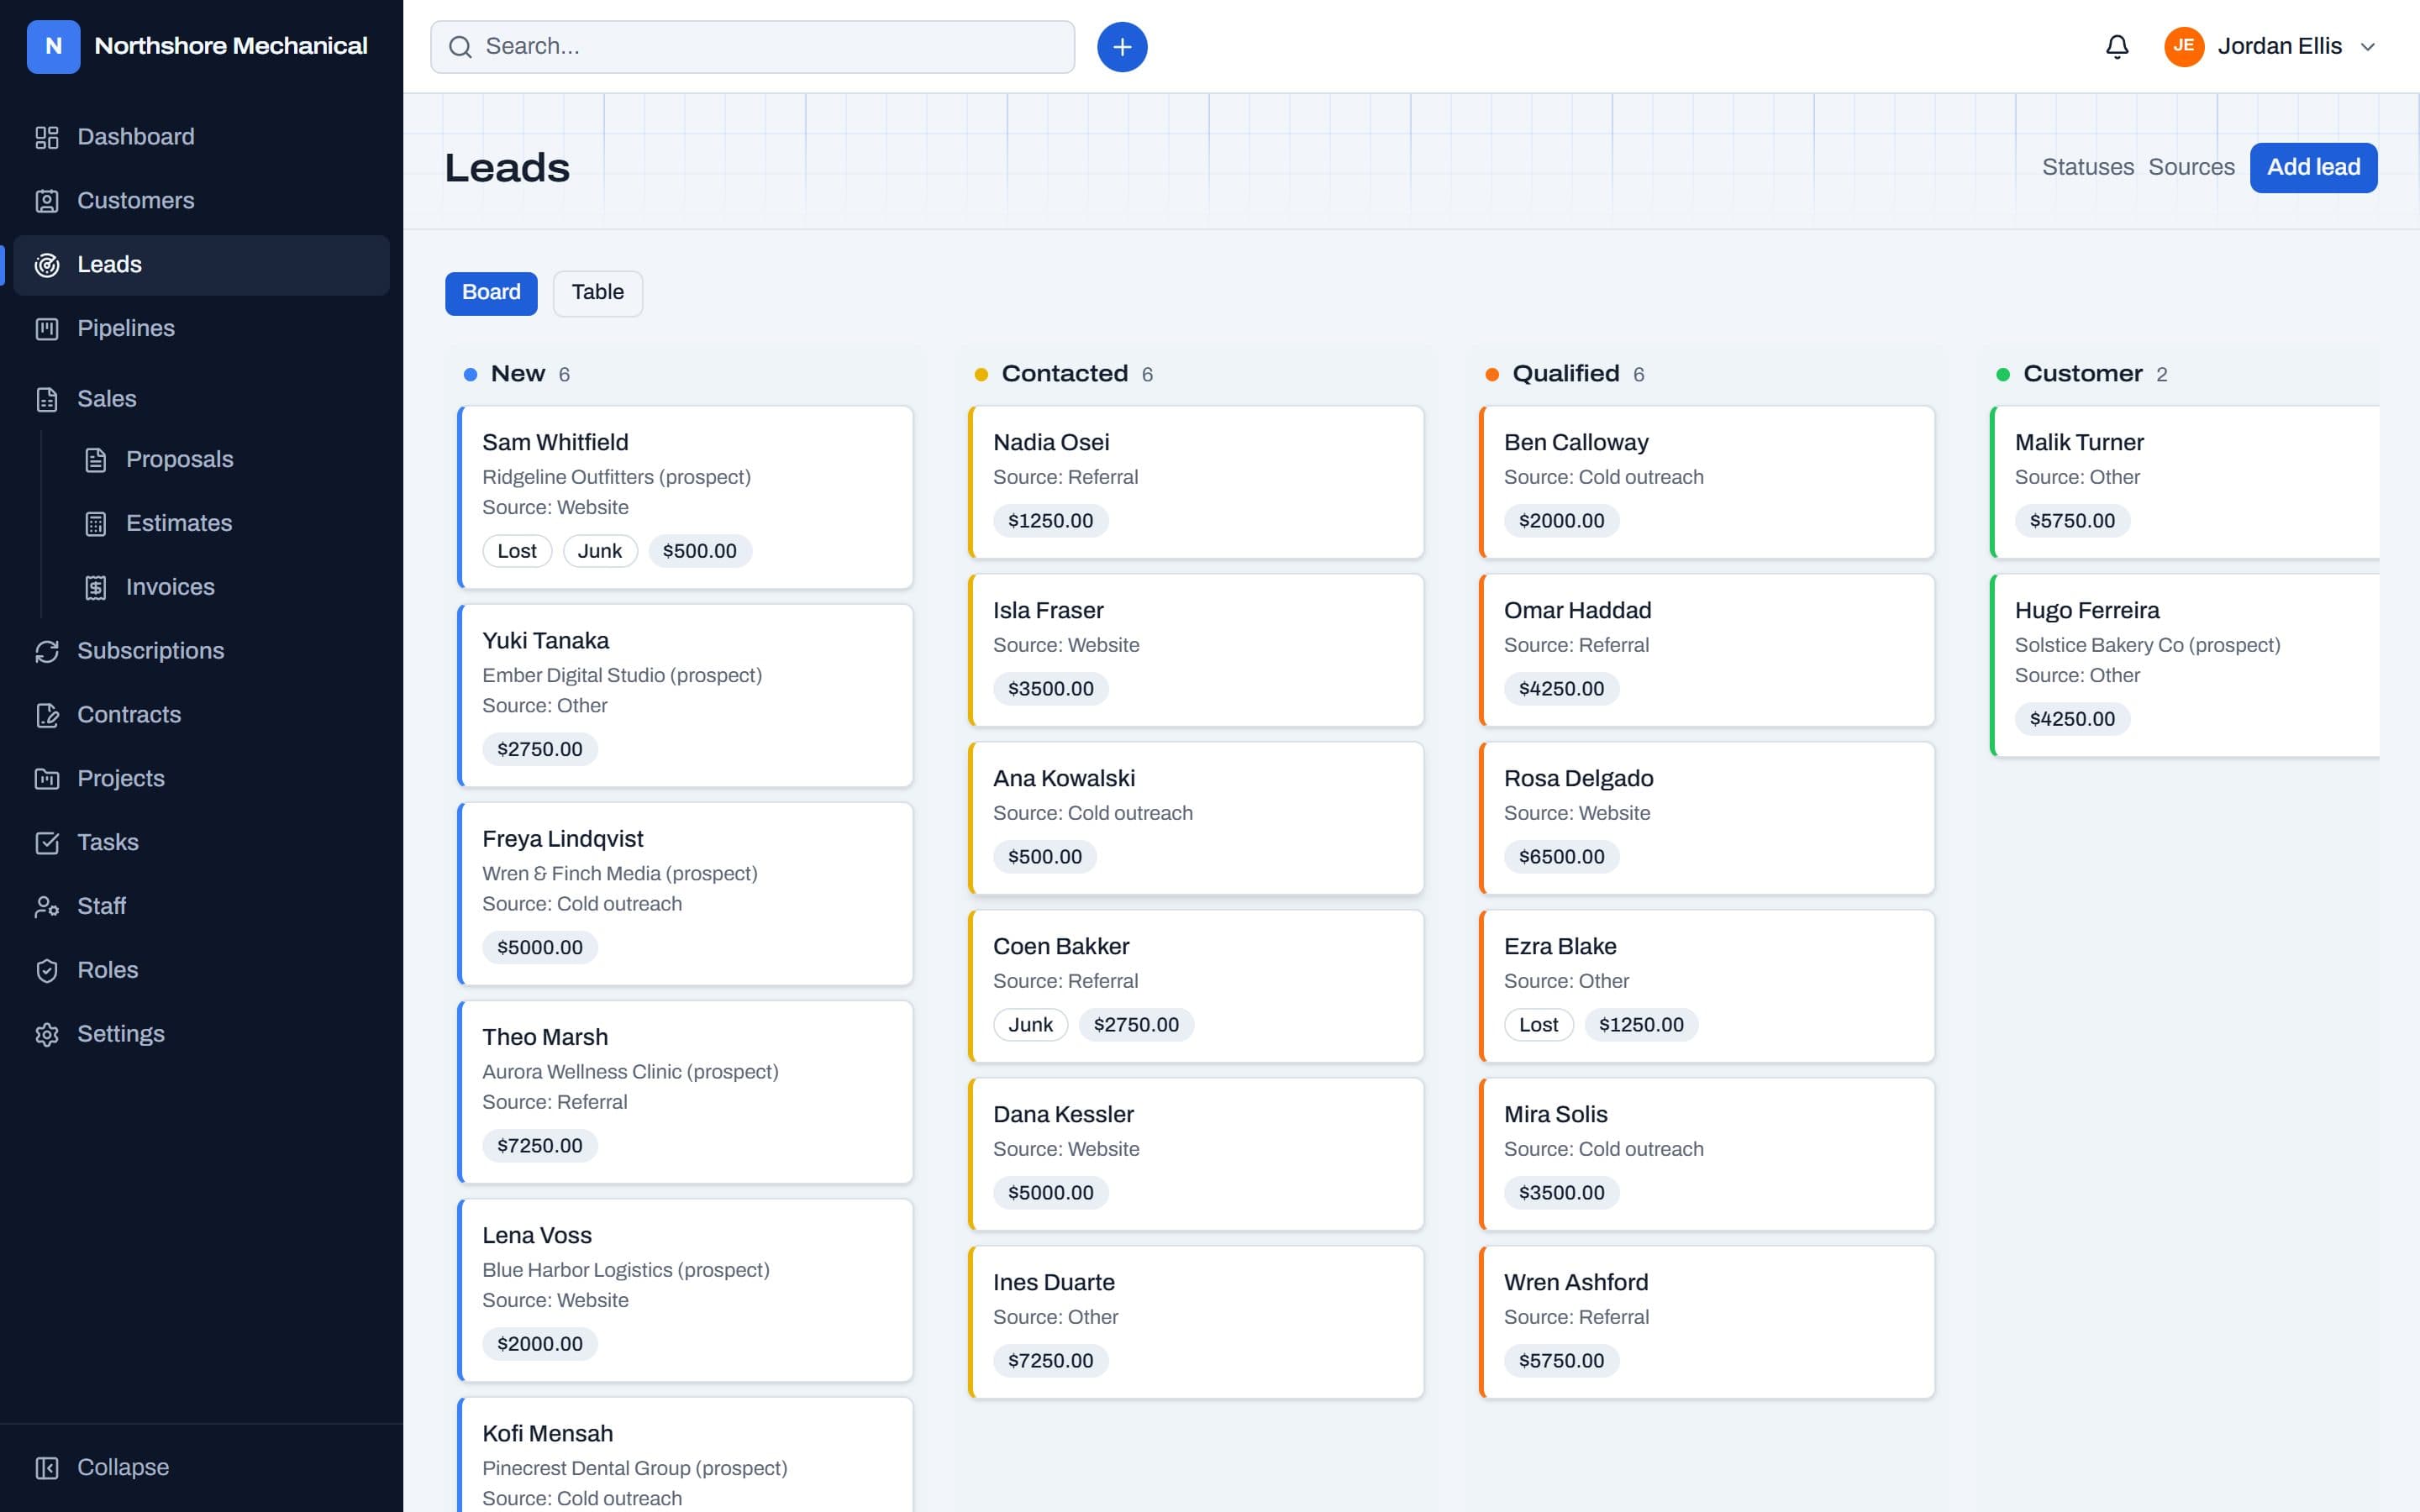
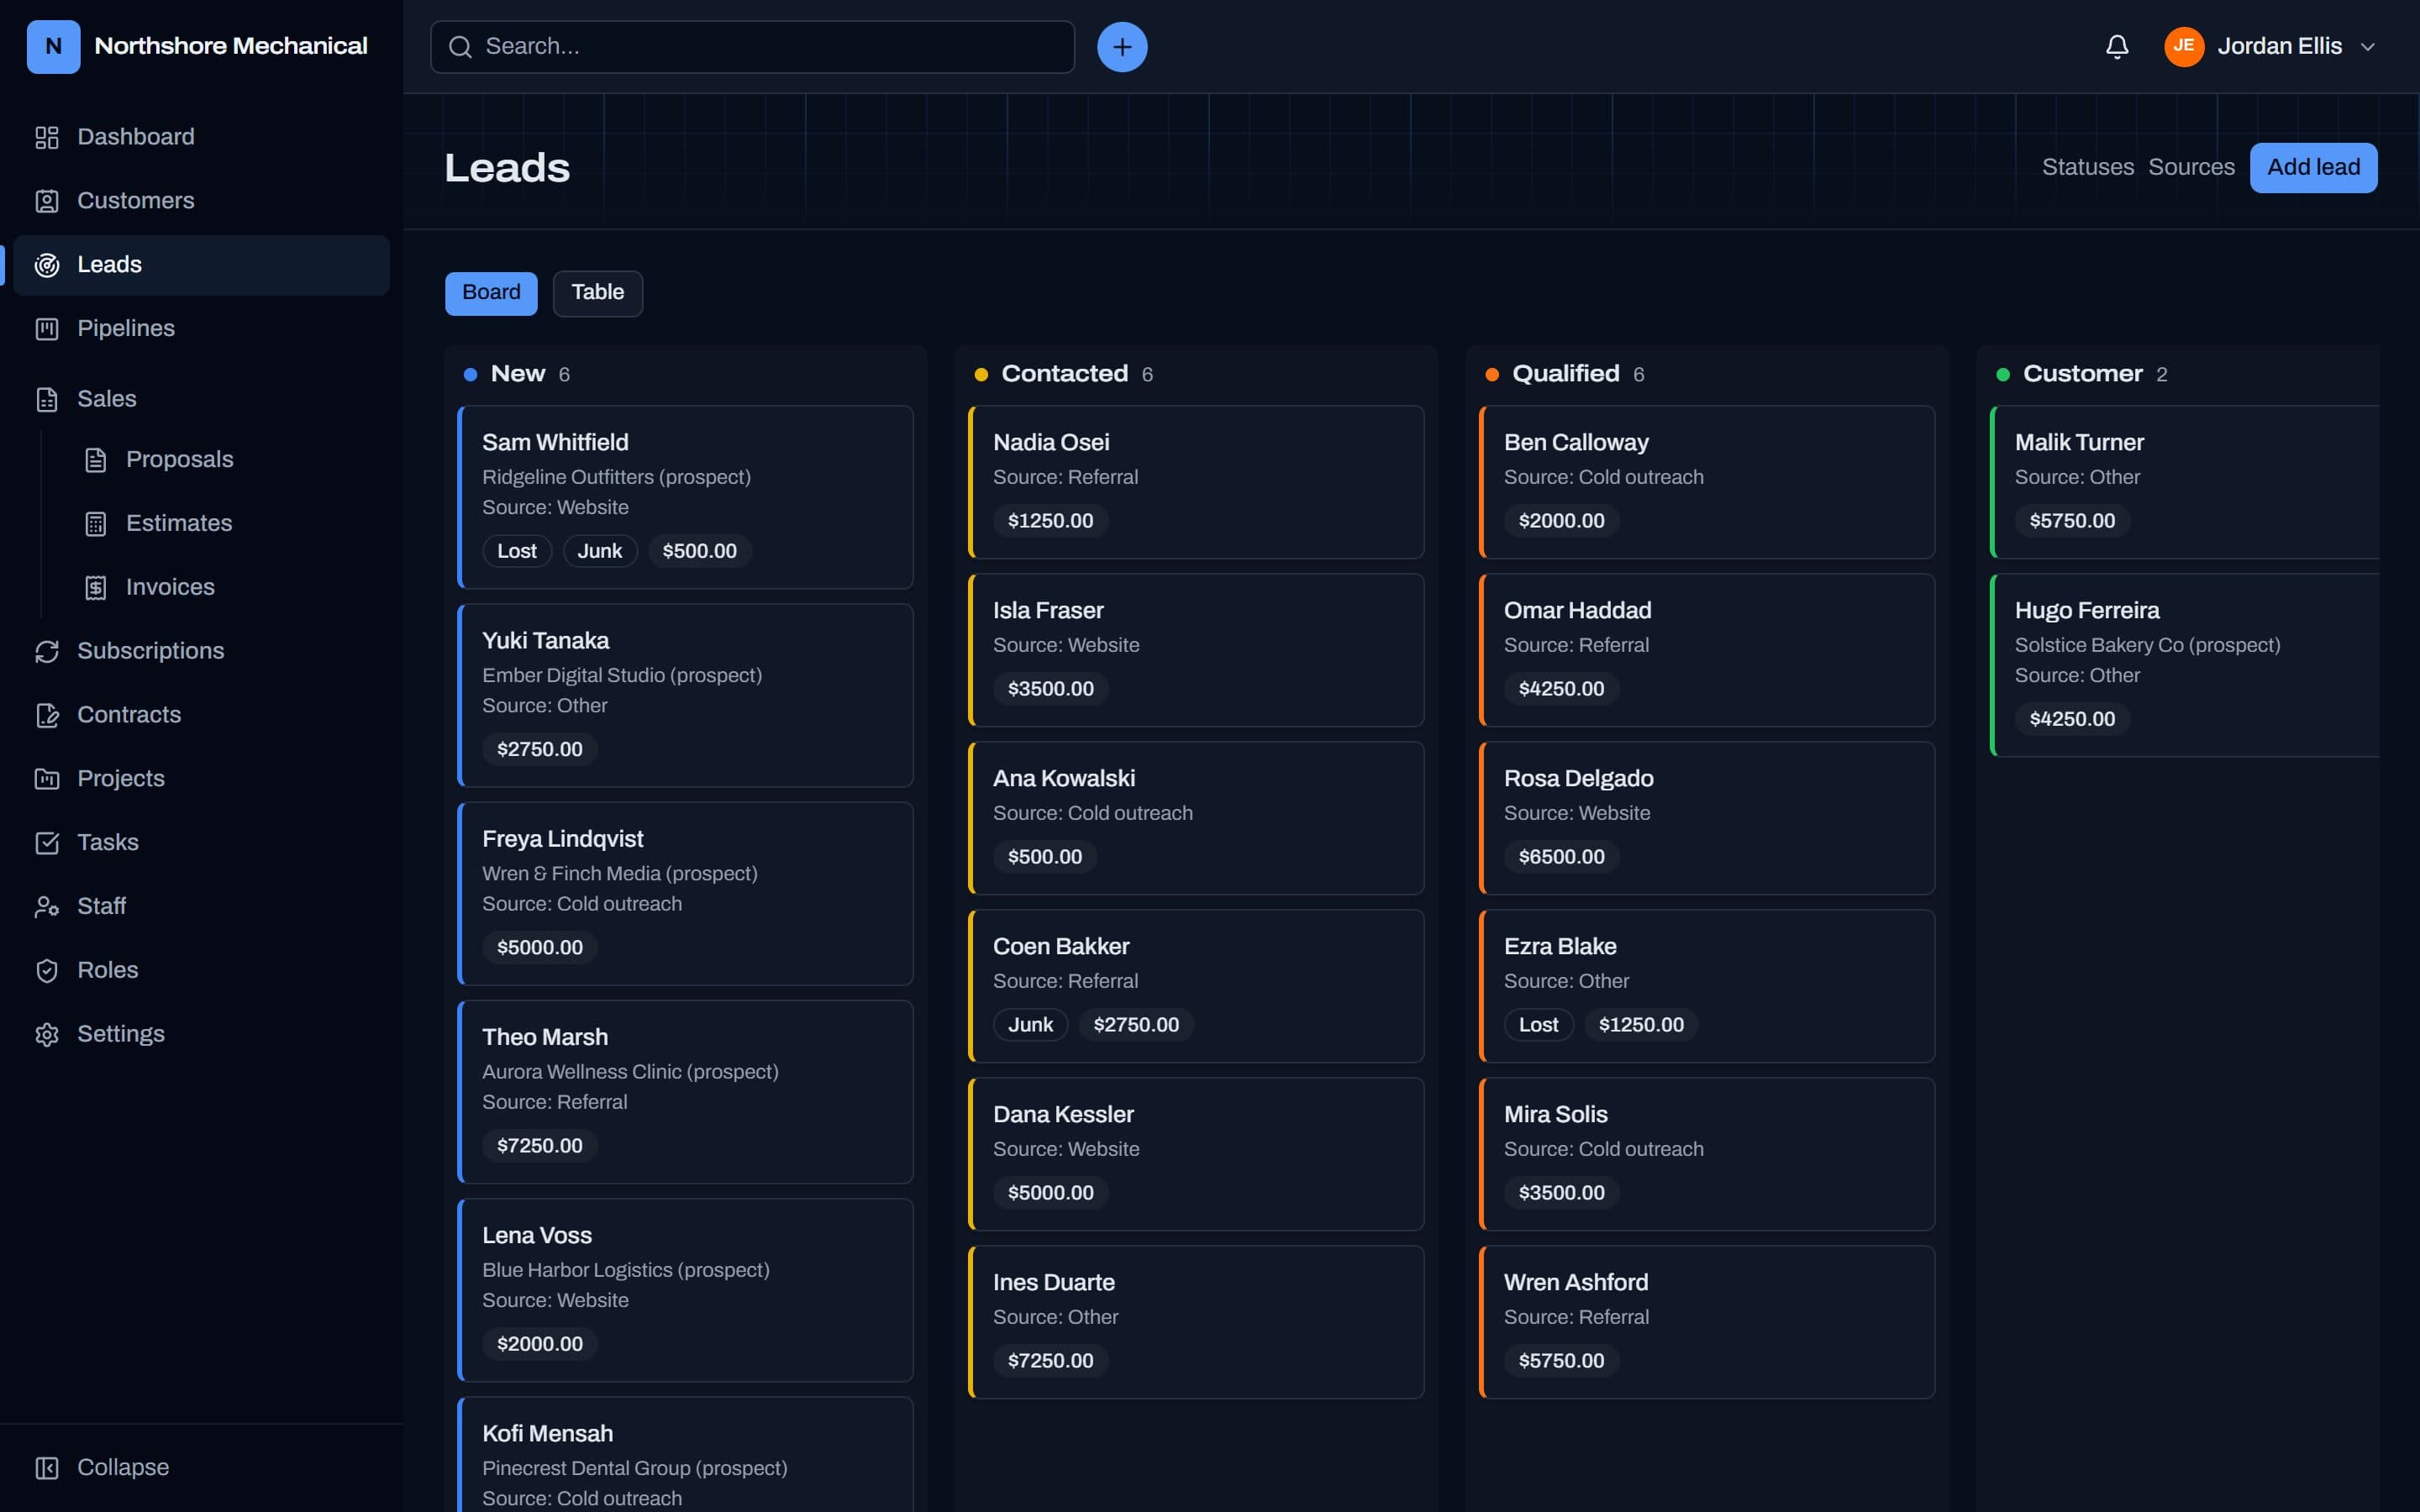
Prospects you haven't won yet. Move them through your statuses and convert them when they buy.
How to
- Leads → Add lead. Set a source, an assignee and an estimated value.
- Drag cards between columns on the Board, or switch to Table for a list.
- Tick Public to put a lead in the shared pool — anyone with lead access can see and pick it up.
- Not going anywhere? Mark lost or Mark junk; both can be restored later.
- Convert to customer creates the customer and contact from the lead, makes you account manager and moves the lead to your Won status.
- AdminsEdit the columns under Statuses and where leads come from under Sources.
How Converted leads is calculated
The dashboard's Converted leads = leads in the status marked Won status ÷ all leads.
Pipelines
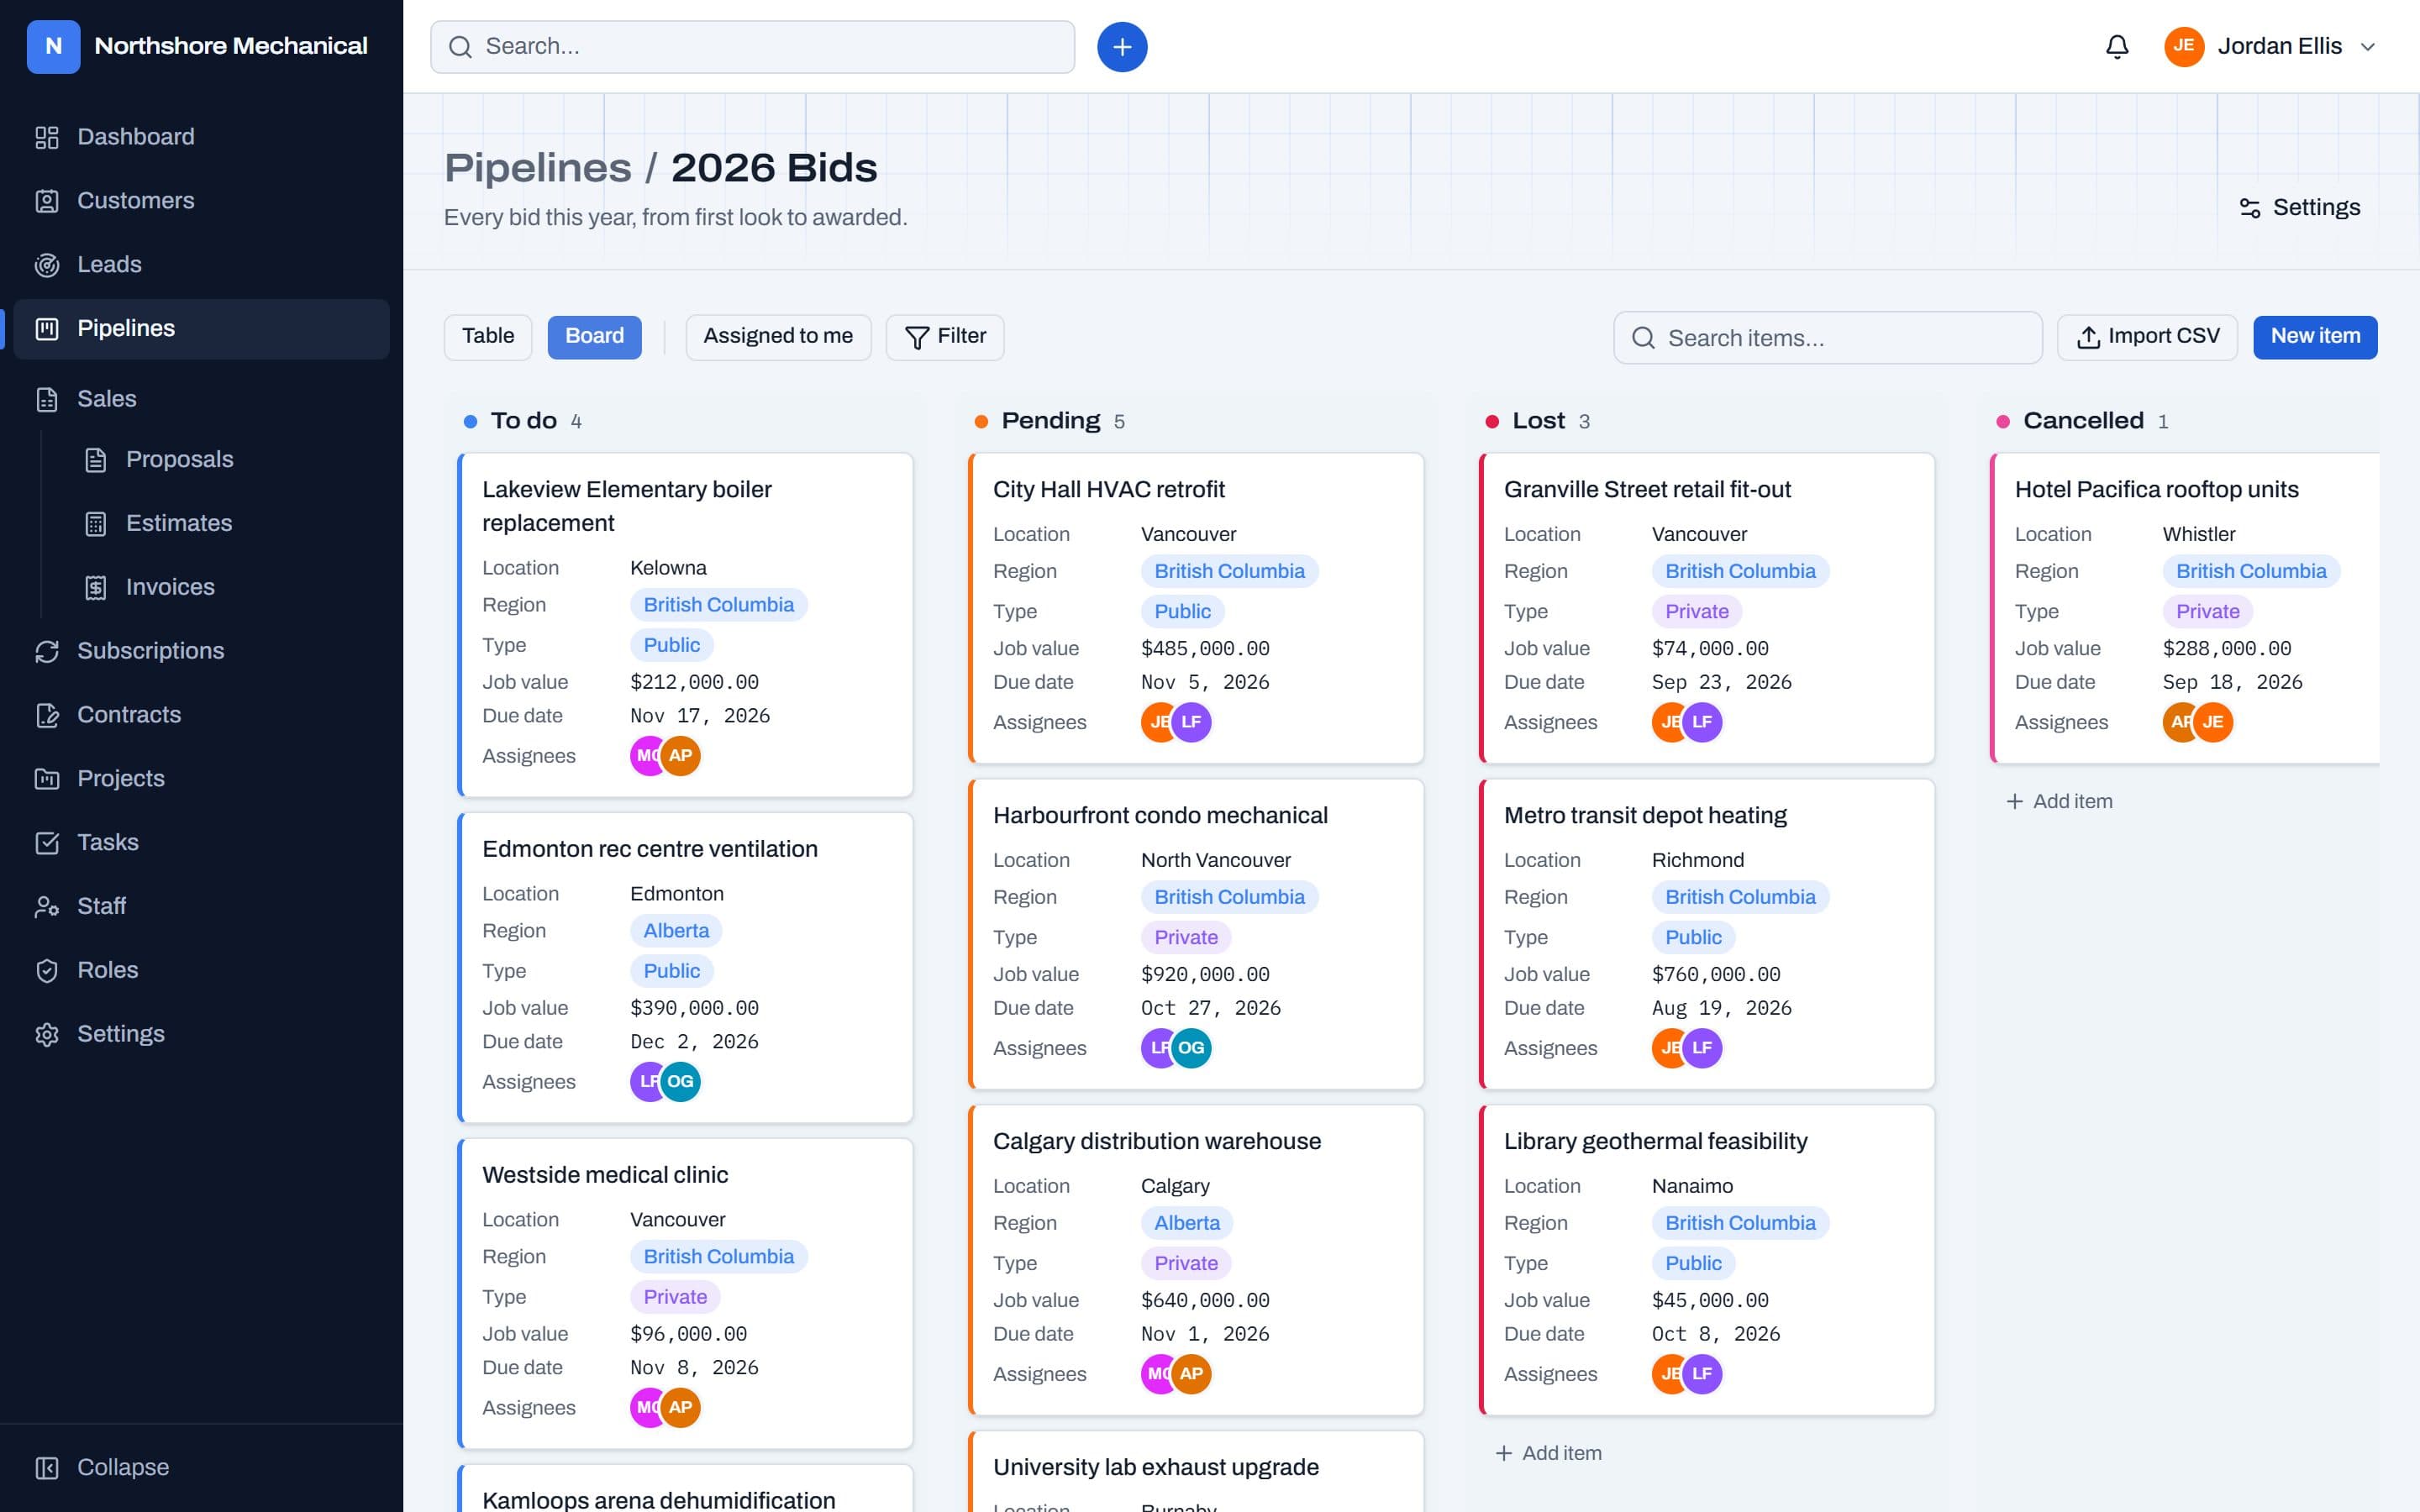
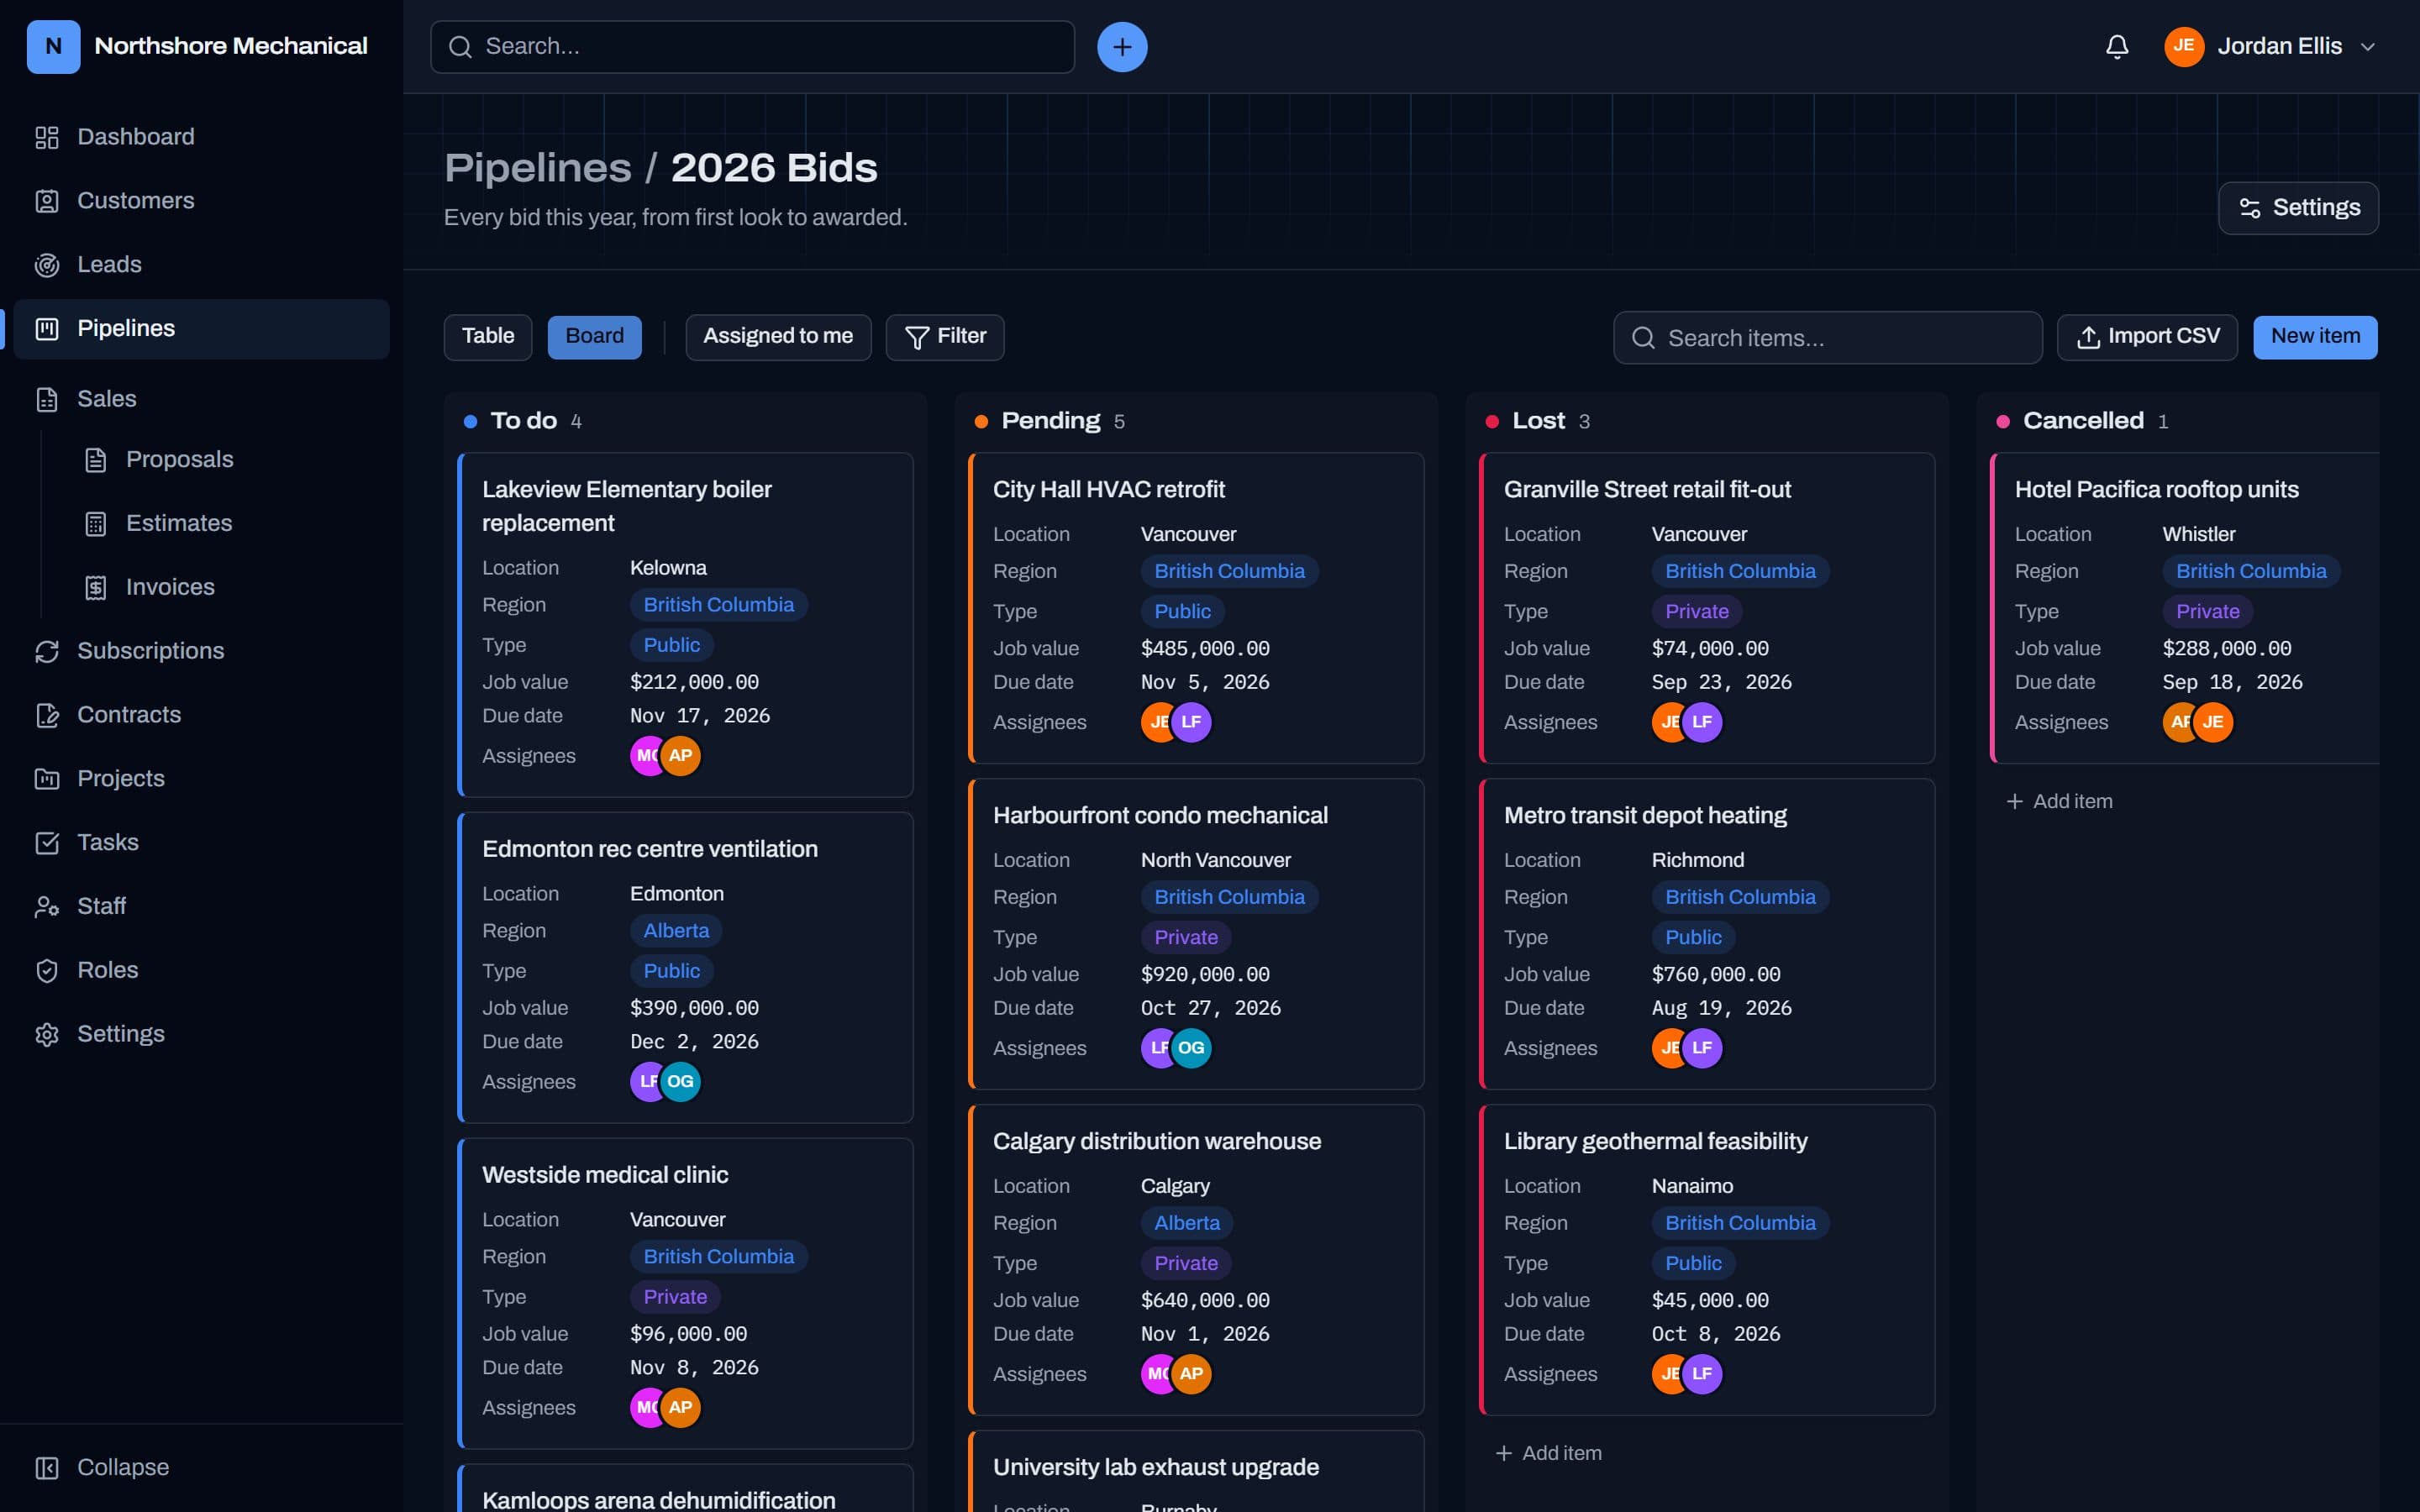
Boards for anything you track in stages — bids, jobs, hiring, renovations. Each pipeline has its own stages and fields.
How to
- Open a pipeline from Pipelines. Board shows a column per stage; Table shows a spreadsheet grouped by stage.
- Move an item by dragging its card, or change its Stage dropdown in the table.
- Edit values right in the table, or click an item's name to open the full item panel.
- New item (or Add item under a stage) creates one. Assigned to me and Filter narrow what you see.
- Import adds many items at once from an Excel or CSV file. Download Excel template in the import window gives you a sheet with this pipeline's columns, stage and dropdown lists, and instructions — fill it in and upload it as is.
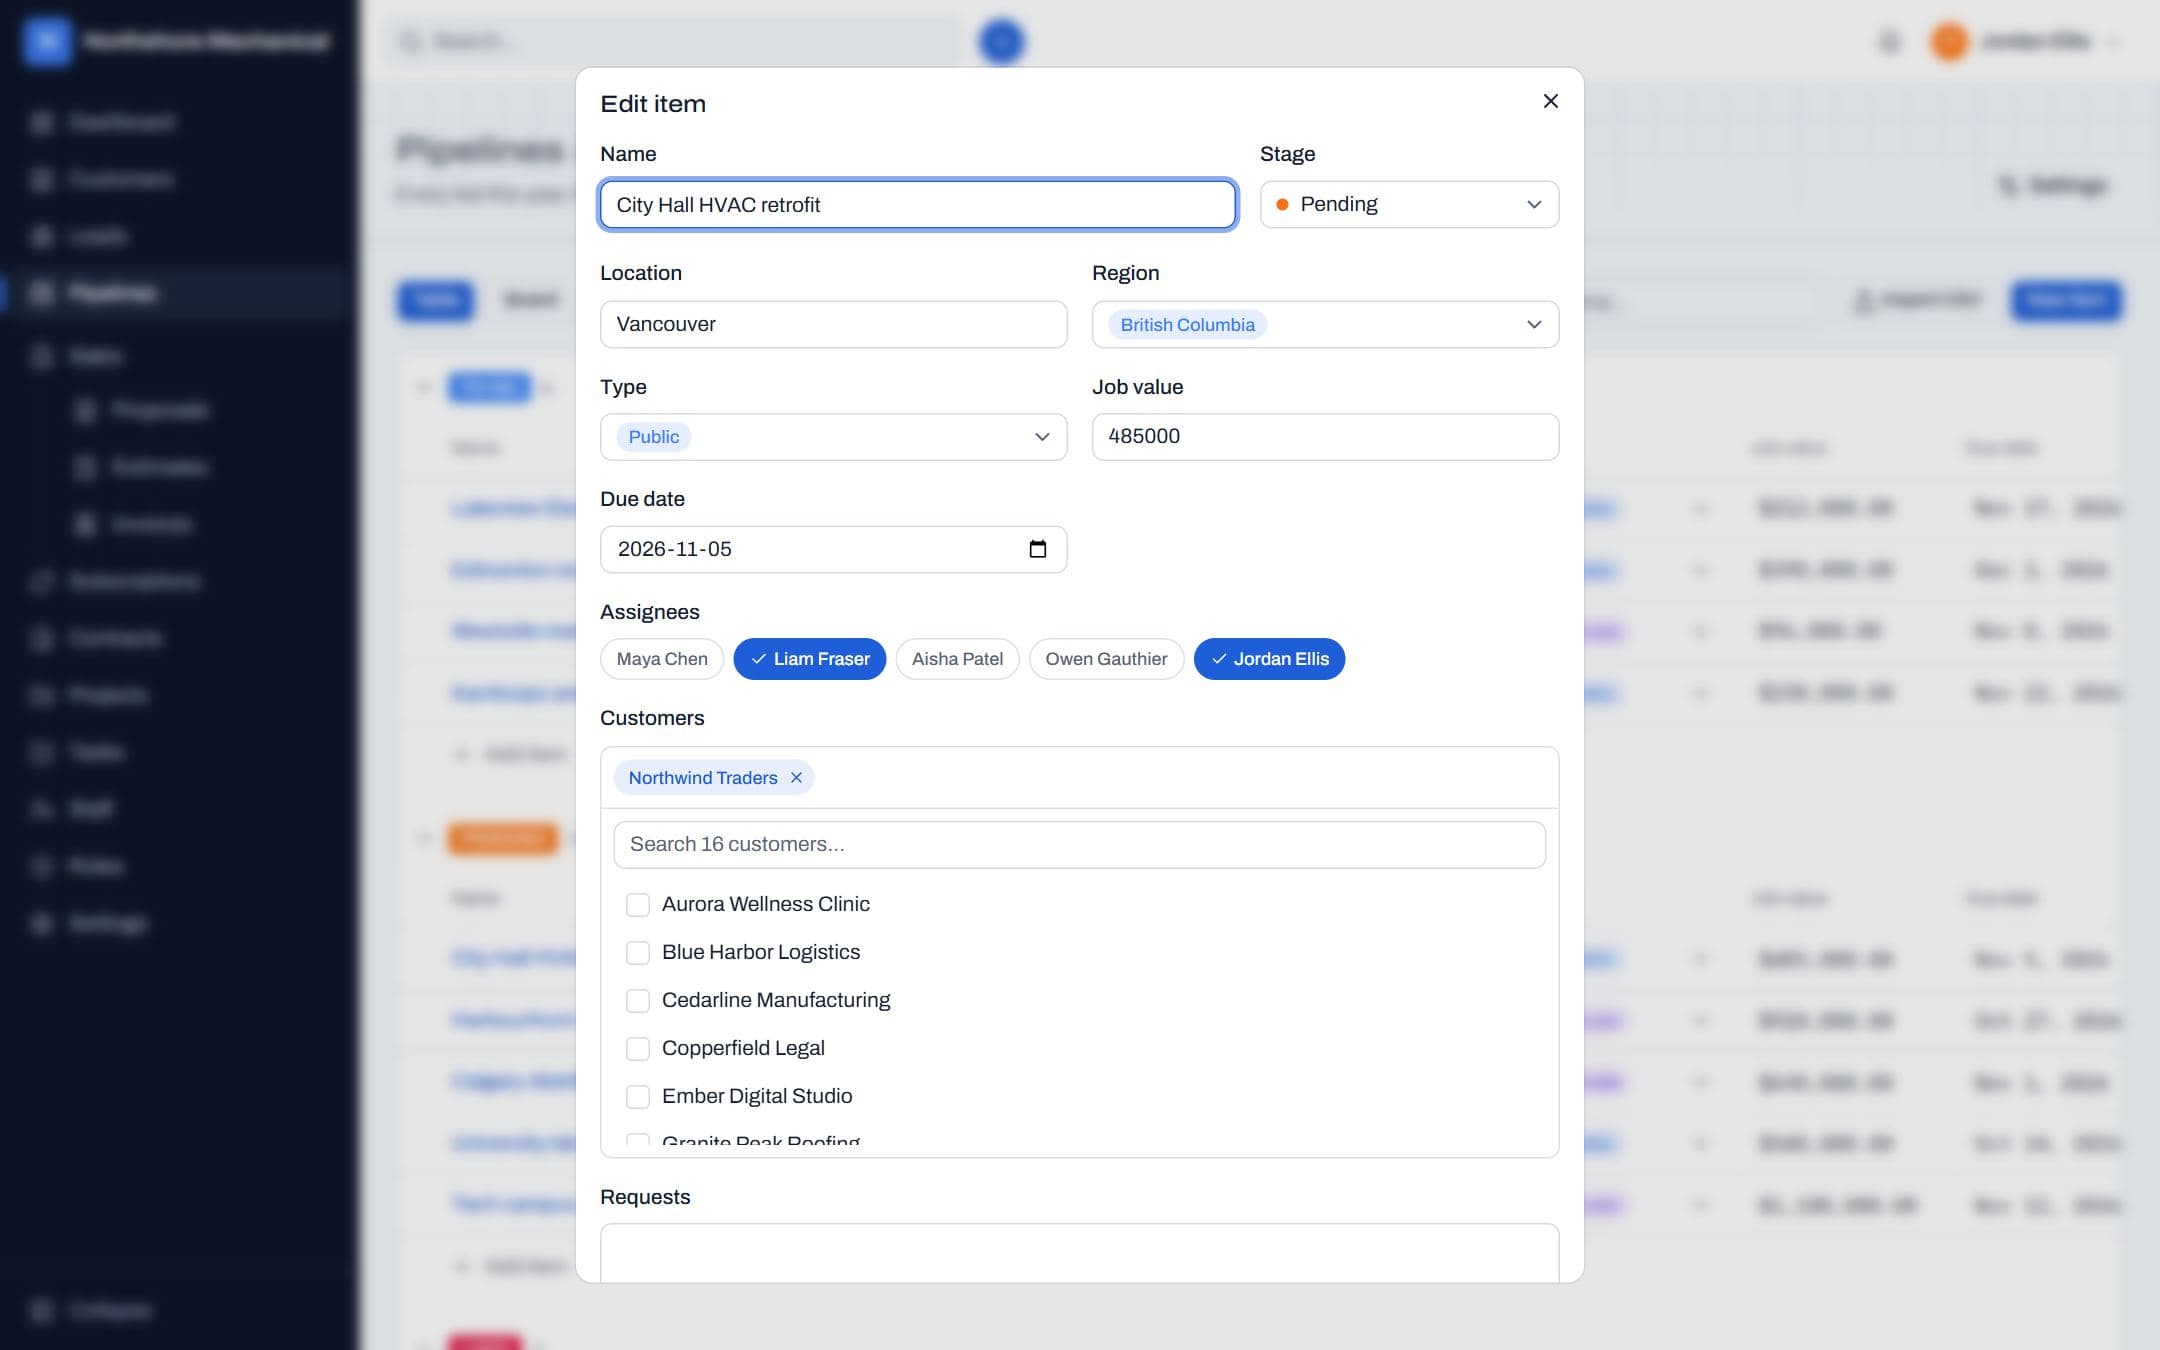
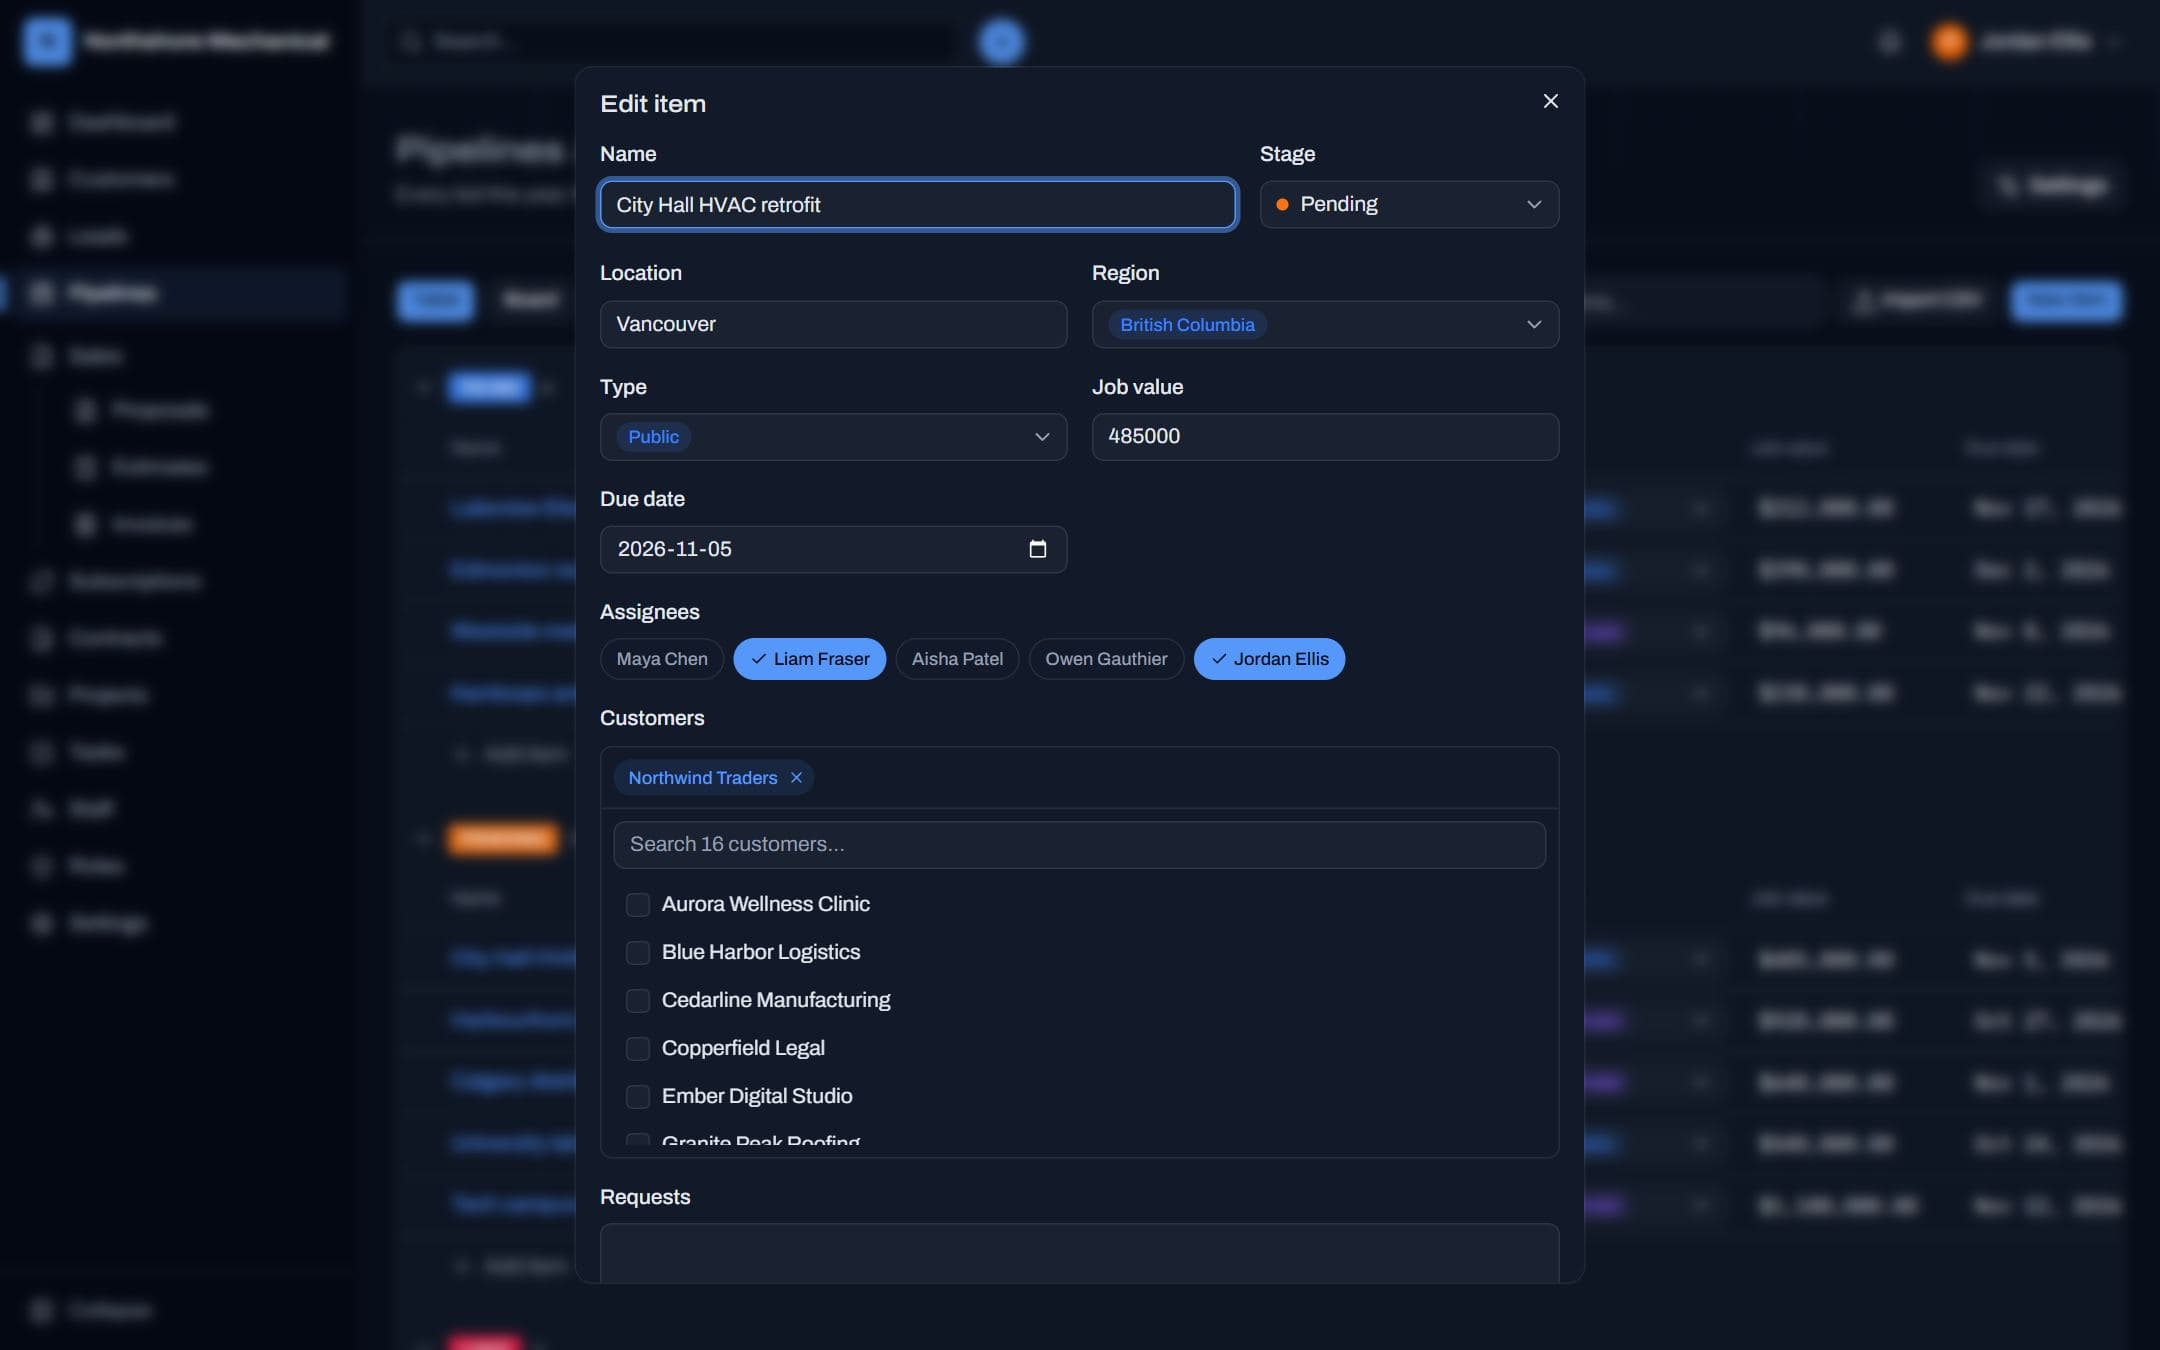
The item panel holds every field, the people and customers on the item, its reminders and its activity history — including each stage it has been through.
Pipeline setup
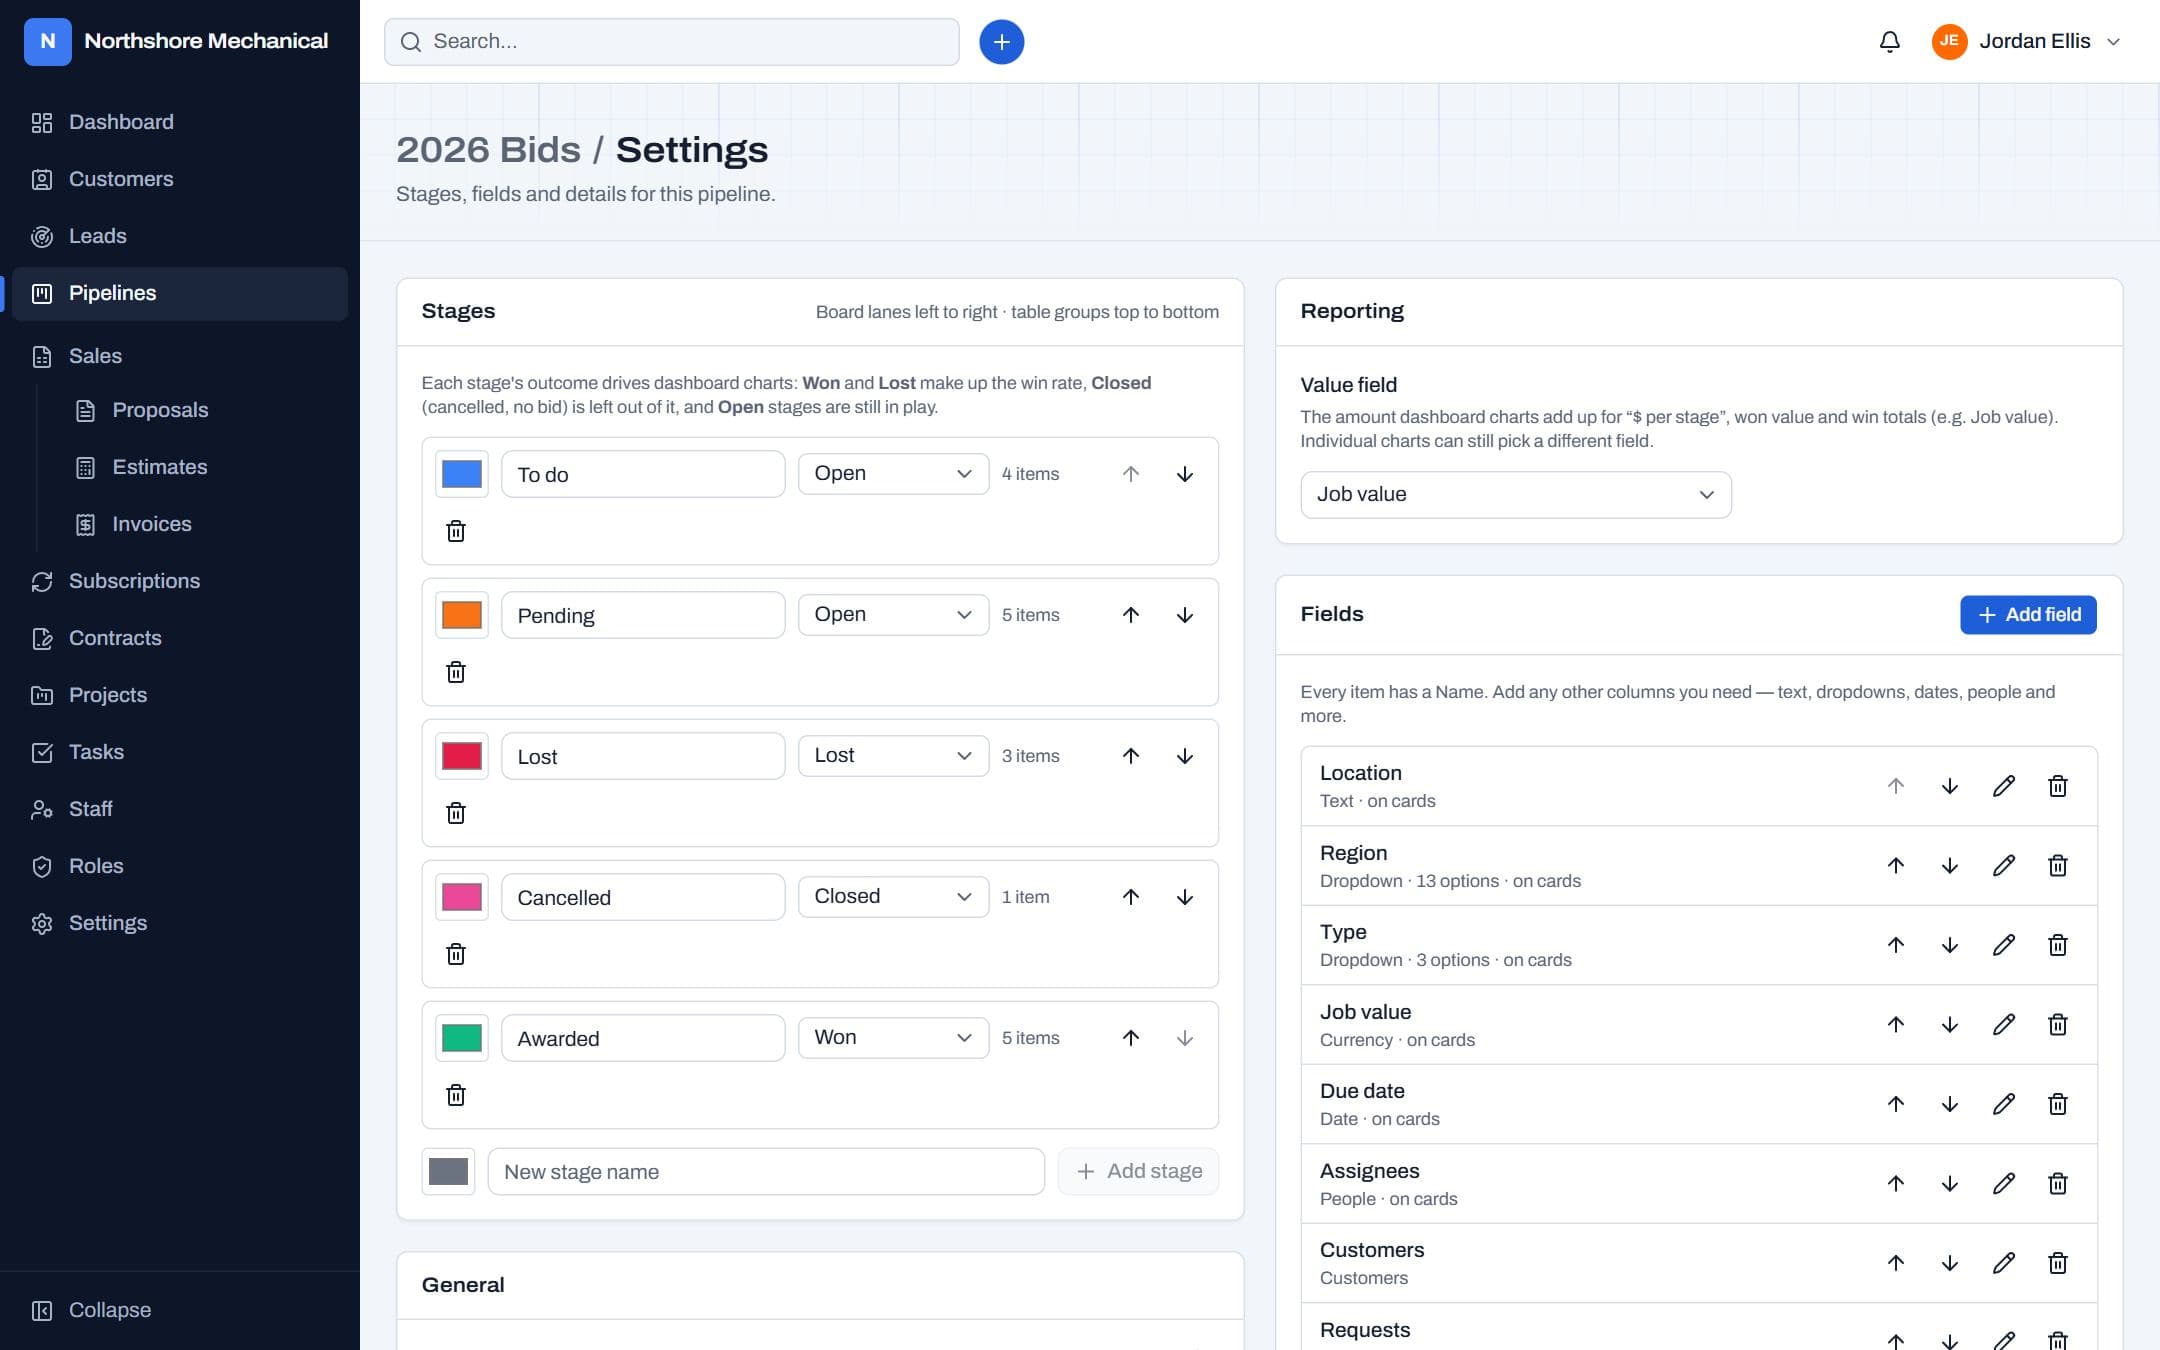
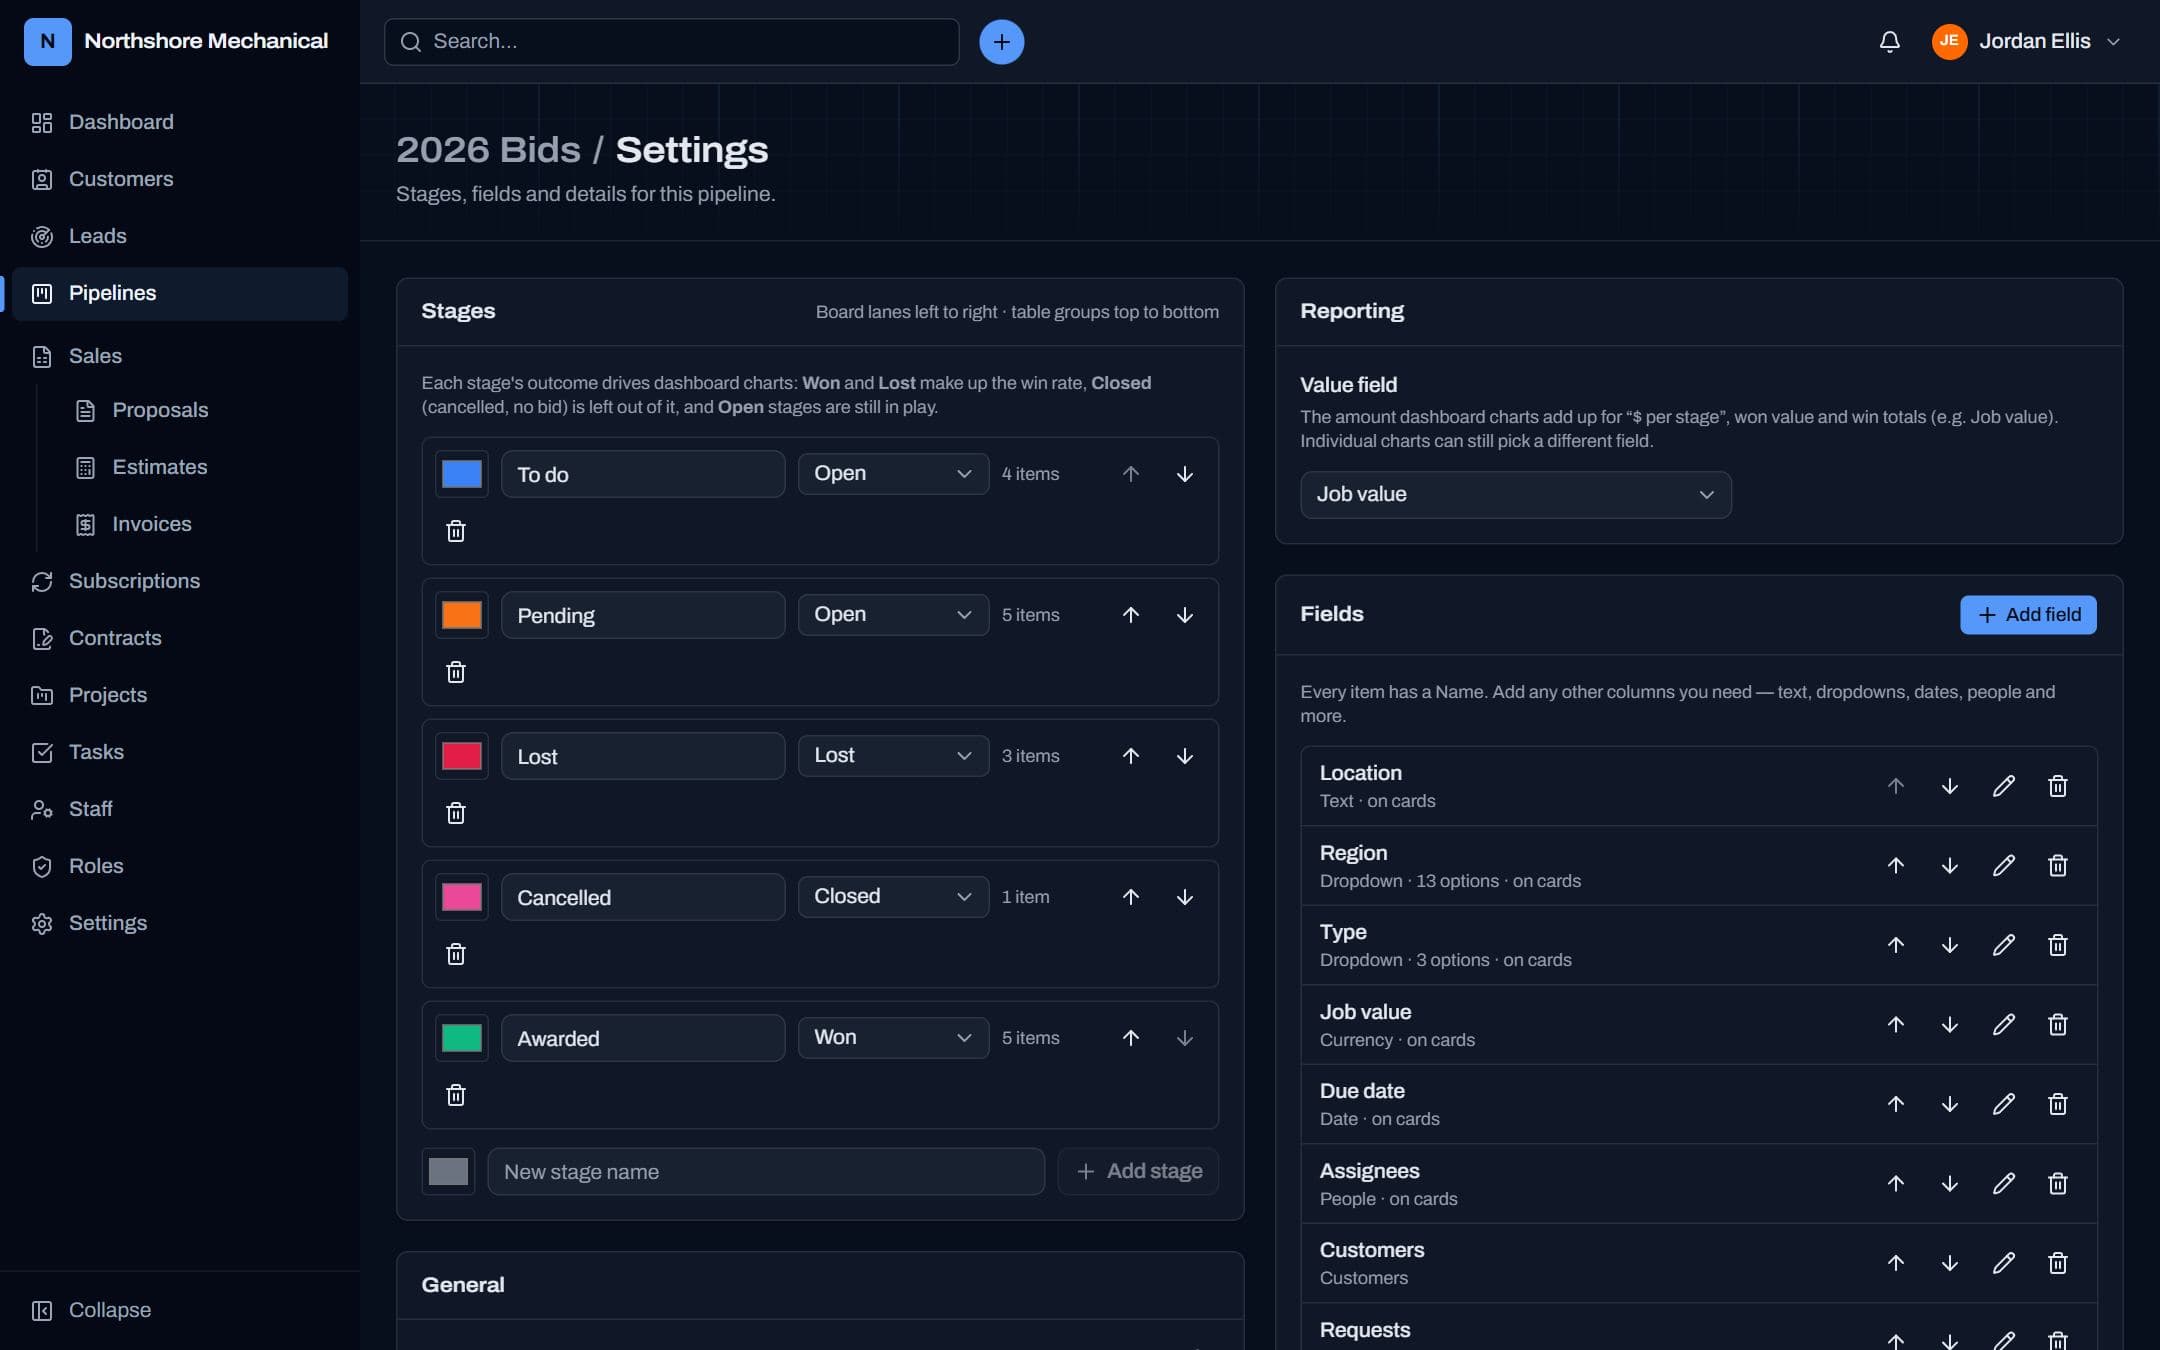
Admins design each pipeline: its stages, what they mean for reporting, and the fields on every item.
How to
- AdminsPipelines → New pipeline: start from a template (Sales pipeline, Project tracker, Hiring…), one of your saved templates, or copy an existing pipeline.
- Open a pipeline → Settings. Add, rename, recolour and reorder Stages, and set each stage's outcome: Open, Won, Lost or Closed.
- Add field for each column you need, and tick “on cards” for the ones worth seeing on the board.
- Under Reporting, choose the Value field that dashboard money figures add up.
- Save as template to reuse this setup for next year's pipeline.
| Field type | Use it for |
|---|---|
| Text / Long text | Locations, descriptions, notes |
| Number / Currency | Quantities, job values (currency can be the value field) |
| Date | Due dates, follow-ups — and date-based reminders |
| Dropdown / Multi-select | Region, type, priority (each option has a colour) |
| People | Assignees and owners — they see the item and can get reminders |
| Customer | Link one or more customers |
| Link / Email / Phone / Checkbox | Websites, contact details, yes/no |
Deleting stages and fields
Deleting a stage asks where to move its items first. Deleting a field deletes that field's values on every item. Changing a field's type converts values where it can and drops the ones that don't fit.
Reminders & notifications
Pipelines can remind people automatically, so nothing sits forgotten in a stage.
How to
- AdminsPipeline Settings → Reminders: add a rule such as “15 days after an item enters Pending, remind its assignees”.
- Or base it on a date field: “3 days before the Follow-up date”, “on the day of”, or a number of days after.
- Choose who to remind: everyone in a people field (or all people fields), the item's creator, and/or specific people. Add an optional message.
- Anyone can set a one-off reminder on an item from its panel (tomorrow, 3 days, 1 week…), or cancel one that's pending.
When reminders are sent
Stage rules count from the day the item entered the stage, and by default the reminder is dropped if the item moves on first. Date rules follow the date — change the date and the reminder moves with it. Reminders are sent the first time anyone in your company opens Fluxpoint after they fall due, and at least once a day regardless.
Recipients are worked out when the reminder fires, so reassigning an item changes who gets it.
Reminders arrive in the bell in the top bar. Email delivery is coming soon.
Tasks
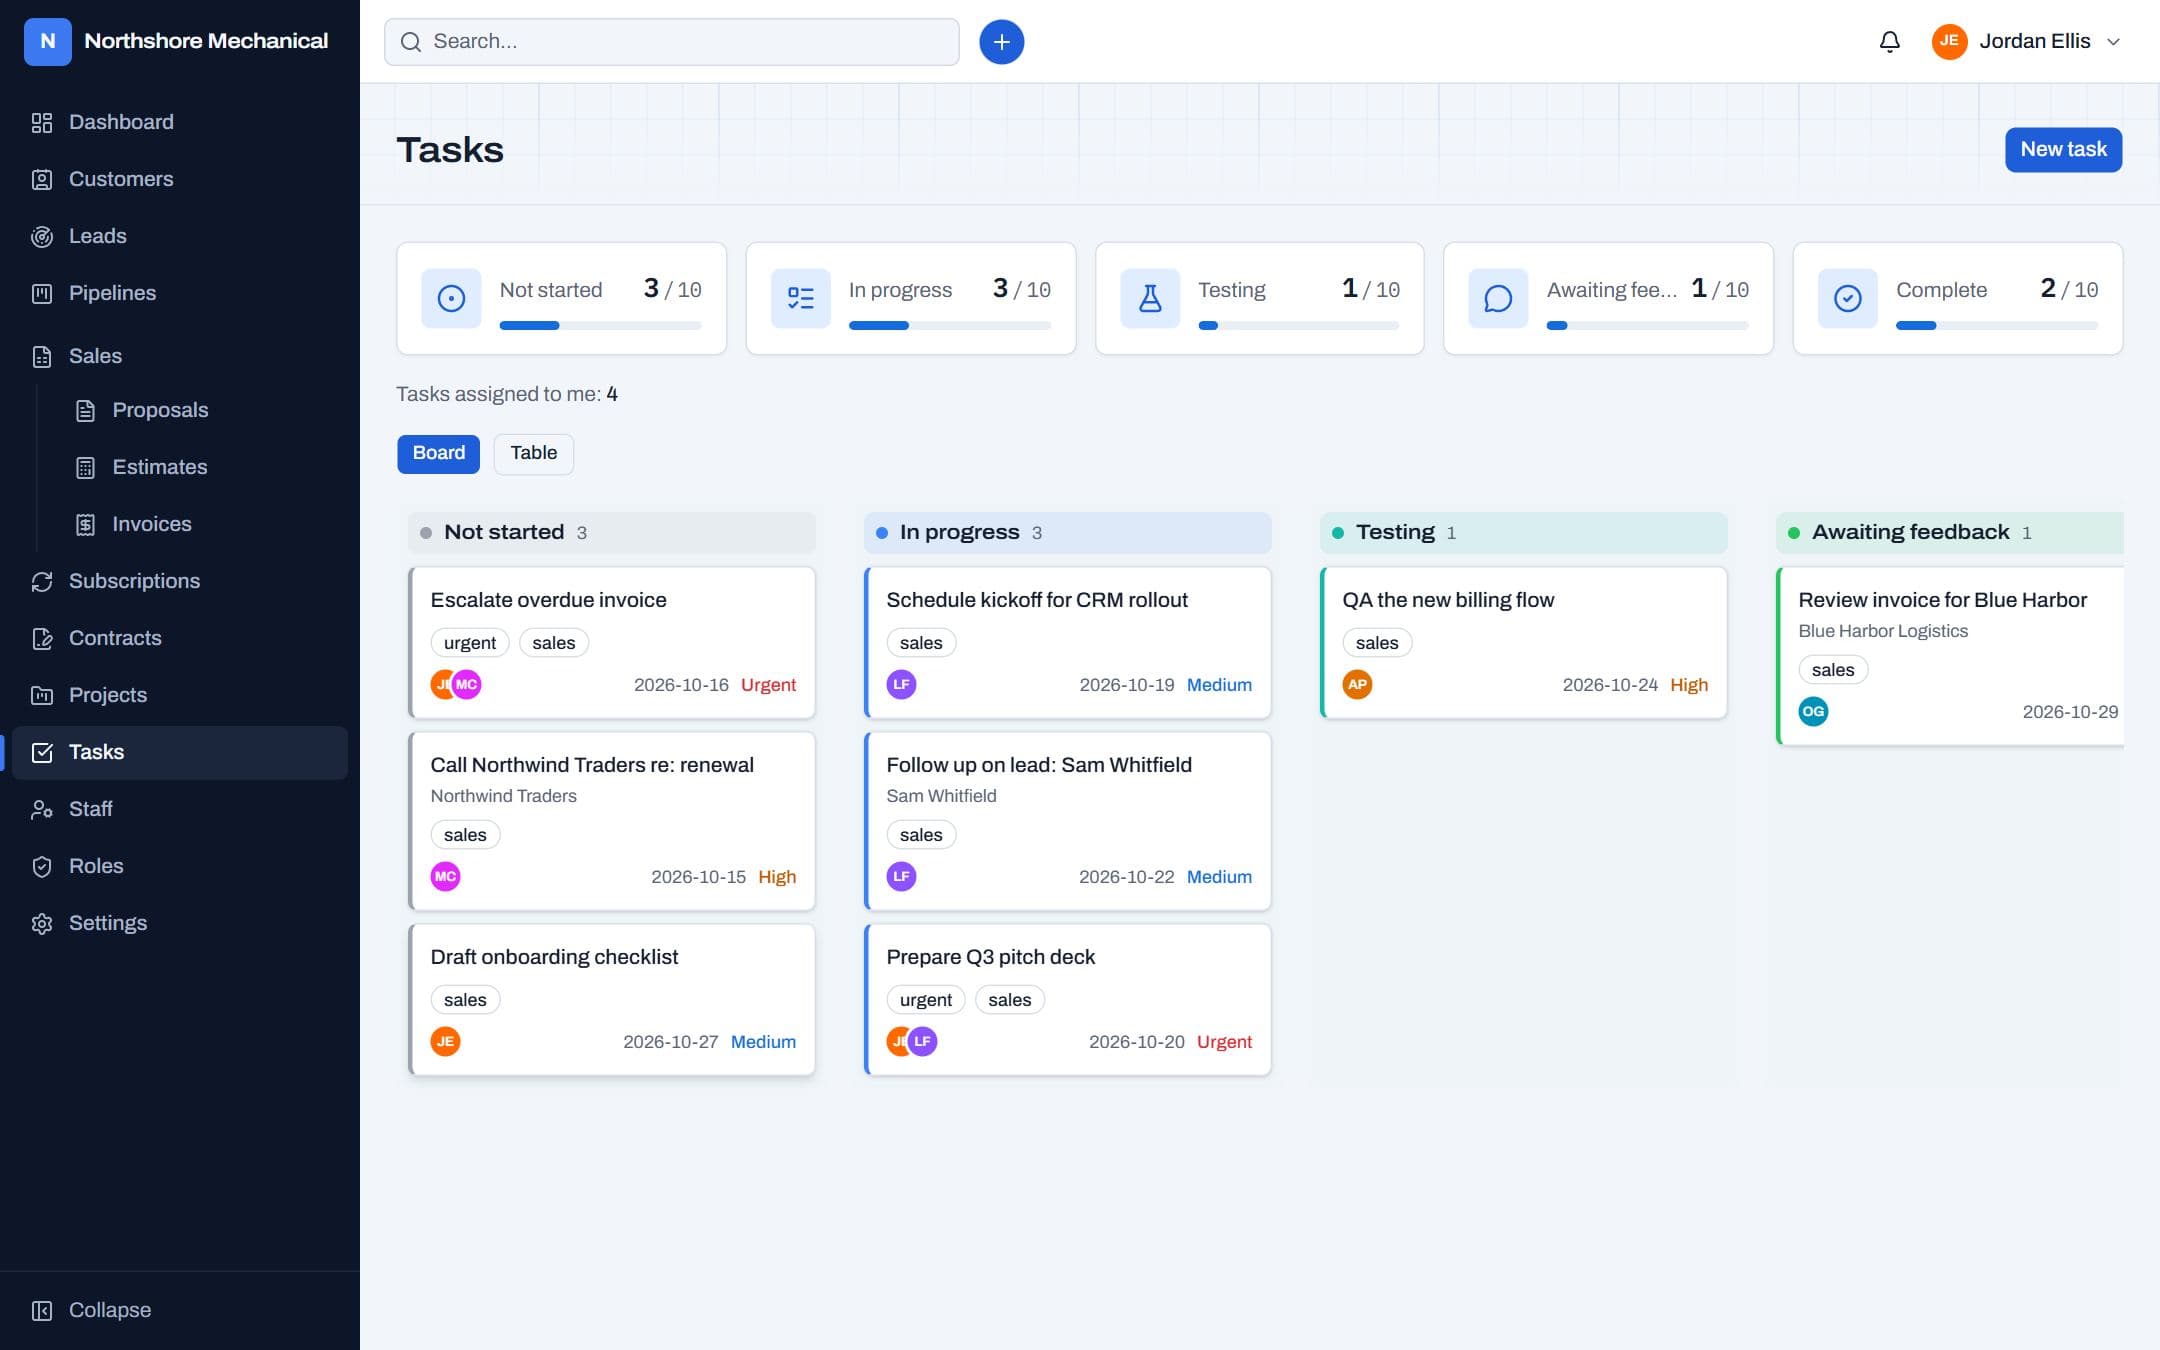
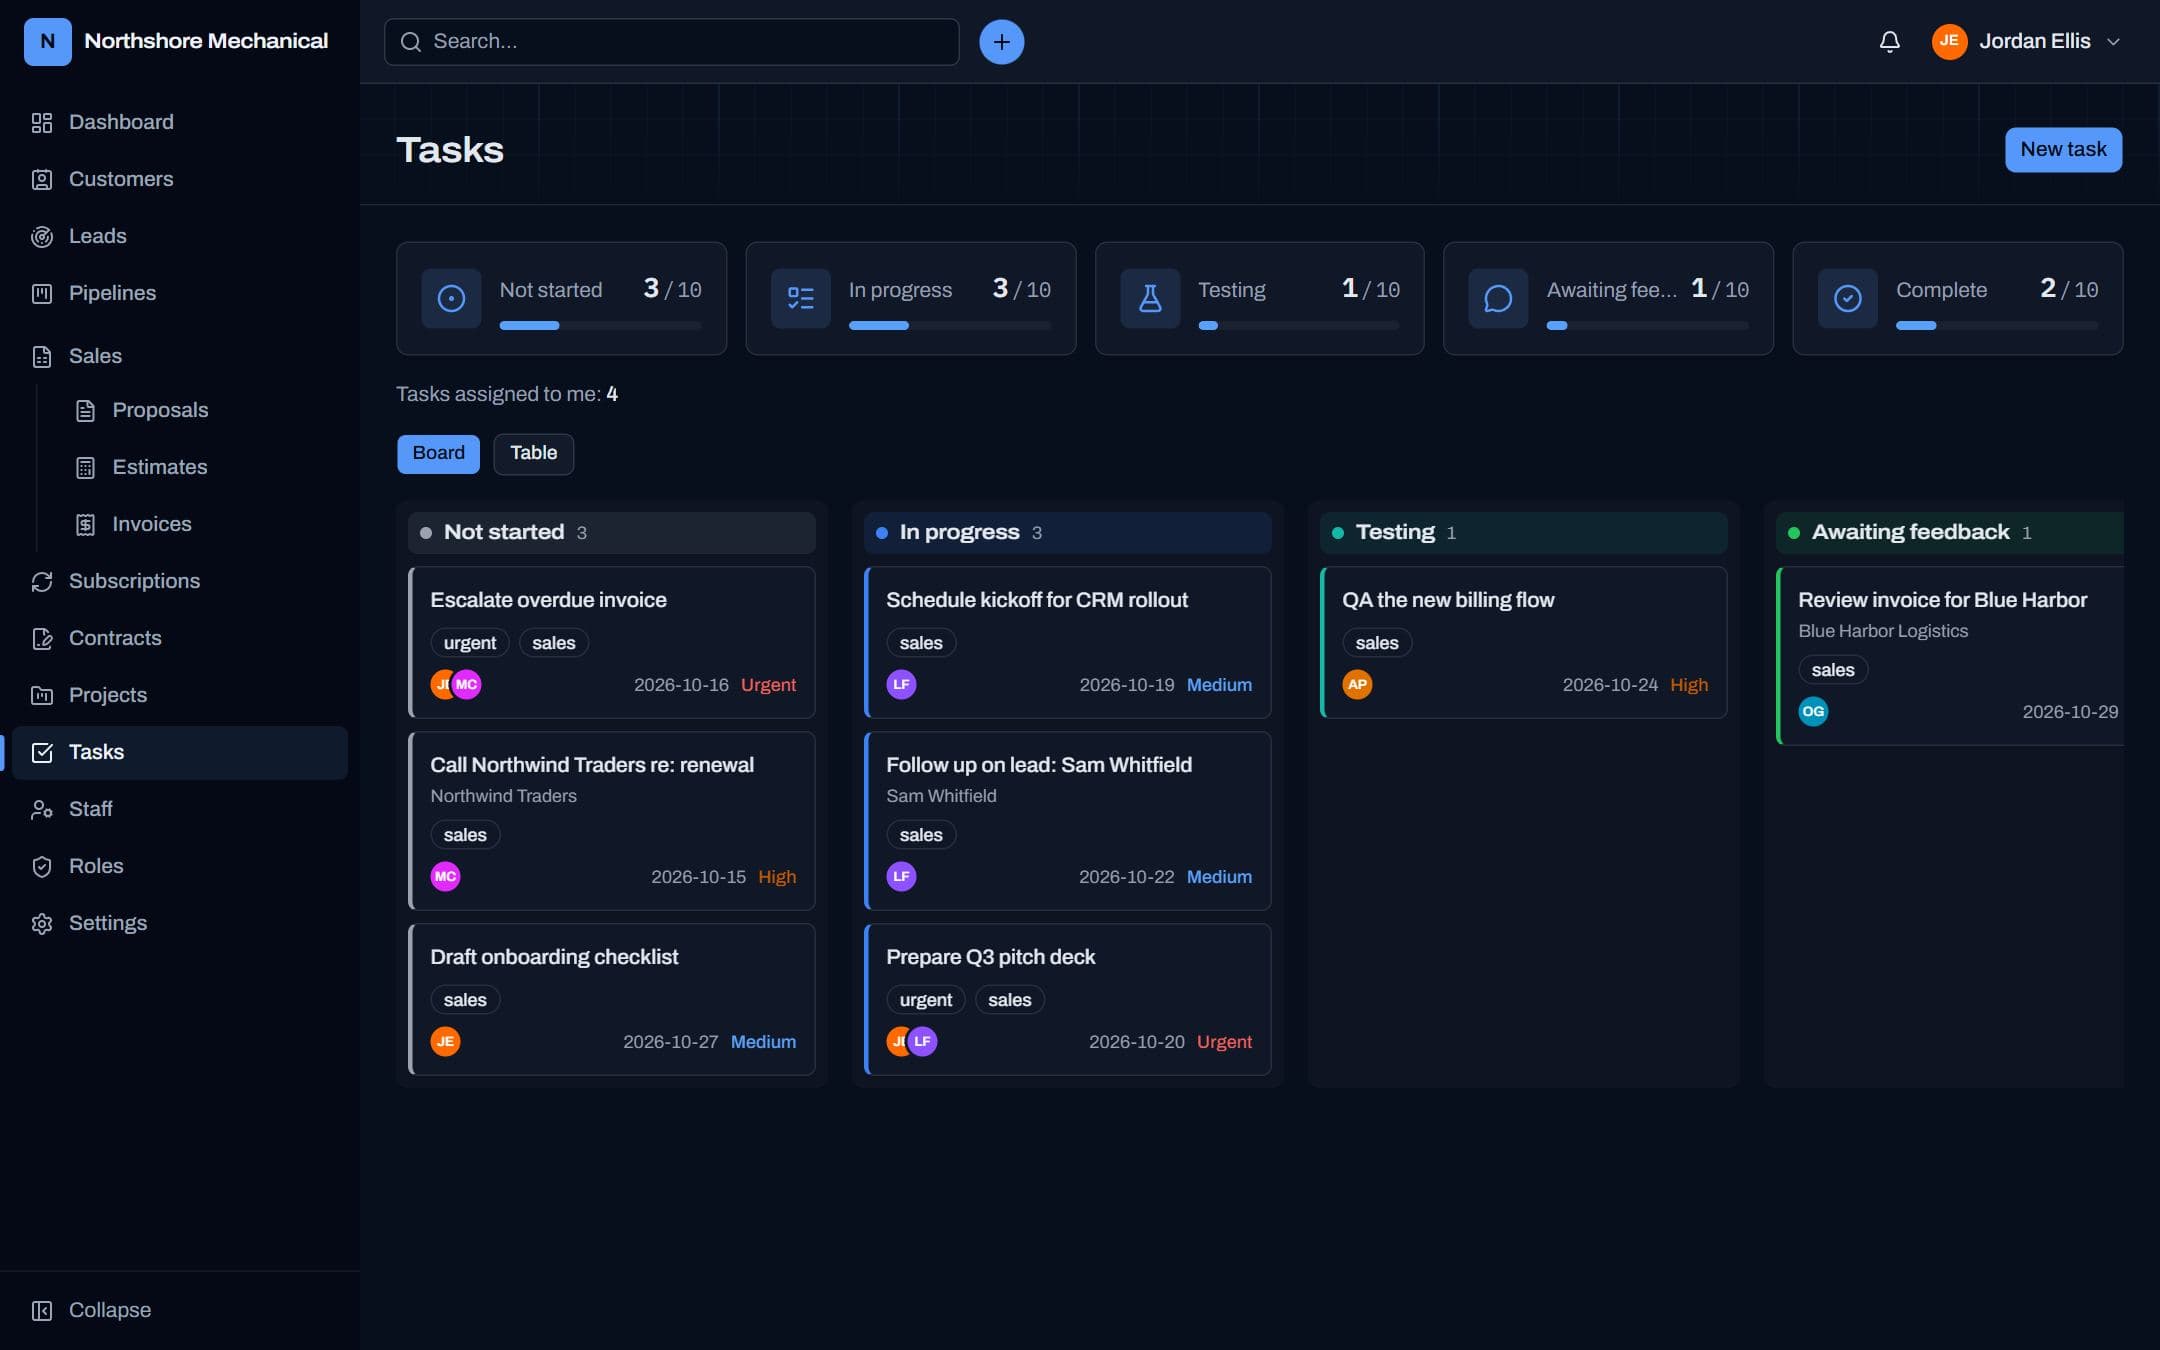
To-dos for yourself or your team, optionally linked to a customer, lead or project.
How to
- Tasks → New task, or Add task on a customer, lead or project to link it automatically.
- Set priority (low → urgent), dates and assignees. Assignees can see the task even with view_own access.
- Move tasks through Not started, In progress, Testing, Awaiting feedback and Complete.
Your open tasks also appear on the dashboard under My Tasks and My To Do Items.
Proposals
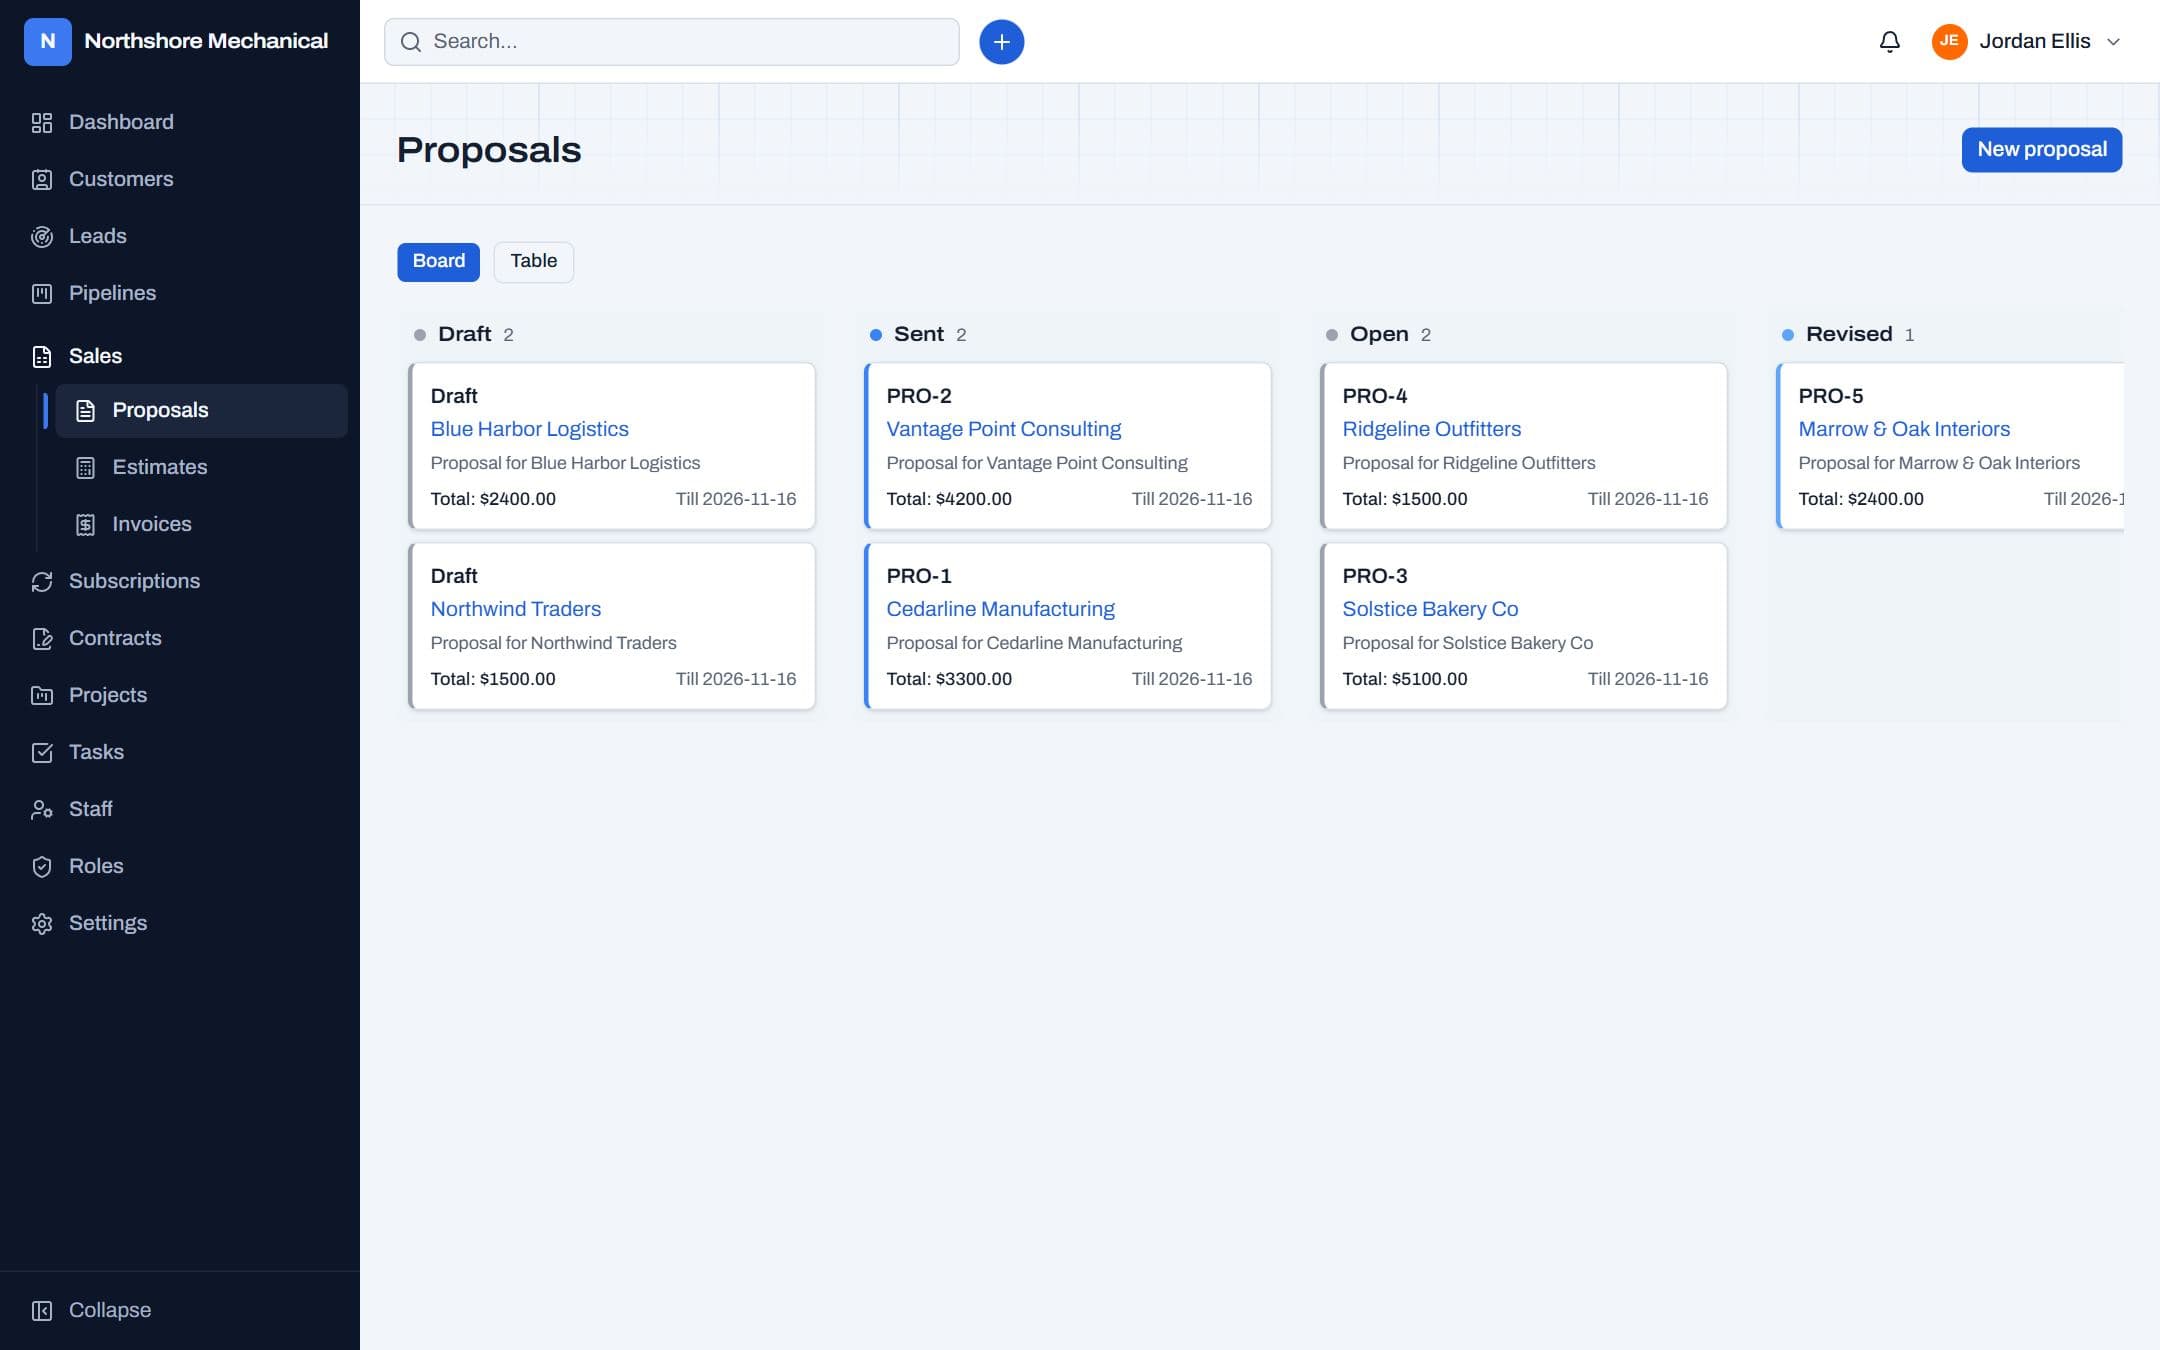
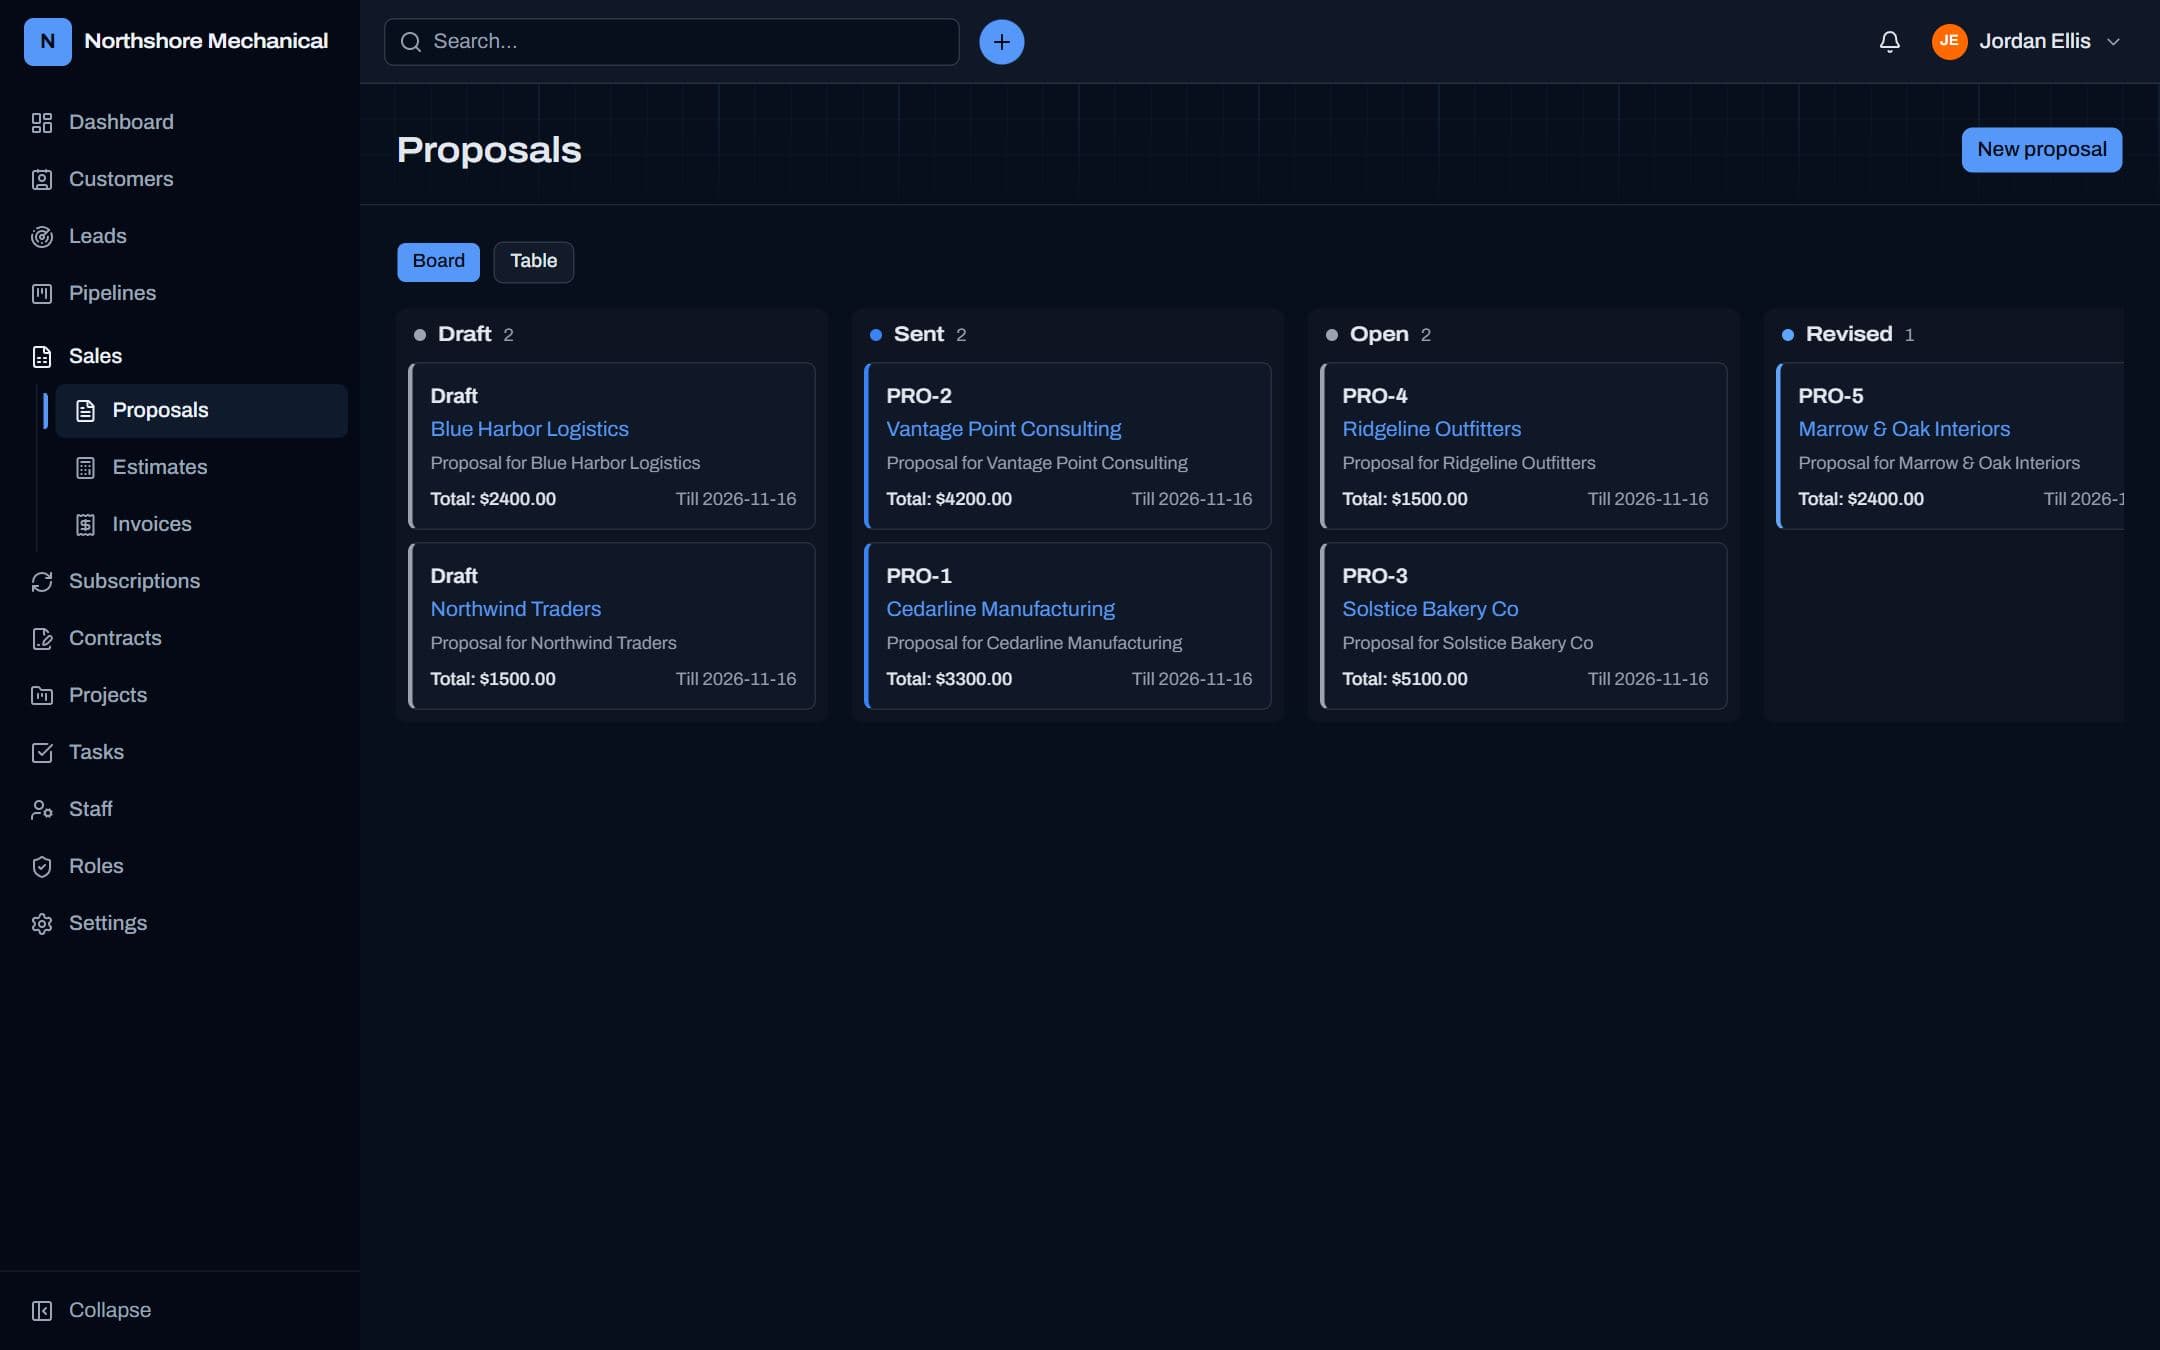
A written offer for a customer — or a lead you haven't converted yet — with priced line items.
How to
- Proposals → New proposal: subject, customer (optional), currency, line items and an “open till” date.
- While it's a draft, edit freely. Finalize & send gives it a number and moves it to Sent.
- Track the response with Mark open, Mark revised, Mark accepted or Mark declined — or drag it between columns on the board.
A numbered proposal can't go back to draft. Totals work exactly like invoices — see below.
Estimates
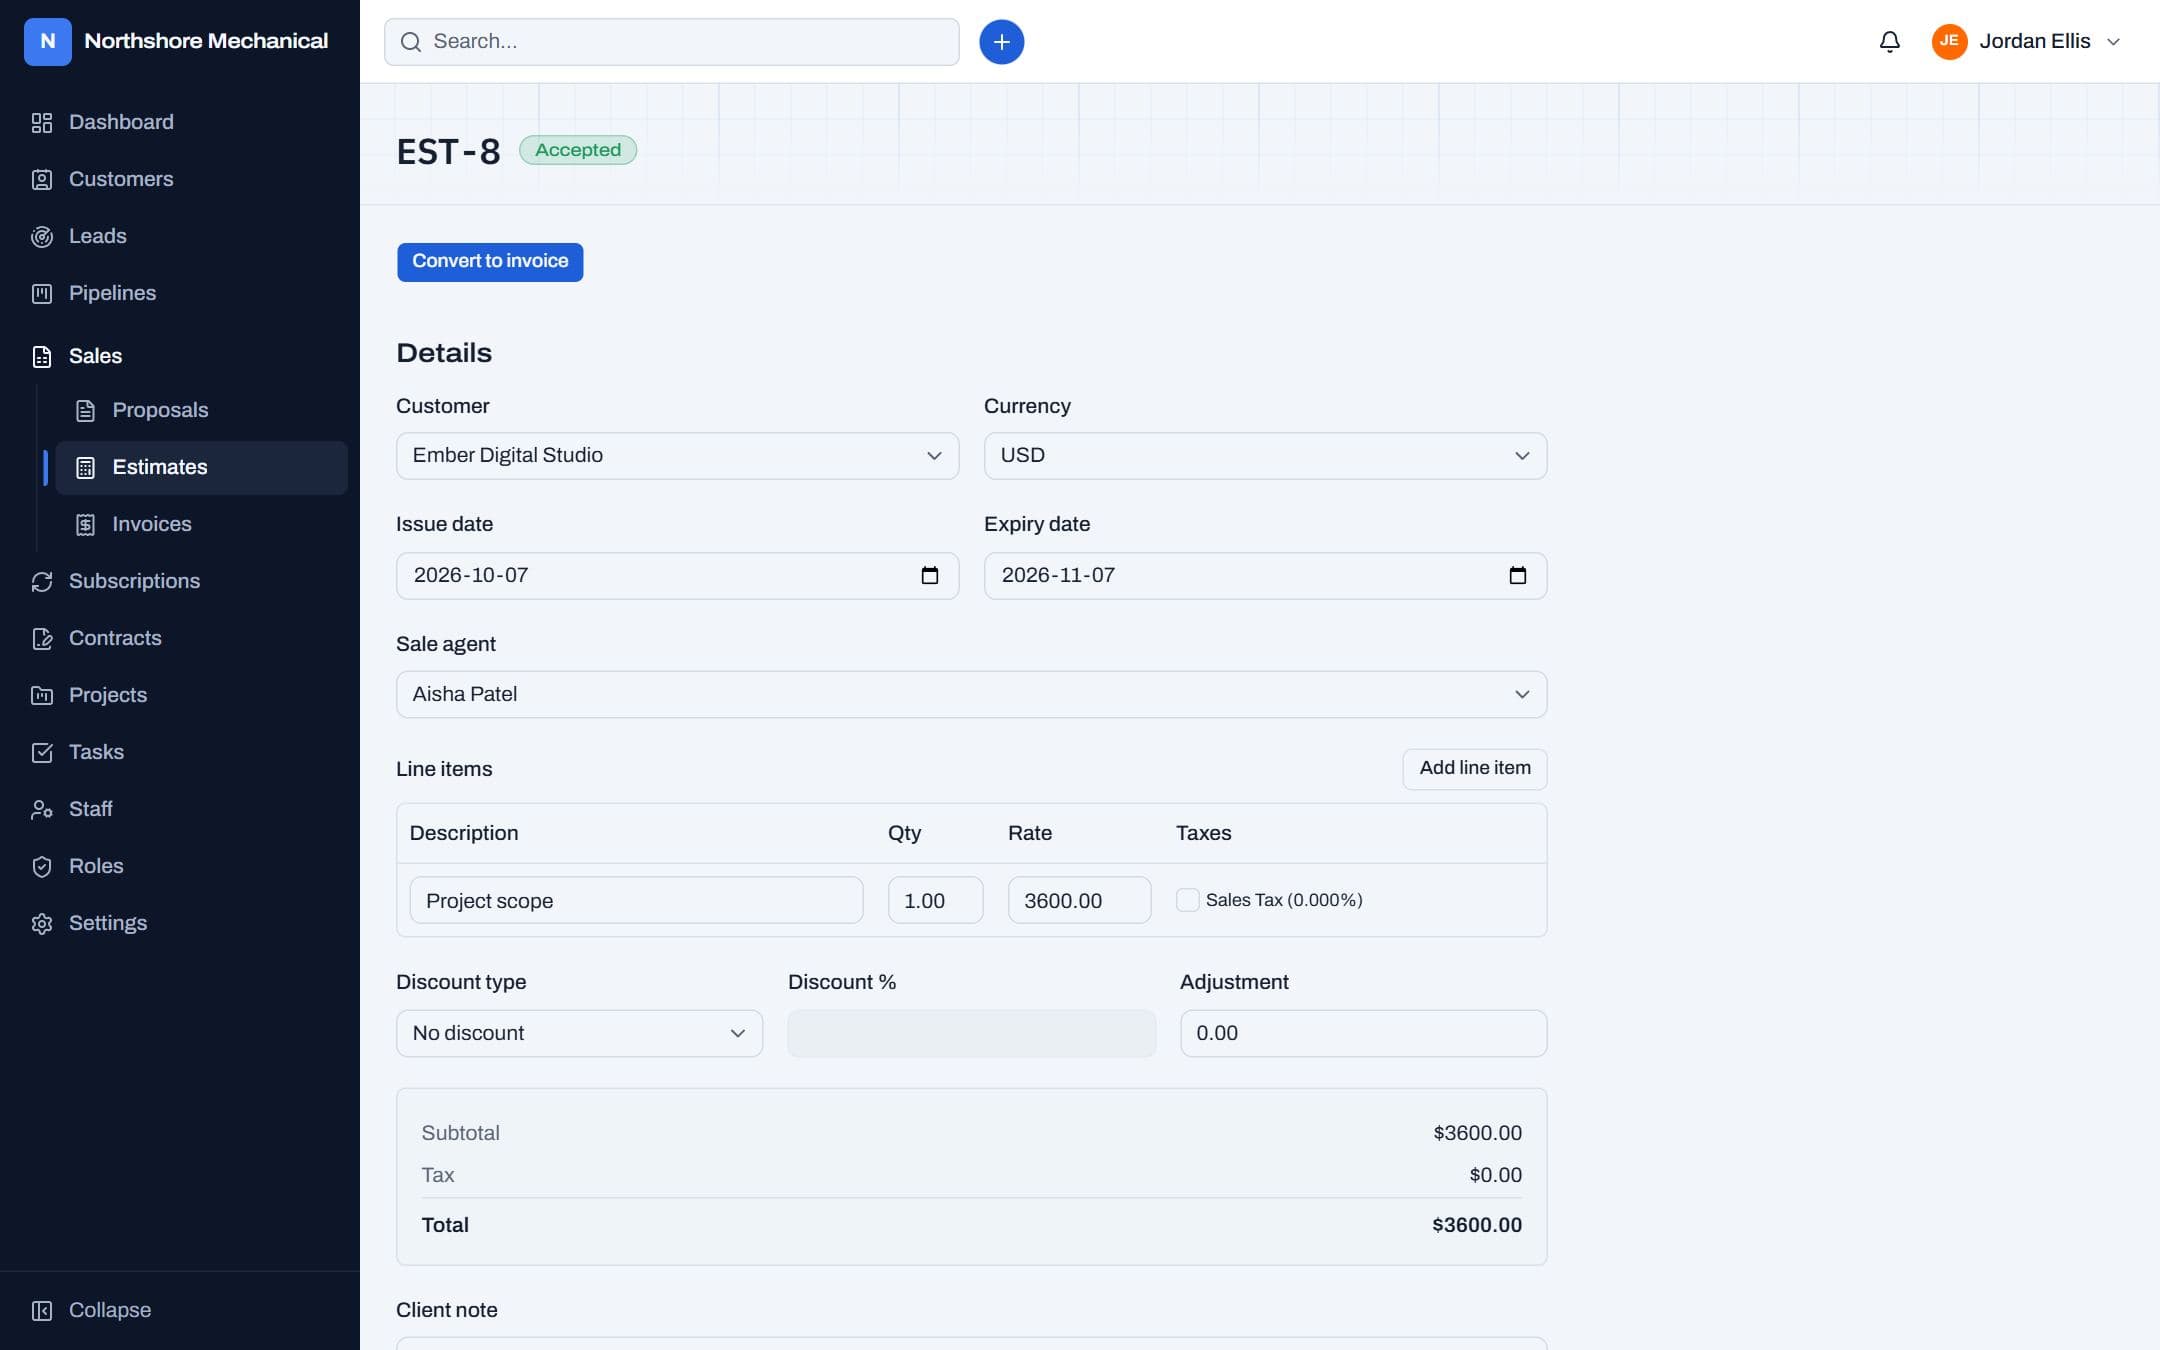
A priced quote that turns into an invoice once it's accepted.
How to
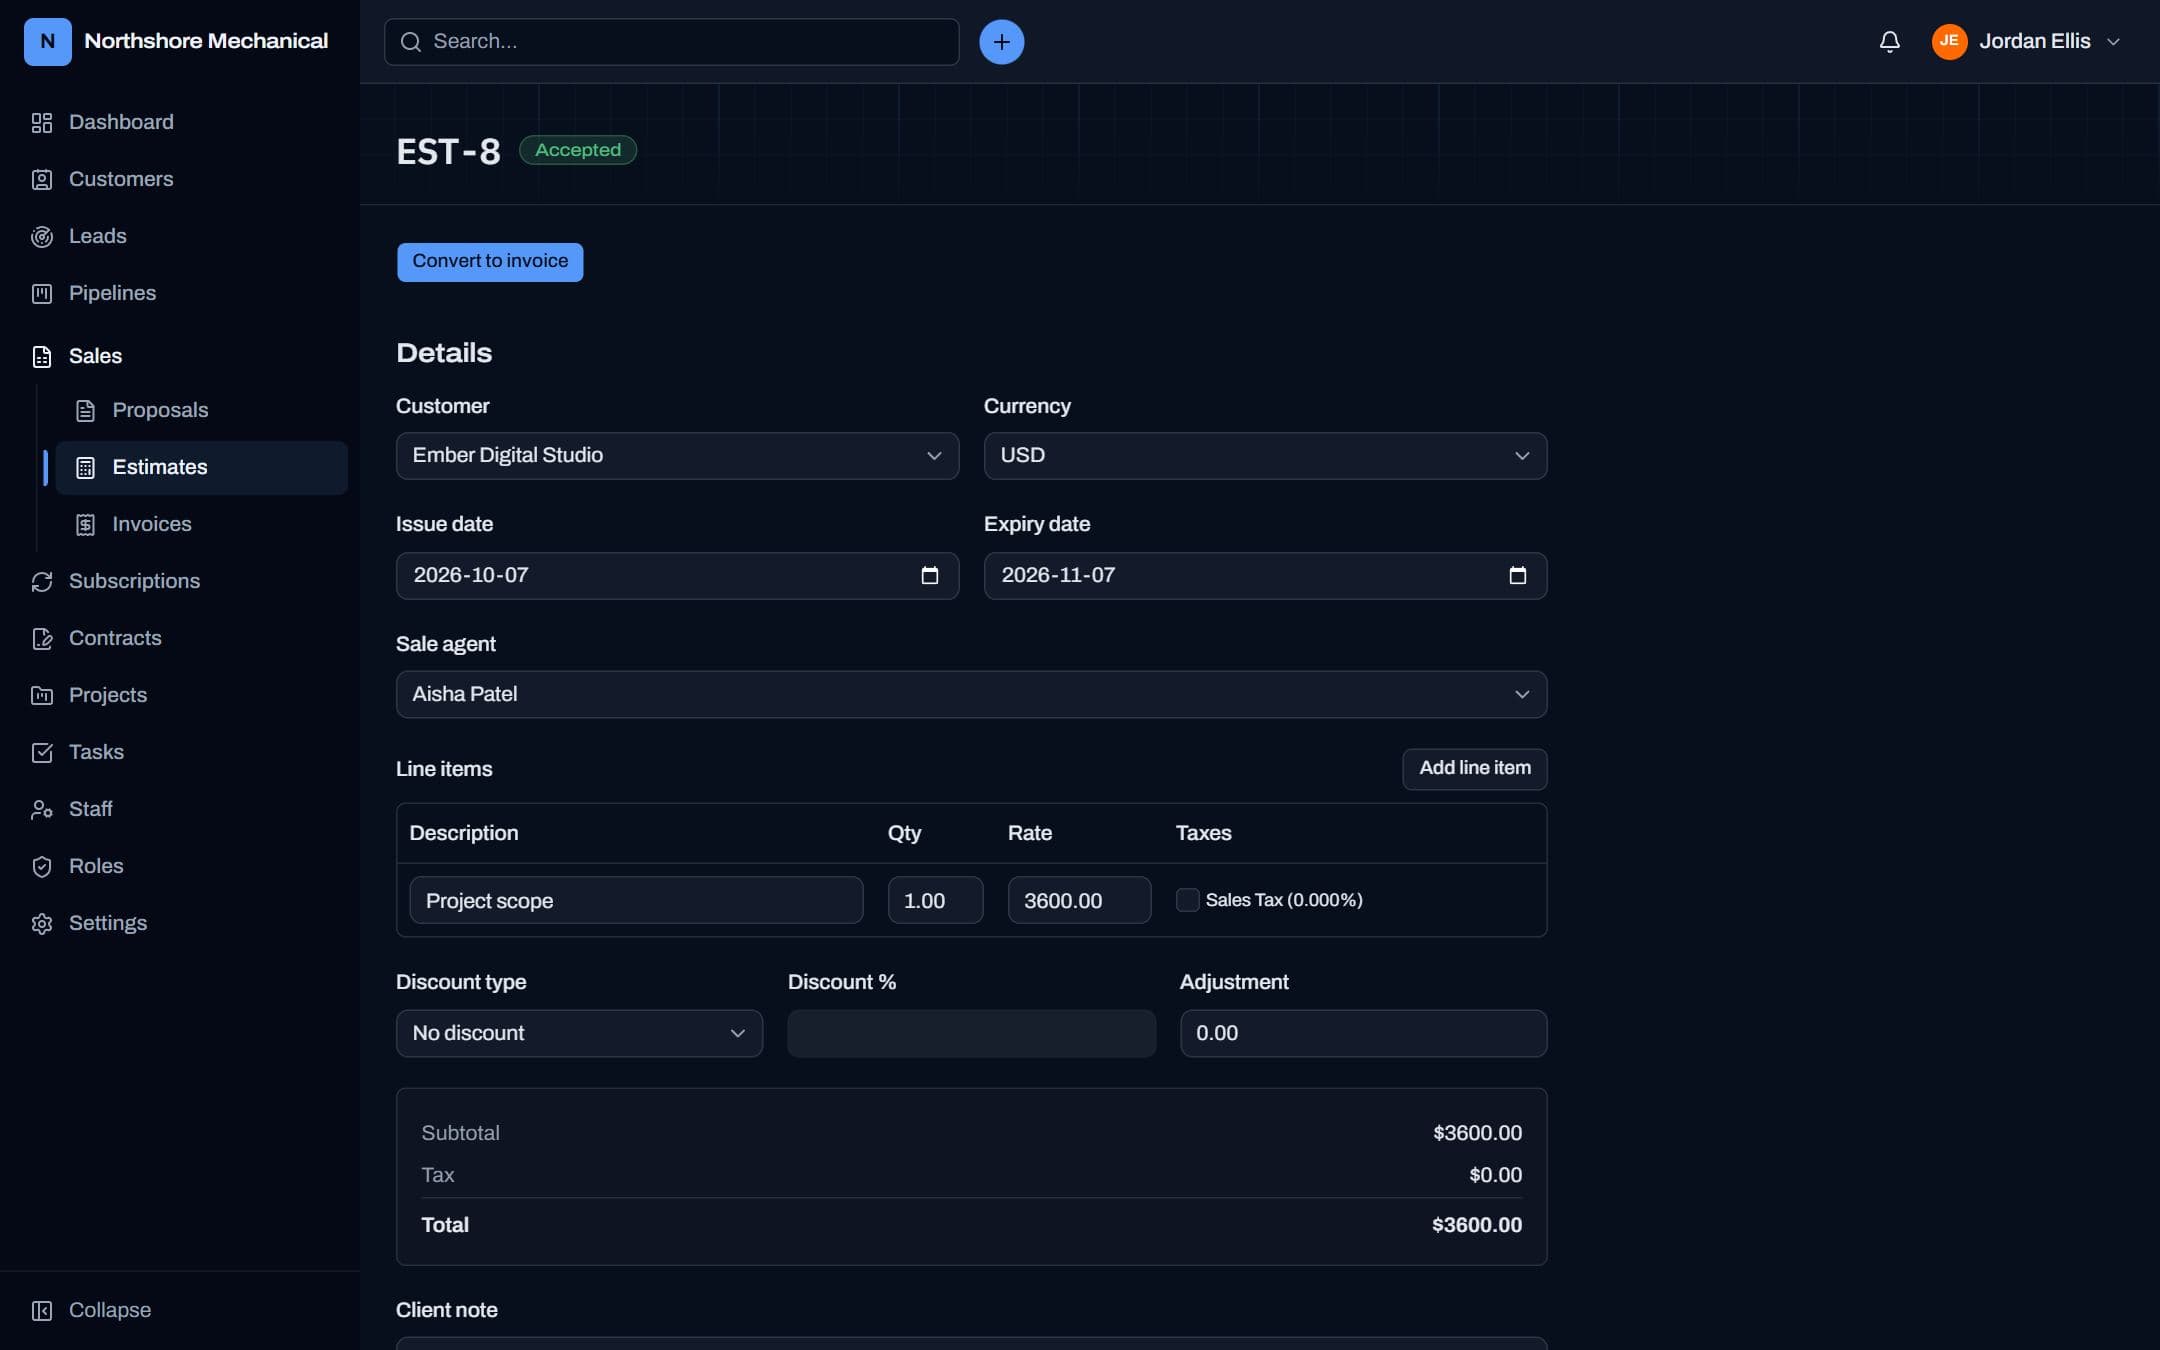
- Estimates → New estimate: customer, dates, line items, taxes and discount.
- Finalize estimate gives it the next number (e.g. EST-12) and status Not sent.
- Update it with Mark sent, Mark accepted, Mark declined or Mark expired.
- Convert to invoice copies the customer, line items, taxes and discount into a new draft invoice. An estimate converts only once.
Invoices & payments
Bill customers, record what they pay, and let the status keep itself up to date.
How to
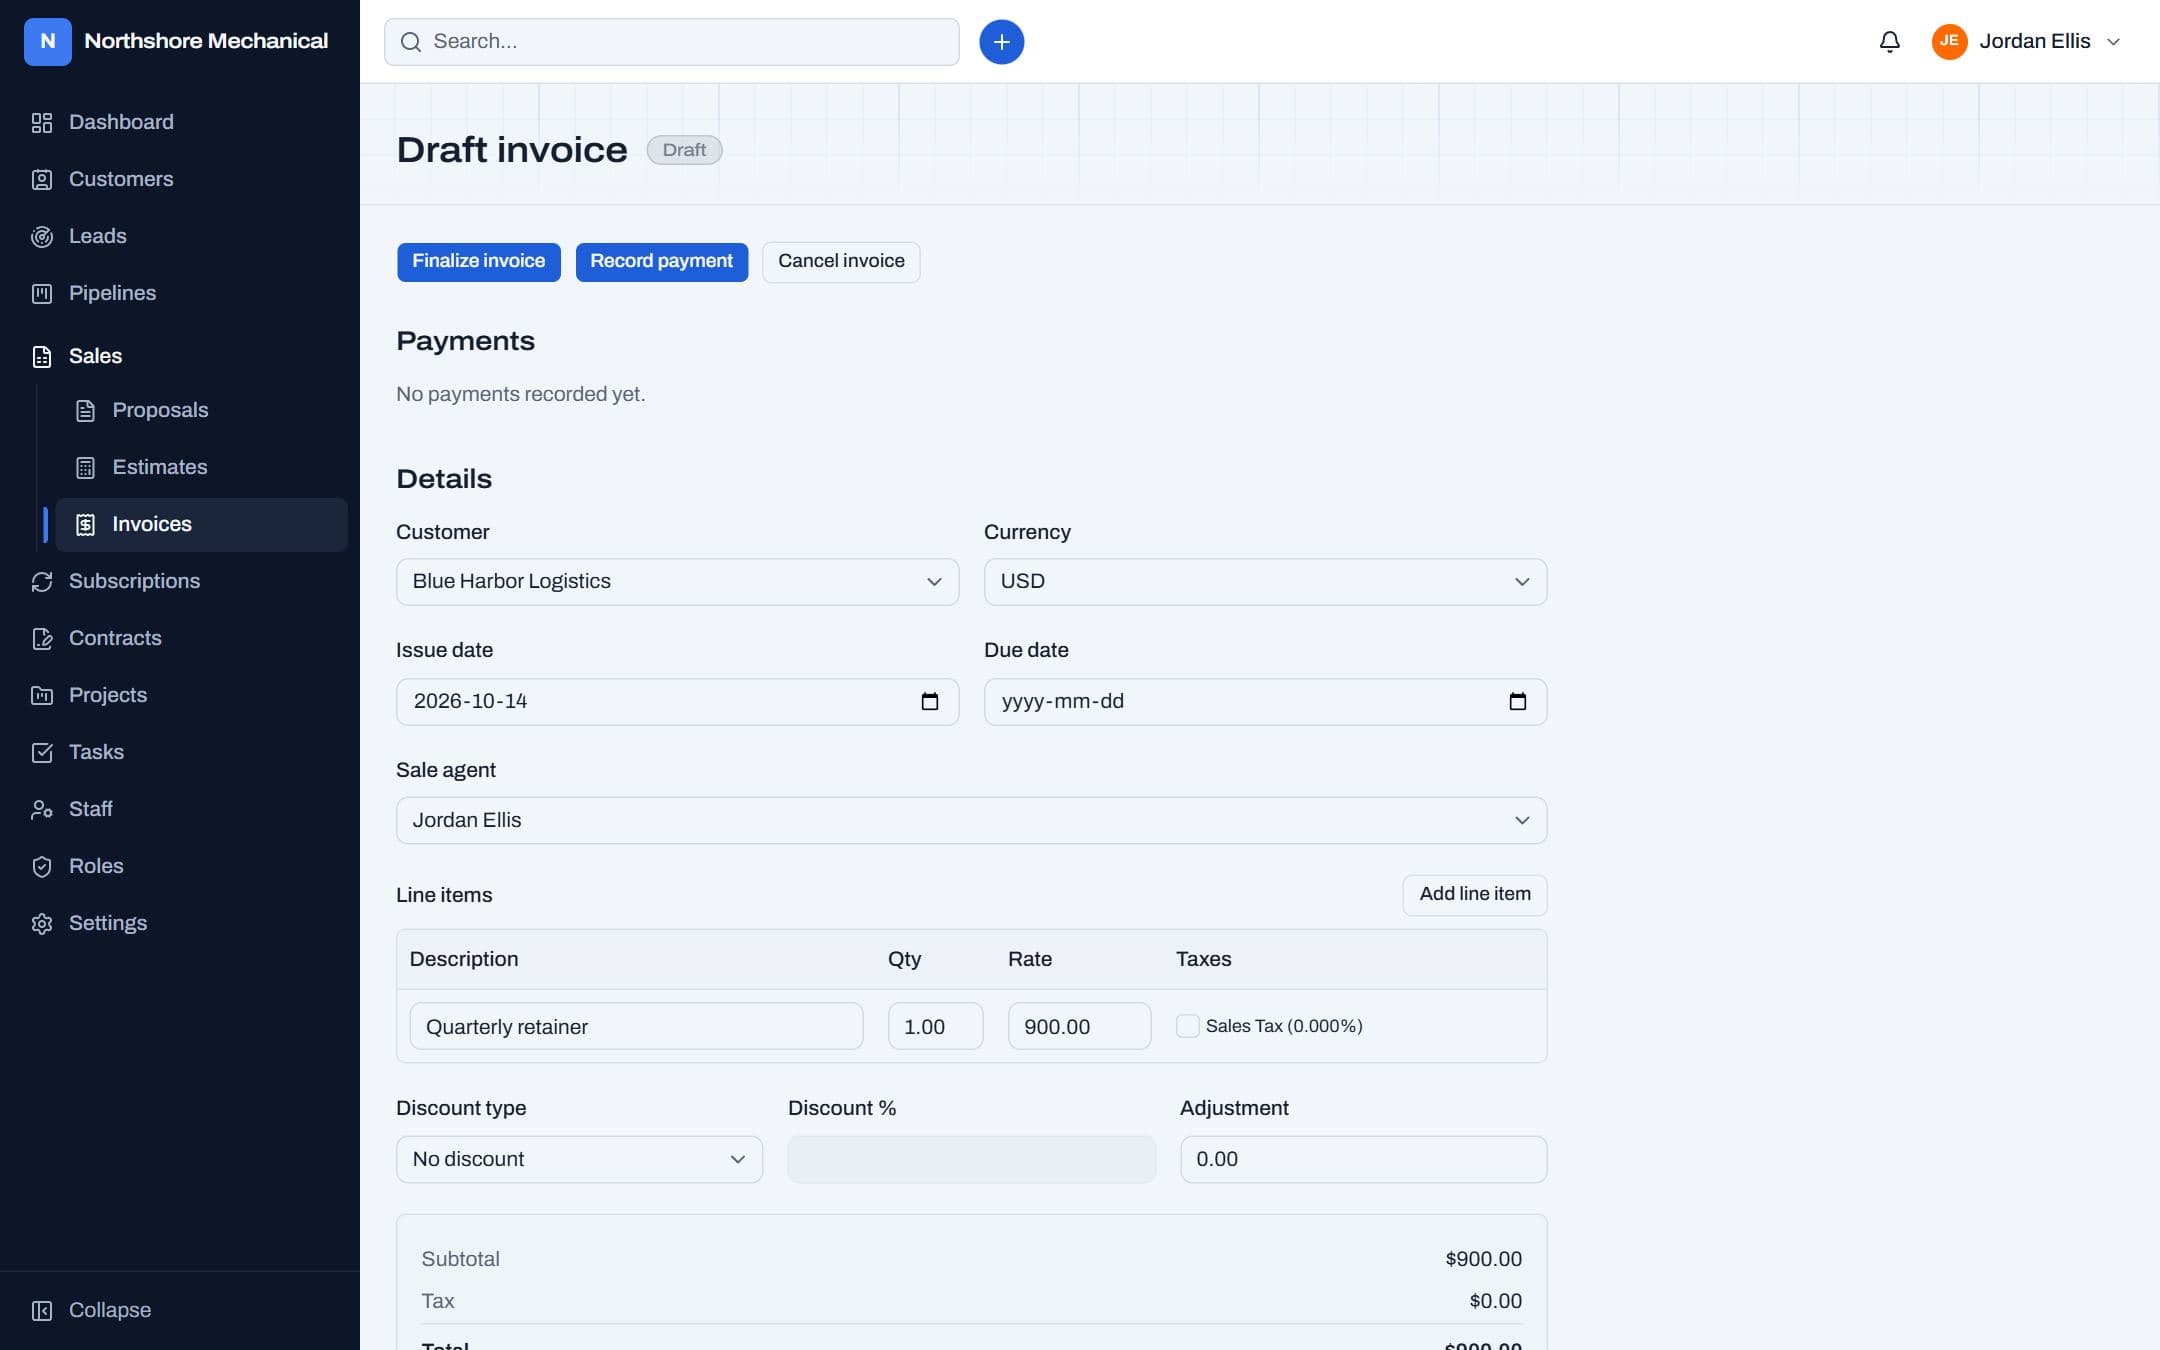
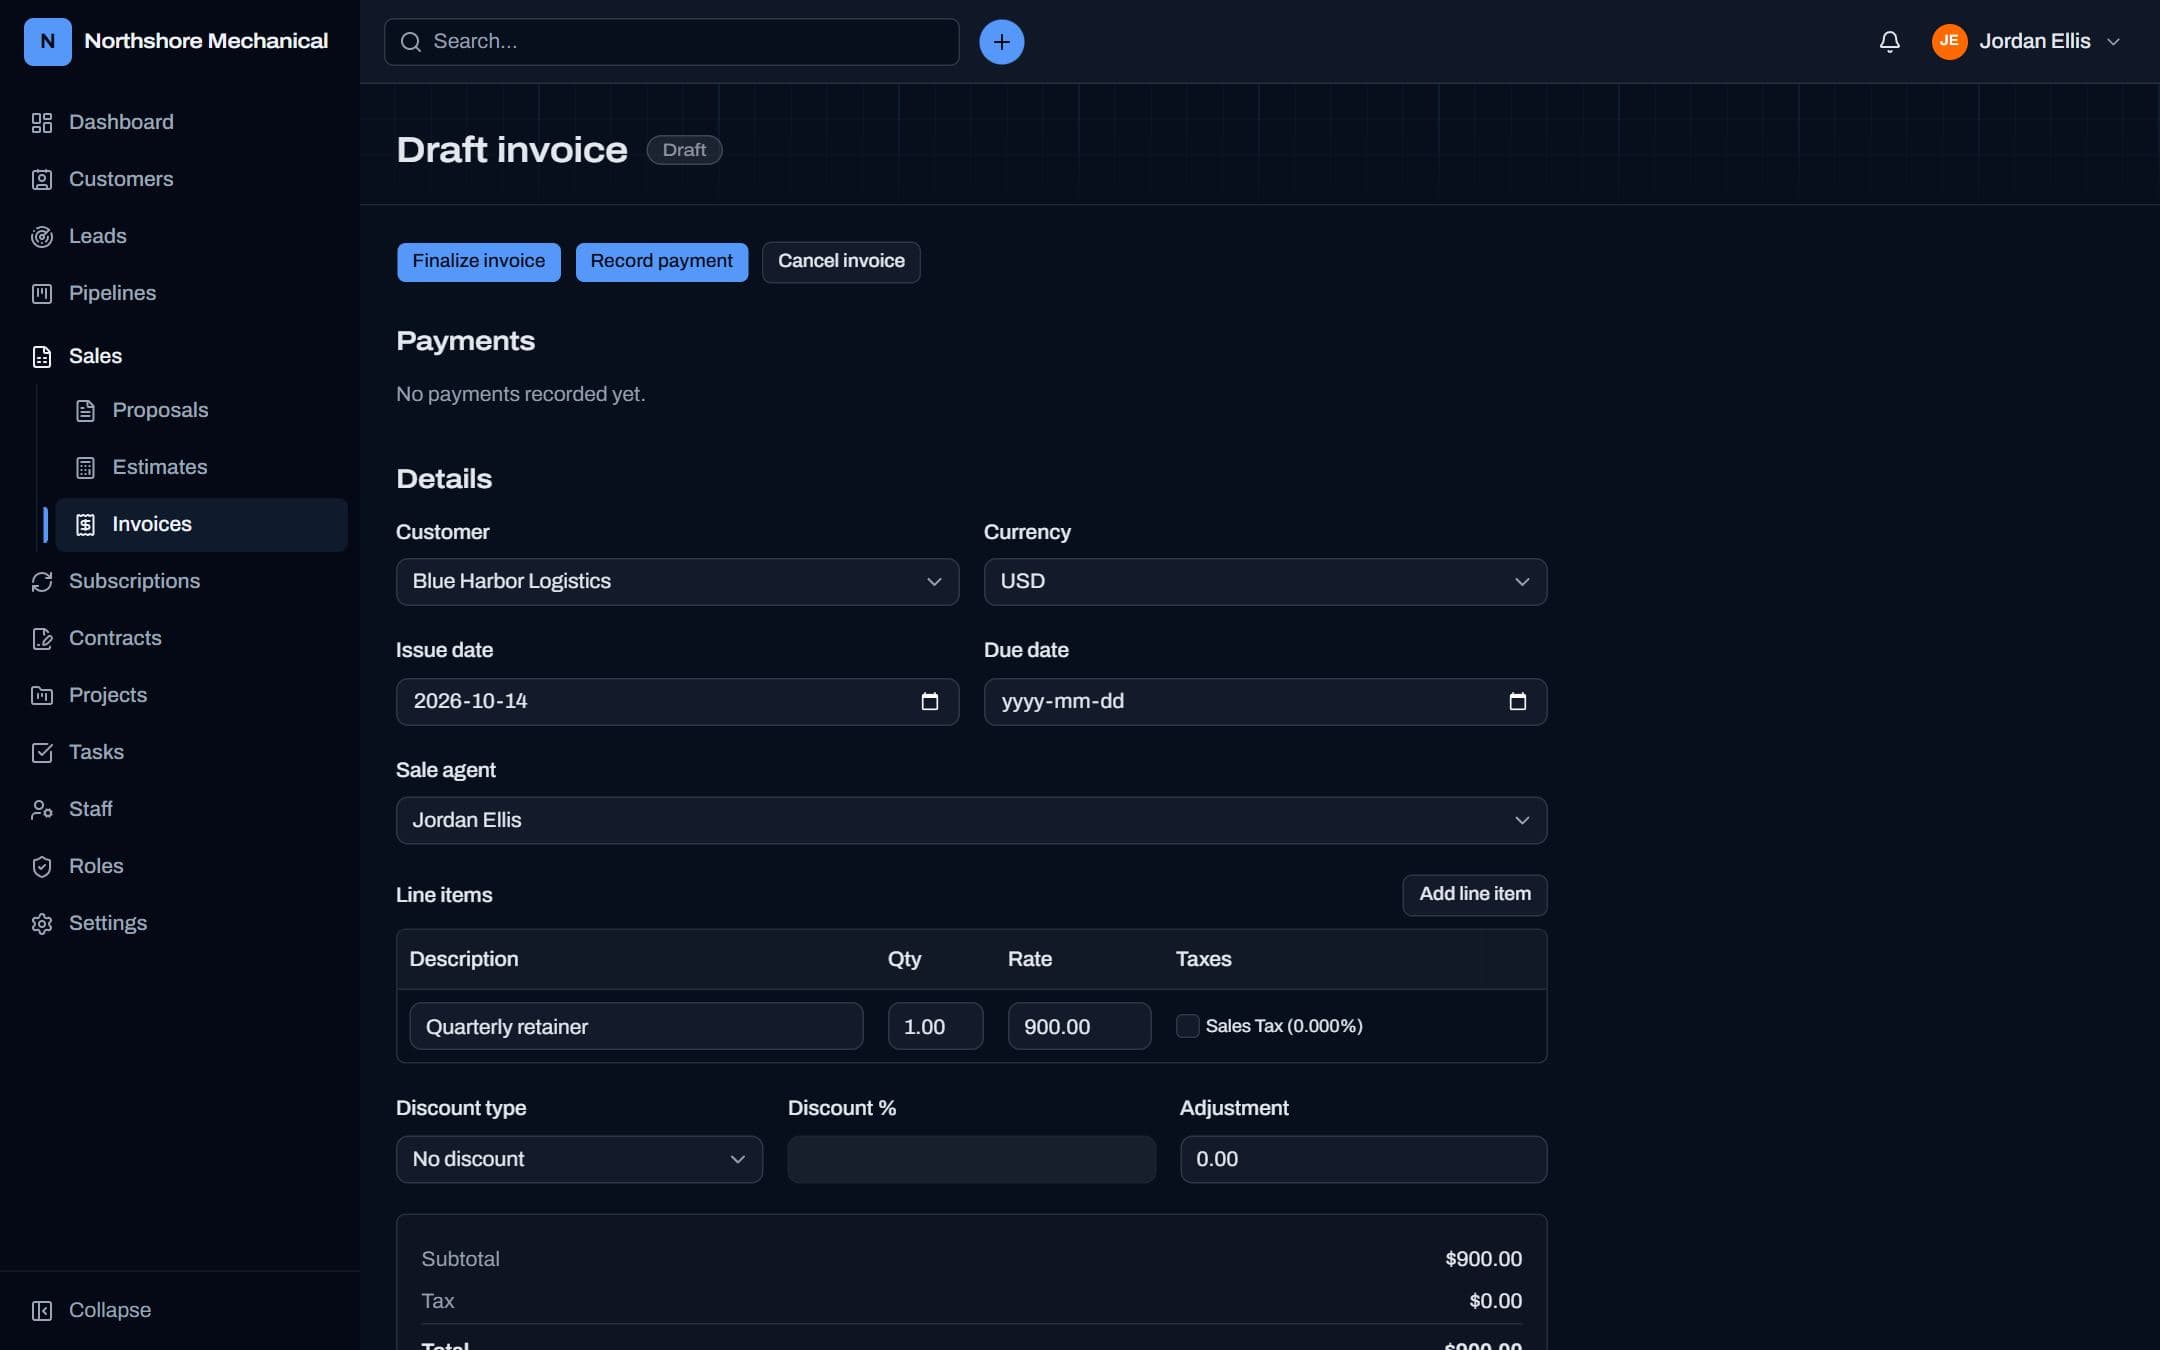
- Invoices → New invoice (or convert an estimate, or generate one from a subscription).
- Add line items: description, quantity, rate and any taxes. Choose a discount and an adjustment if needed.
- Finalize invoice assigns the next number (INV-1, INV-2…) — numbers never repeat or skip.
- Record payment each time money arrives: amount, date, method and a reference. Payments can be deleted if entered by mistake.
- Cancel invoice if it shouldn't be paid. A finalized invoice keeps its number for your records.
How an invoice's status is set
| Status | When |
|---|---|
| Draft | Not finalized yet — no number. |
| Unpaid | Finalized, nothing paid, due date not passed (or no due date). |
| Overdue | Nothing paid and the due date has passed. Checked every day and whenever the invoice changes. |
| Partially paid | Some money paid but less than the total — even if past due. |
| Paid | Payments add up to the total or more (or the total is $0). |
| Cancelled | Cancelled by hand. |
How the total is calculated
Subtotal = Σ quantity × rate. Discount = subtotal × discount %. Taxes are added up by tax name across all lines.
Discount before tax: tax is worked out on the discounted amounts; total = subtotal − discount + tax + adjustment.
Discount after tax: tax is worked out on the full amounts; total = subtotal + tax − discount + adjustment.
On the dashboard, Outstanding adds up what is still owed on unpaid, partially paid and overdue invoices (each invoice's total minus the payments recorded against it), Past due does the same for overdue ones only, and Paid adds up the totals of fully paid ones.
Subscriptions
Recurring charges — a monthly maintenance plan, a yearly service contract.
How to
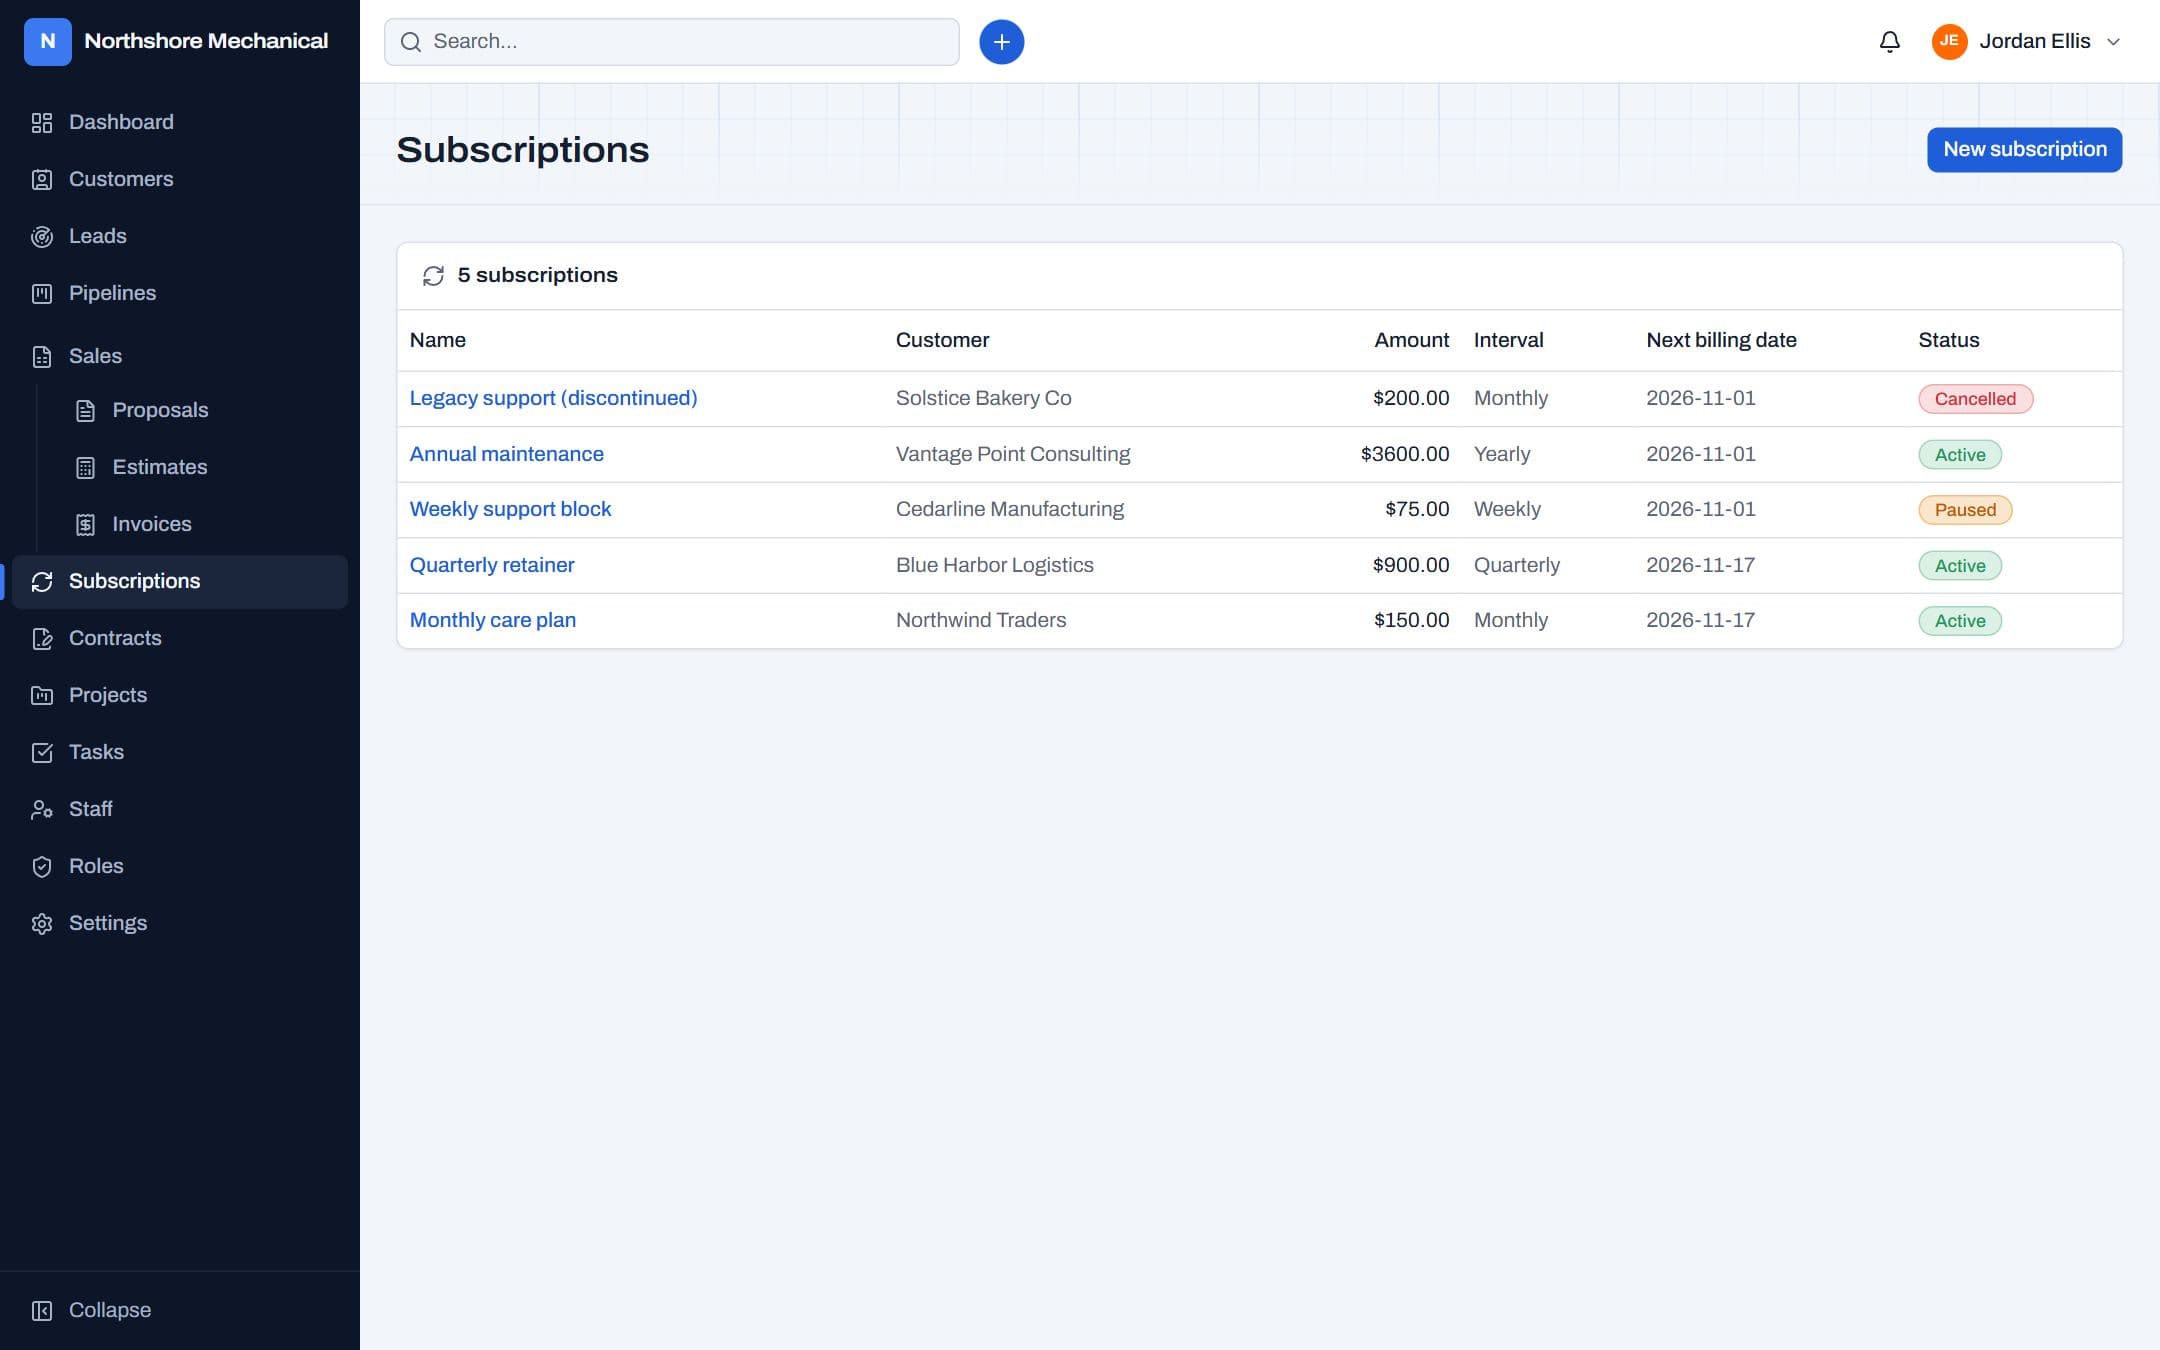
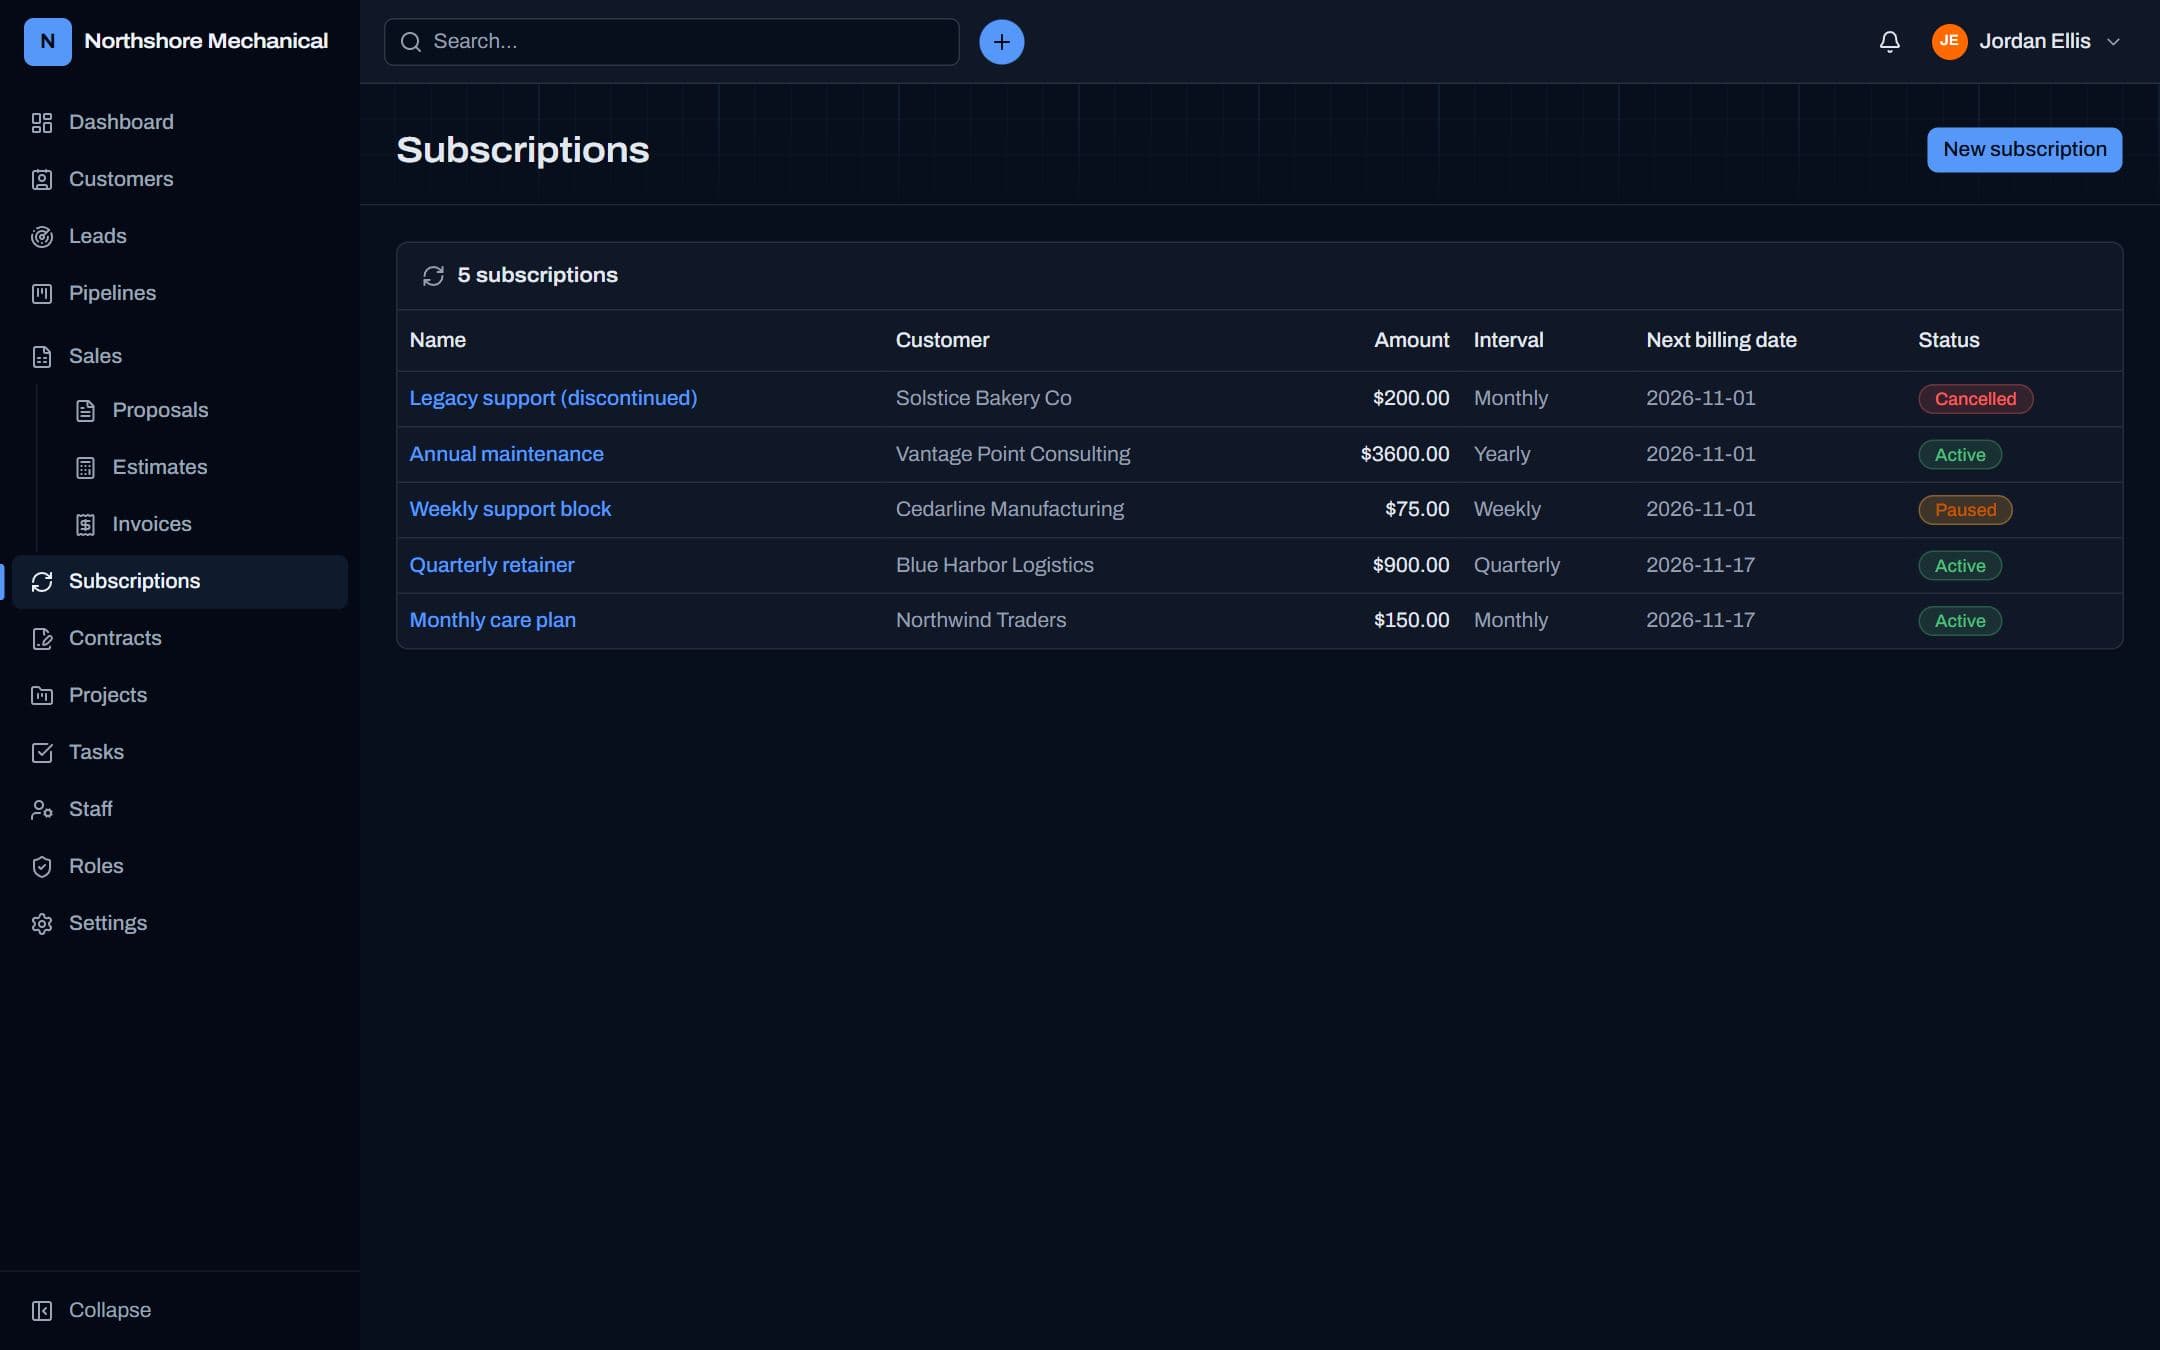
- Subscriptions → New subscription: customer, name, amount, currency, interval (weekly, monthly, quarterly, yearly) and next billing date.
- When it's time to bill, open it and click Generate invoice now. A draft invoice is created and the next billing date moves forward one interval.
- Set the status to Paused or Cancelled to stop billing; only active subscriptions can generate invoices.
Subscriptions need the Invoices module.
Contracts
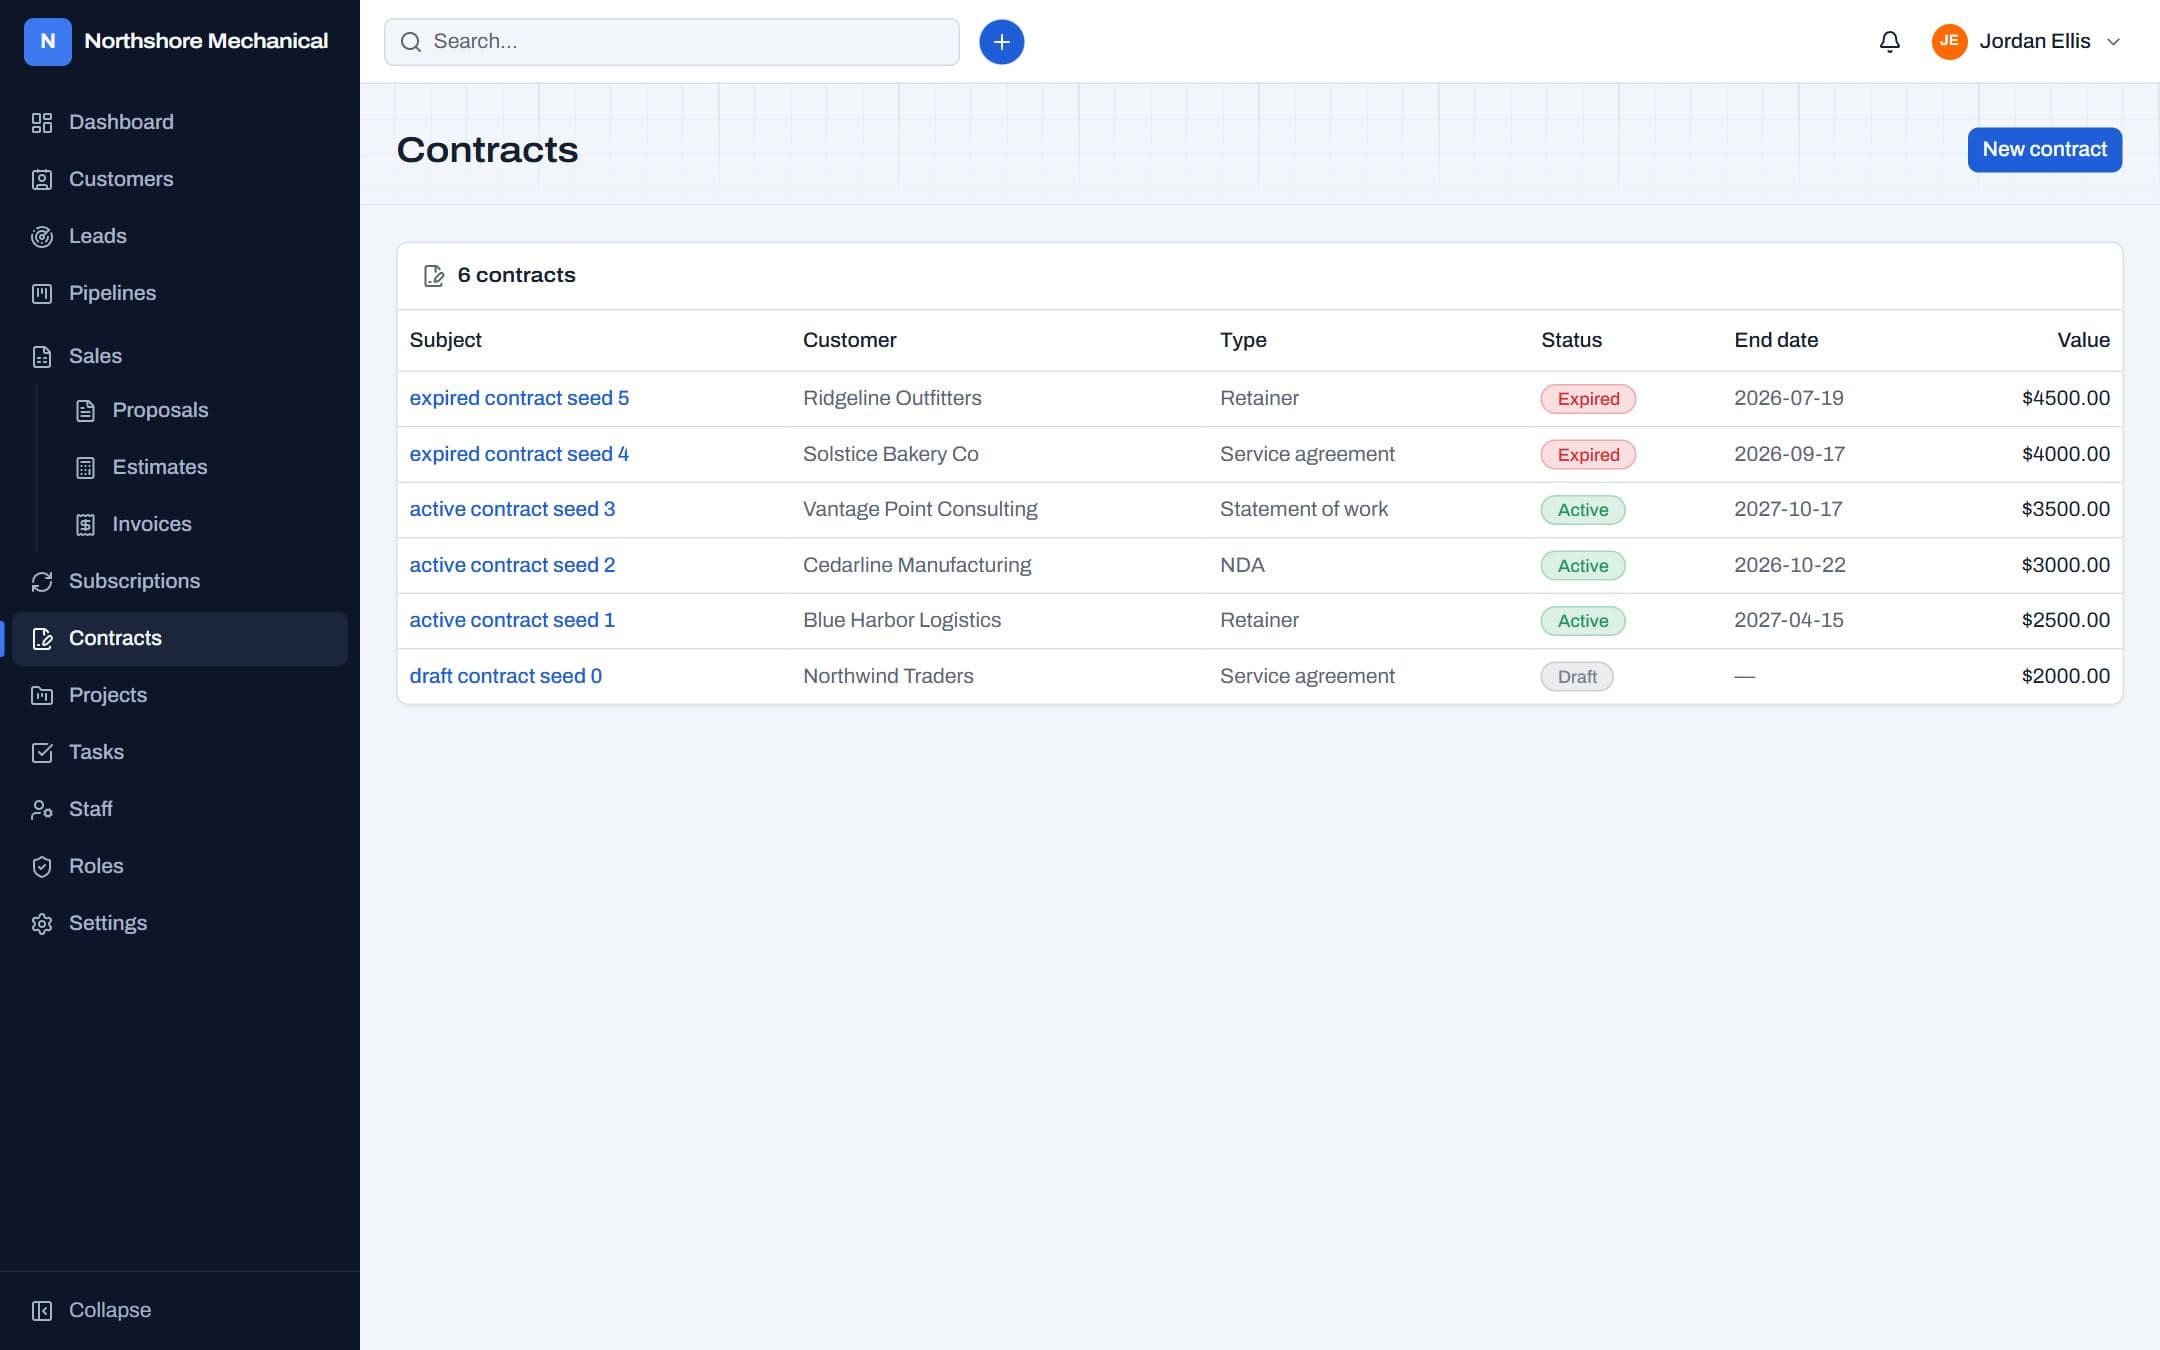
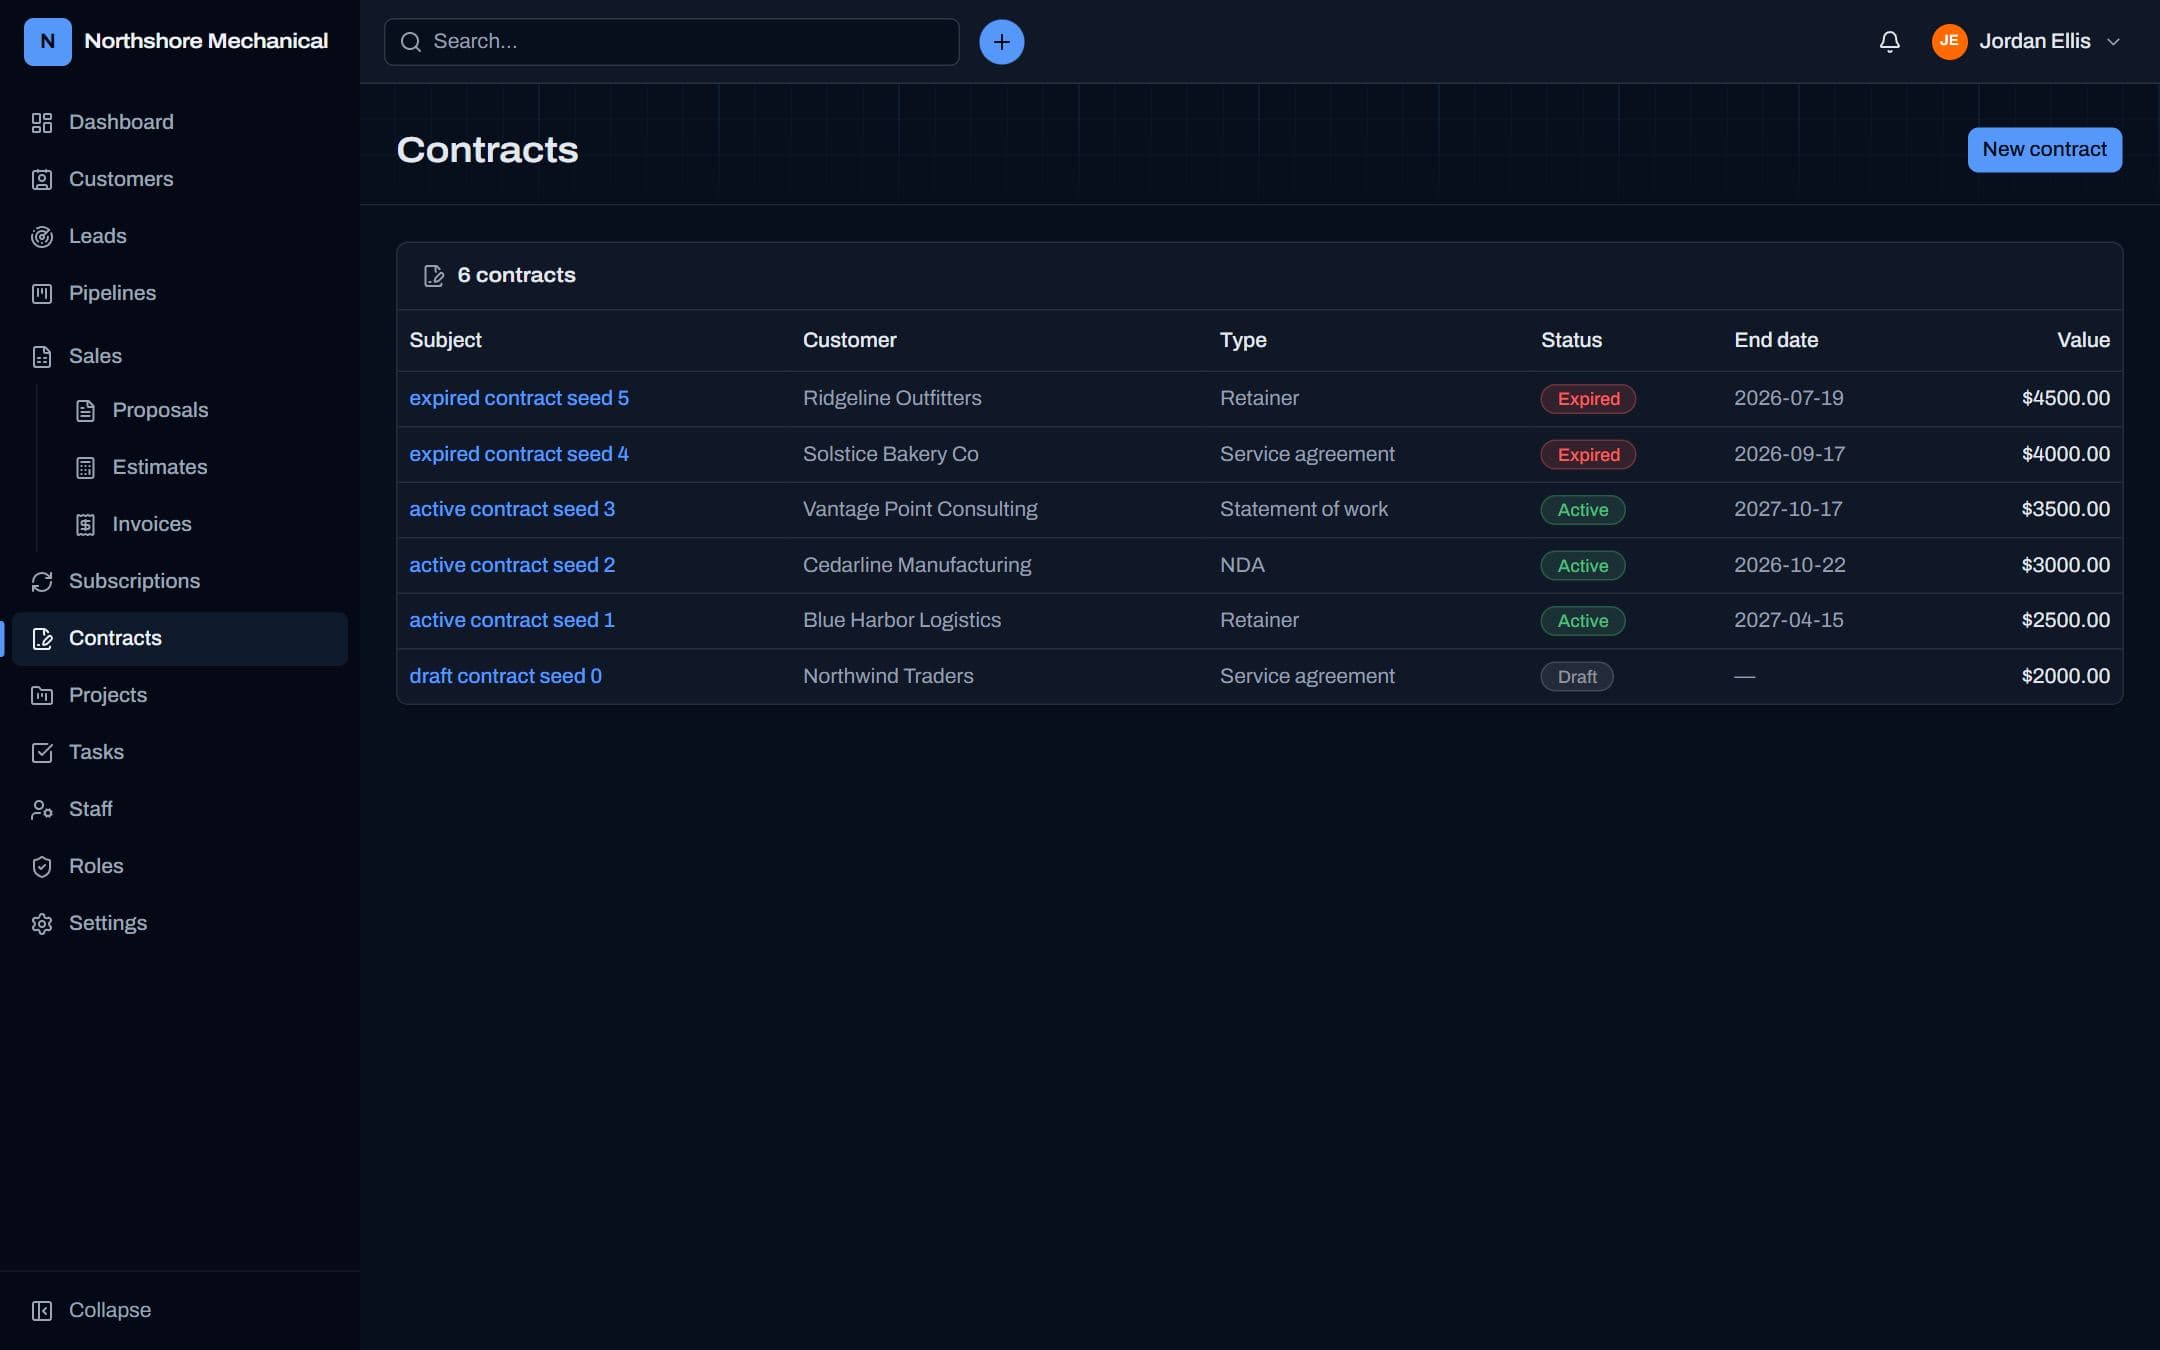
Keep signed agreements, their value and their dates in one place.
How to
- Contracts → New contract: customer, subject, type, value, start and end dates, and the contract text.
- Set the status to Draft, Active or Expired as it changes.
- The dashboard's Contracts expiring soon widget lists contracts whose end date is coming up.
Projects
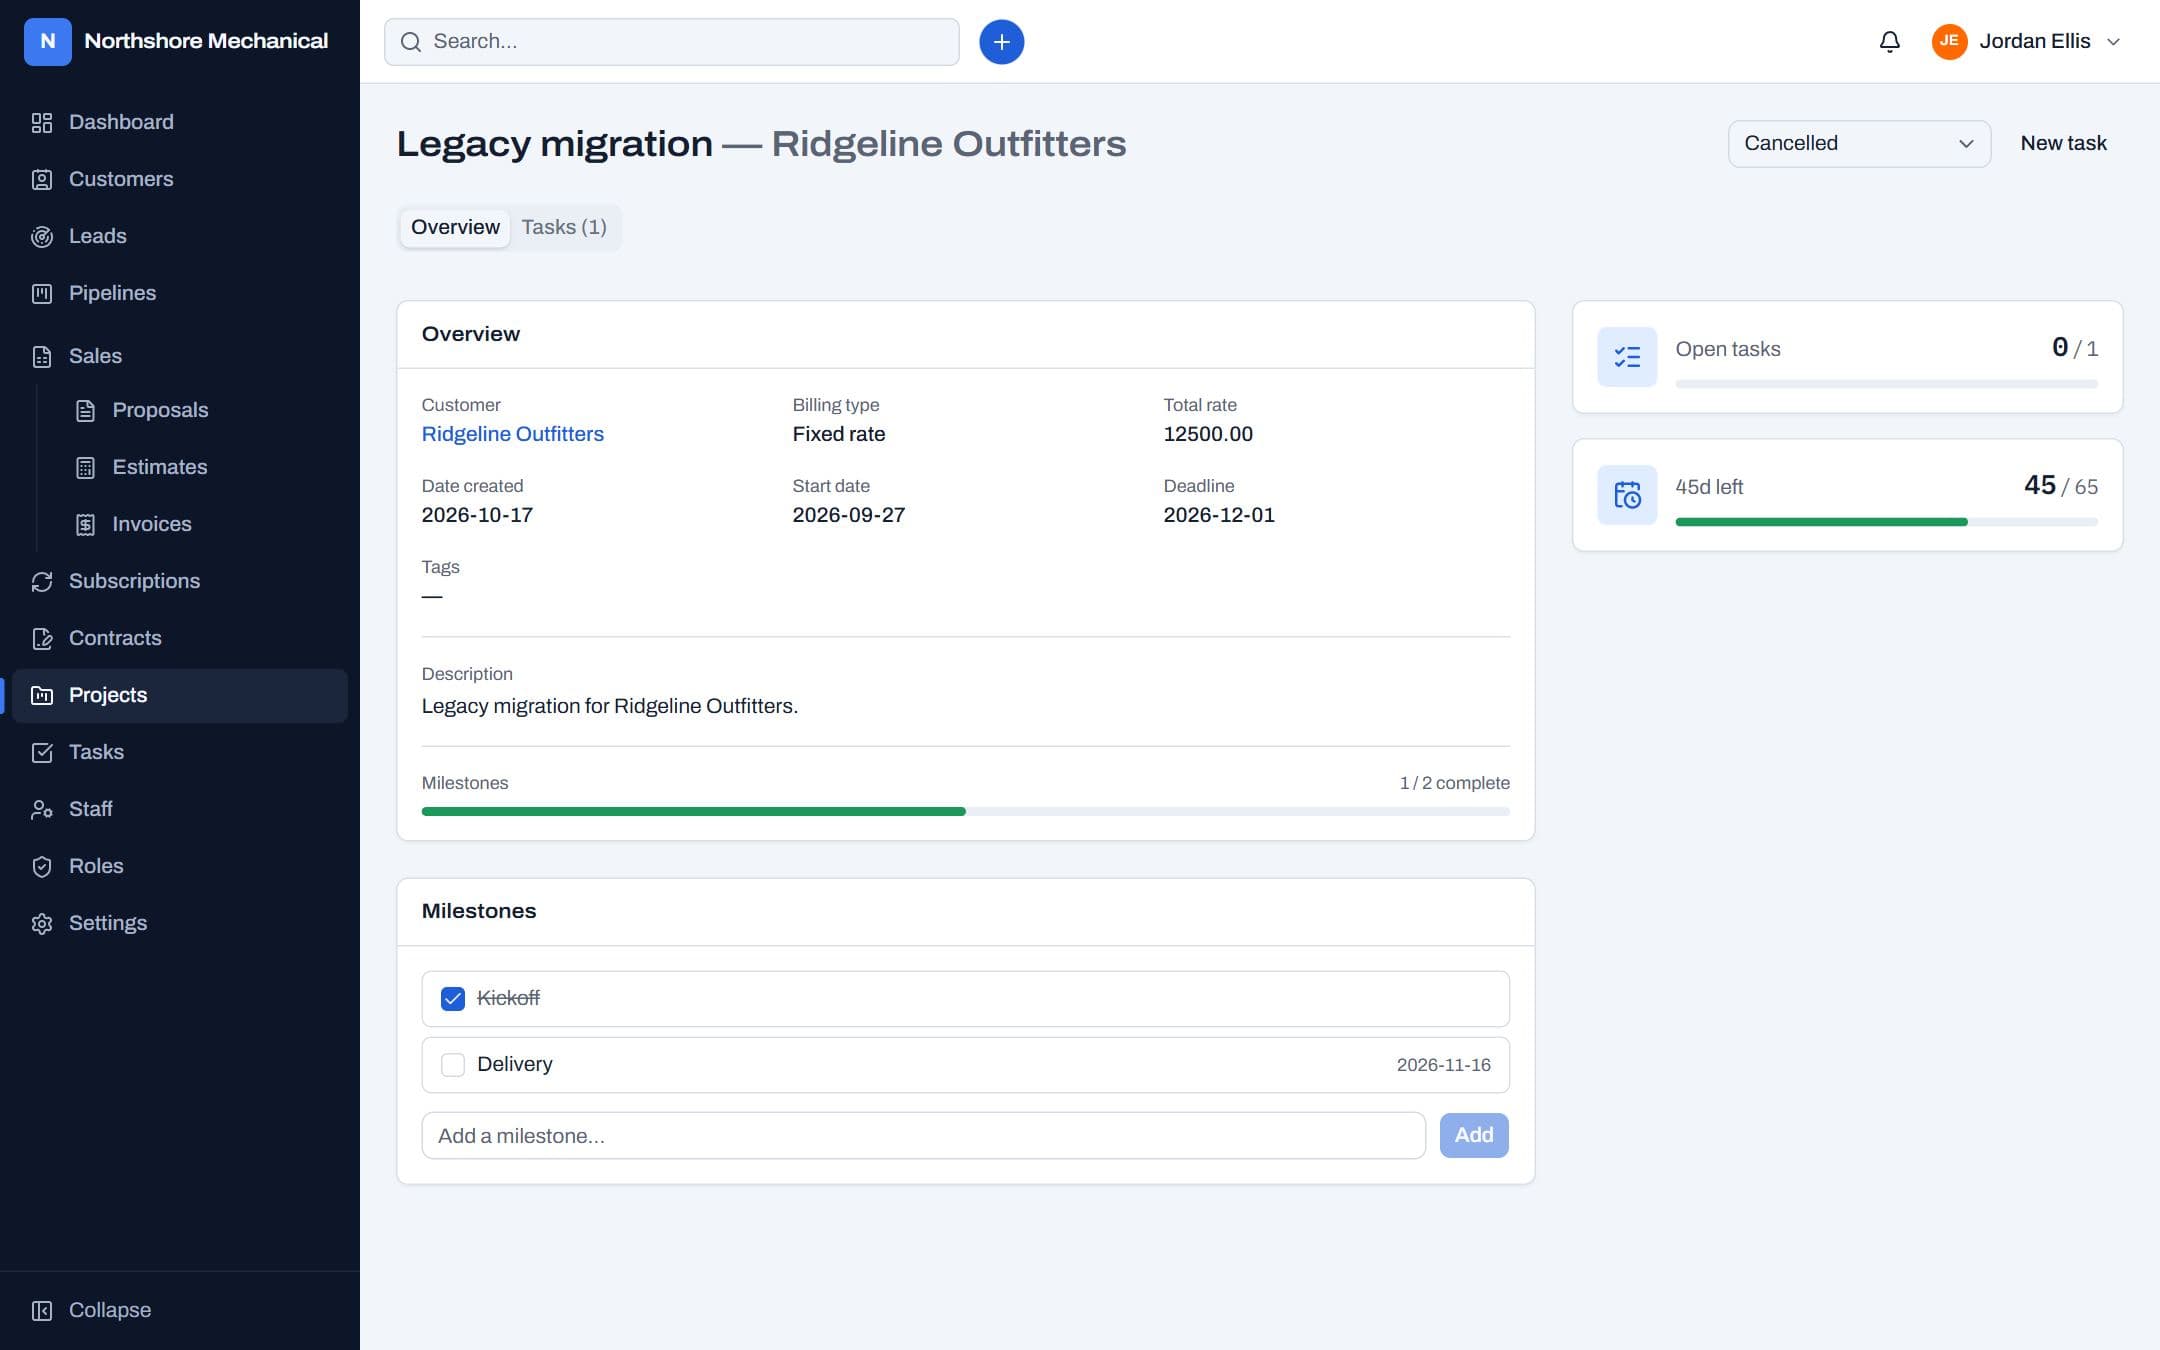
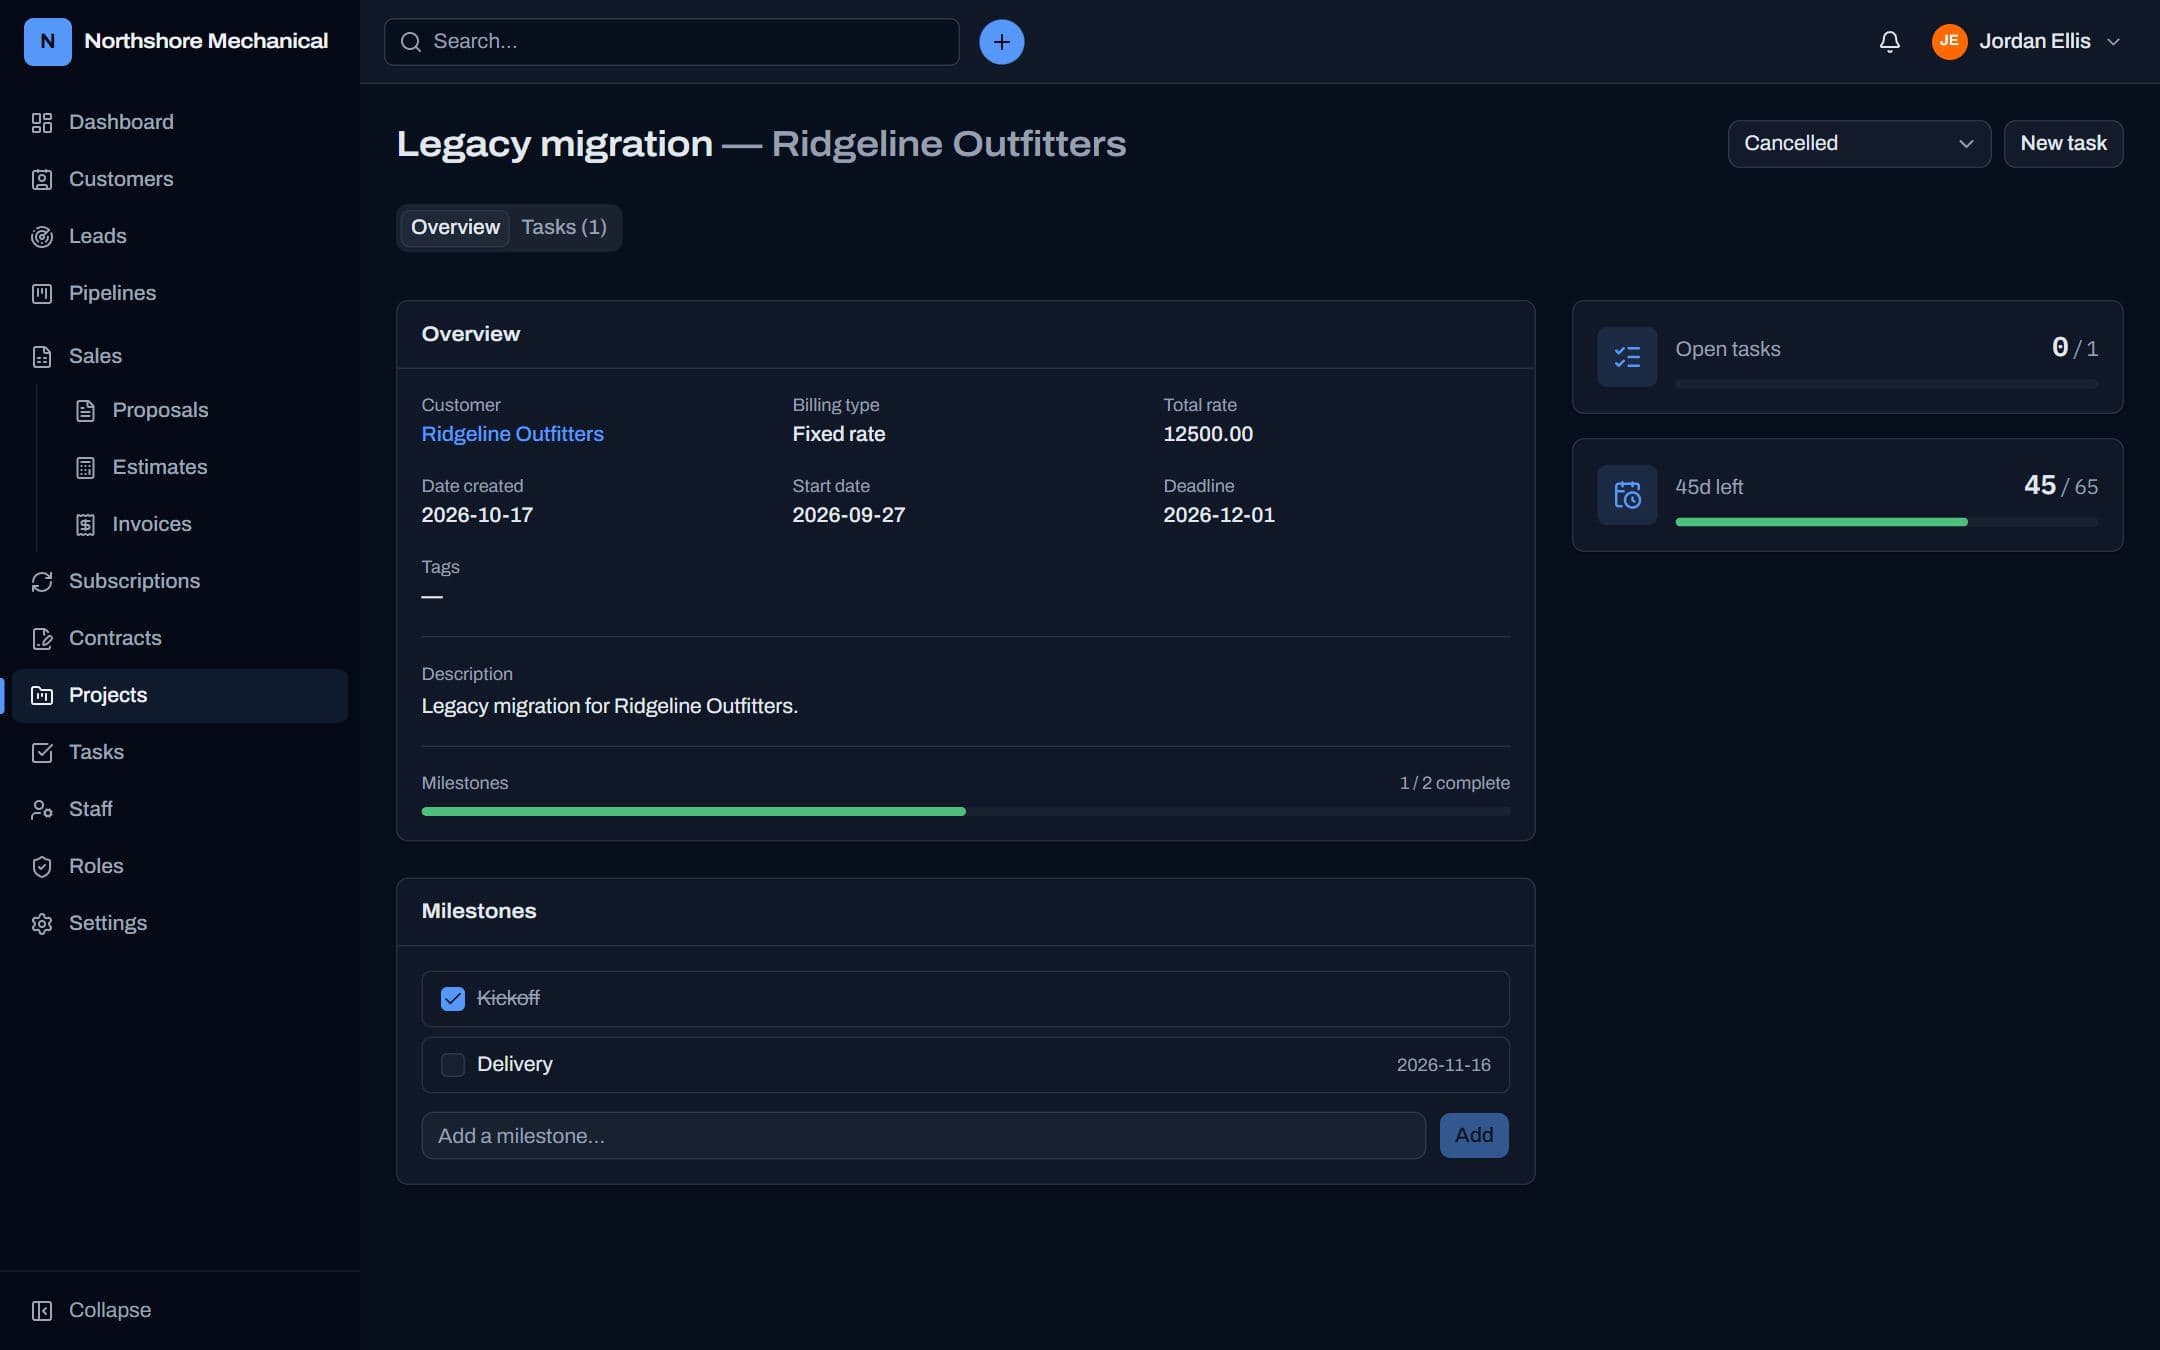
Customer projects with milestones, linked tasks and a billing type.
How to
- Projects → New project: customer, billing type (fixed rate, project hours or task hours), dates and status.
- Add Milestones and tick them off as they're reached.
- Move the status through Not started, In progress, On hold, Finished or Cancelled.
Settings & plan
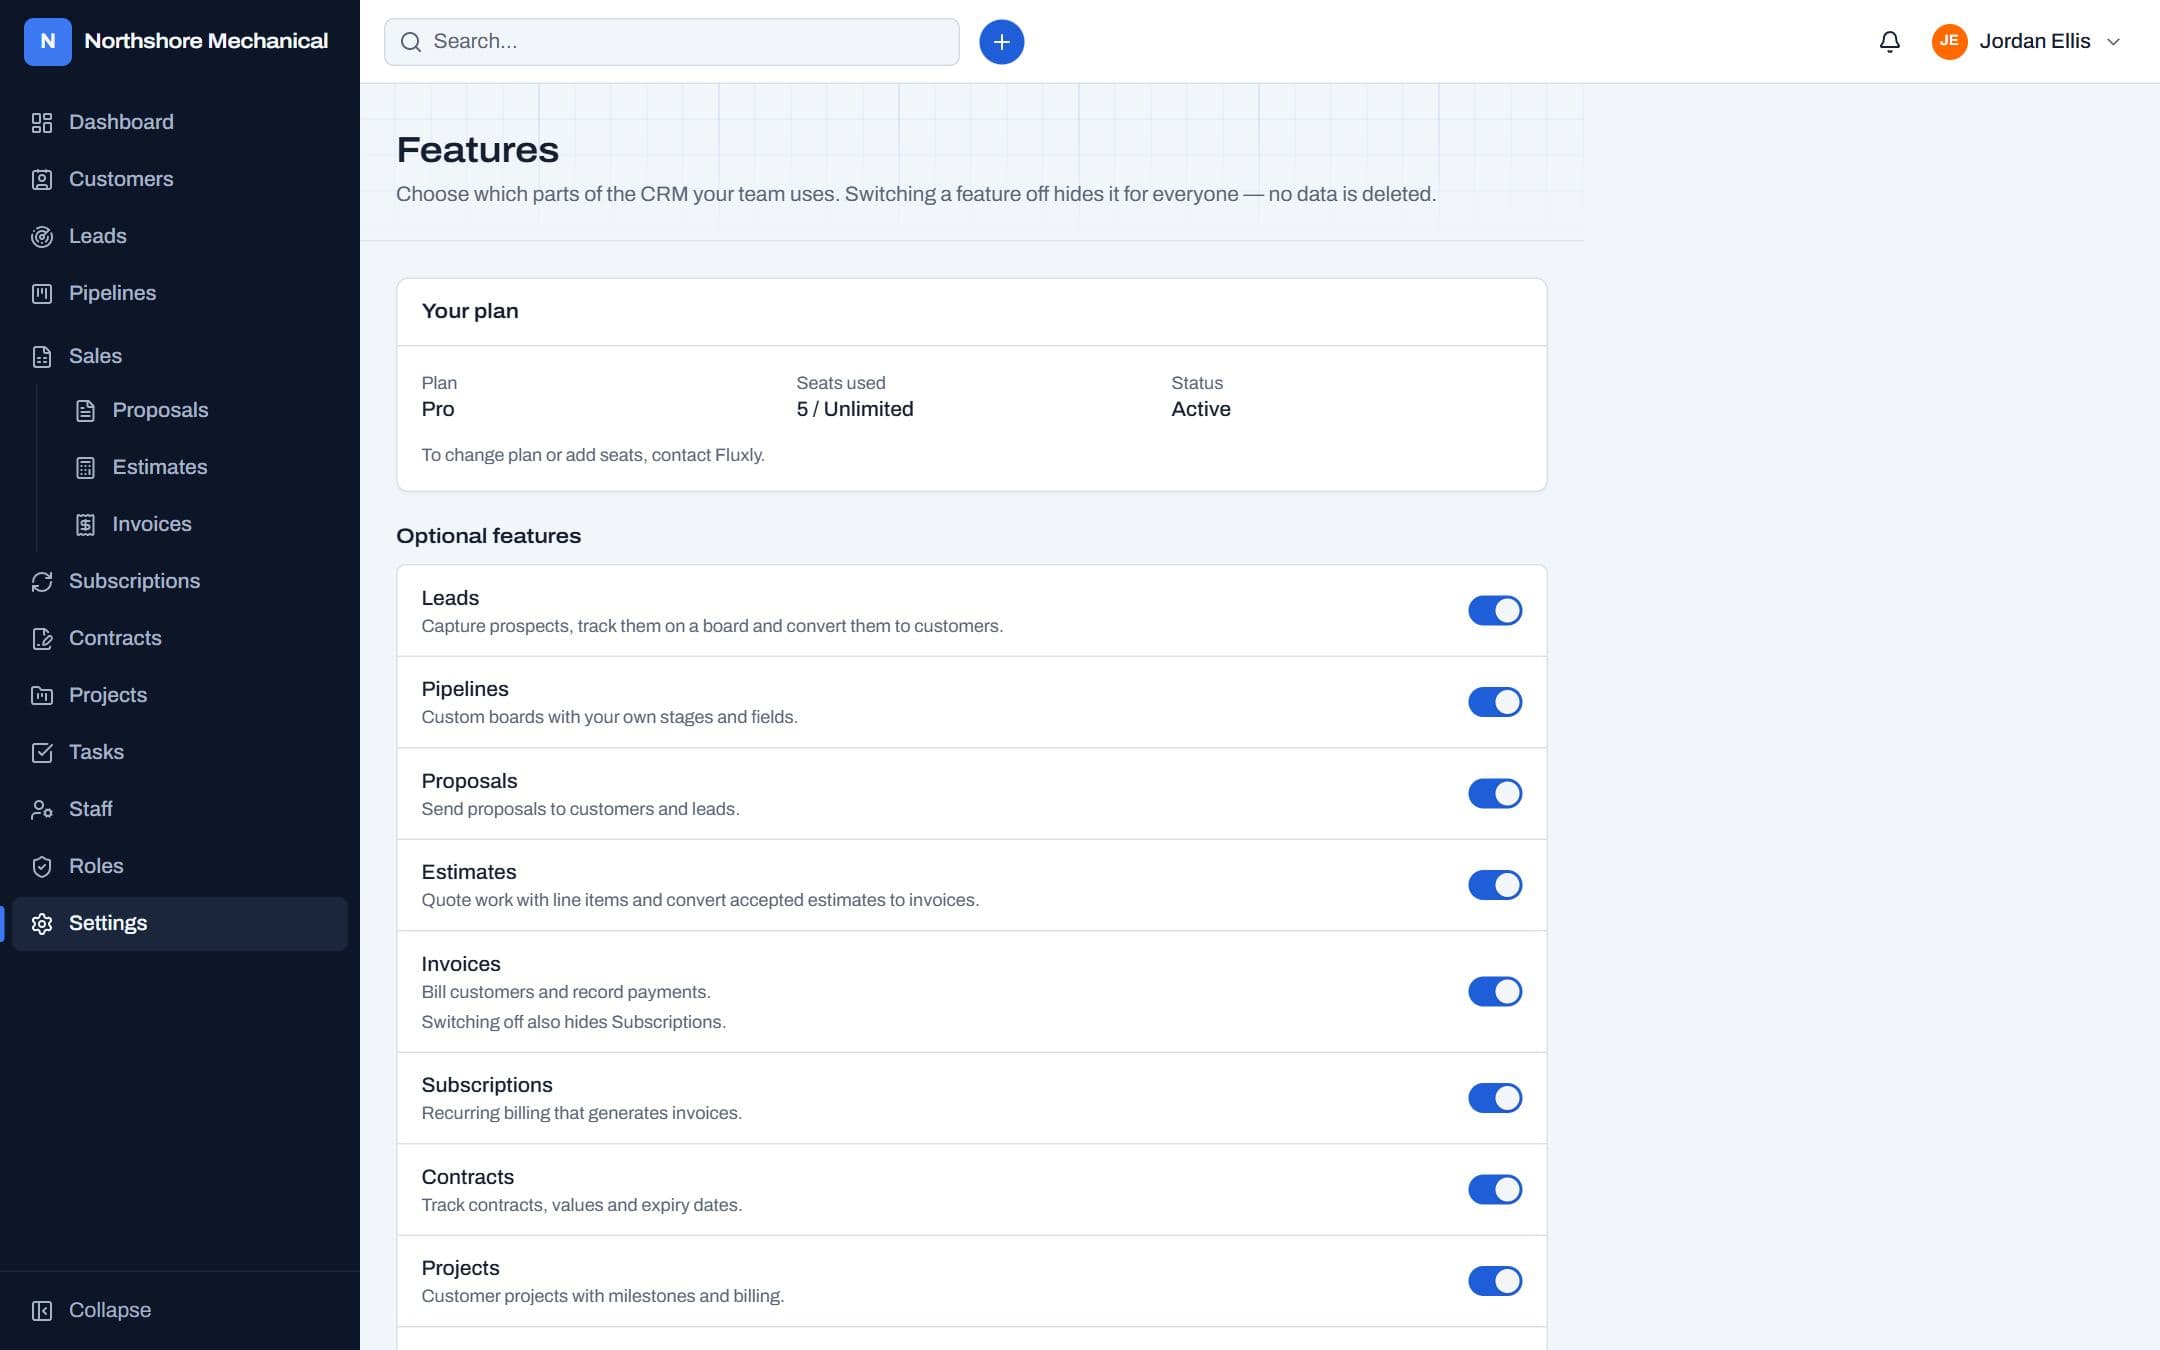
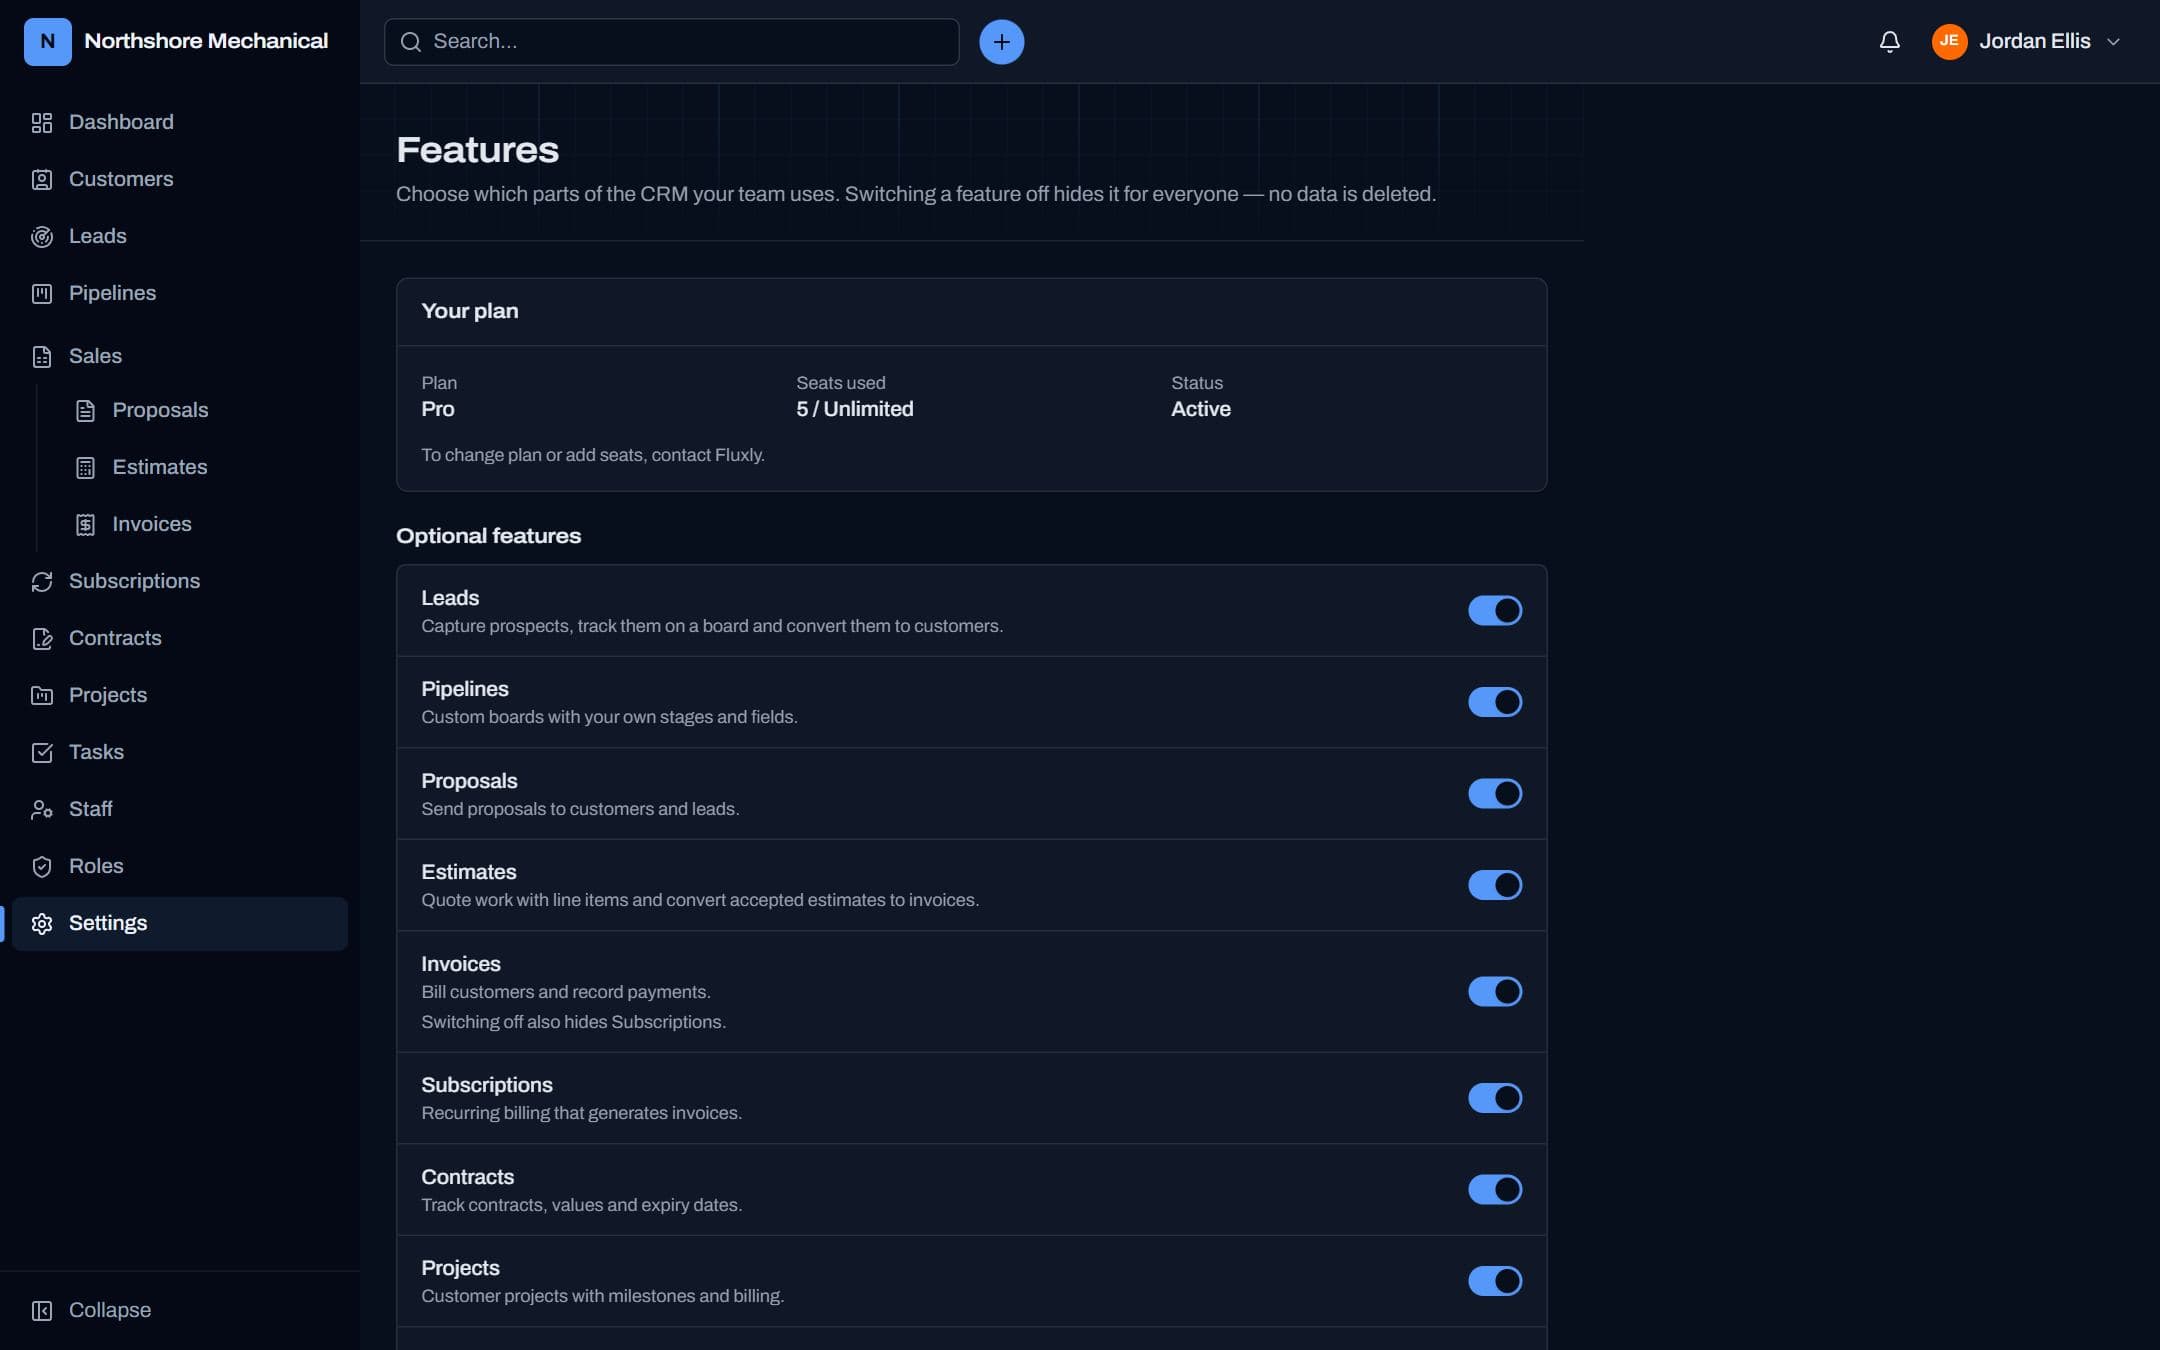
Admins choose which modules the company uses and can see what the plan includes.
How to
- AdminsSettings lists every optional module. Switch one off to hide it for everyone.
- Switching a module off never deletes data — switch it back on and everything is still there.
- Dashboard, Customers, Staff and Roles are always on. Some modules depend on others (Subscriptions needs Invoices).
| Plan | Modules | Seats |
|---|---|---|
| Starter | Customers, Leads, Pipelines, Tasks | 6 |
| Growth | Starter + Proposals, Estimates, Invoices, Contracts | 15 |
| Pro | Everything, including Projects and Subscriptions | Unlimited |
Your plan is shown in Settings. To change plan or add seats, contact Fluxpoint. If a plan ends, the account becomes read-only — you can still see everything but not change it — until a plan is active again.
Privacy & security
Your company's data is yours, and only your team can see it.
- Every company's records are kept separate — nobody outside your company can see or link to them.
- Passwords are stored hashed, never in plain text. Signing in with Google uses Google's own sign-in page.
- Inside your company, roles decide who sees what (see Roles & permissions).
- If you ask Fluxpoint support for help, they may view your account for up to an hour at a time. Each visit is logged, and admins can see it under Settings → Fluxpoint support access.
- Deactivating a person signs them out immediately; suspended companies are signed out too, with their data untouched.
Read the full Privacy Policy and Terms of Service.